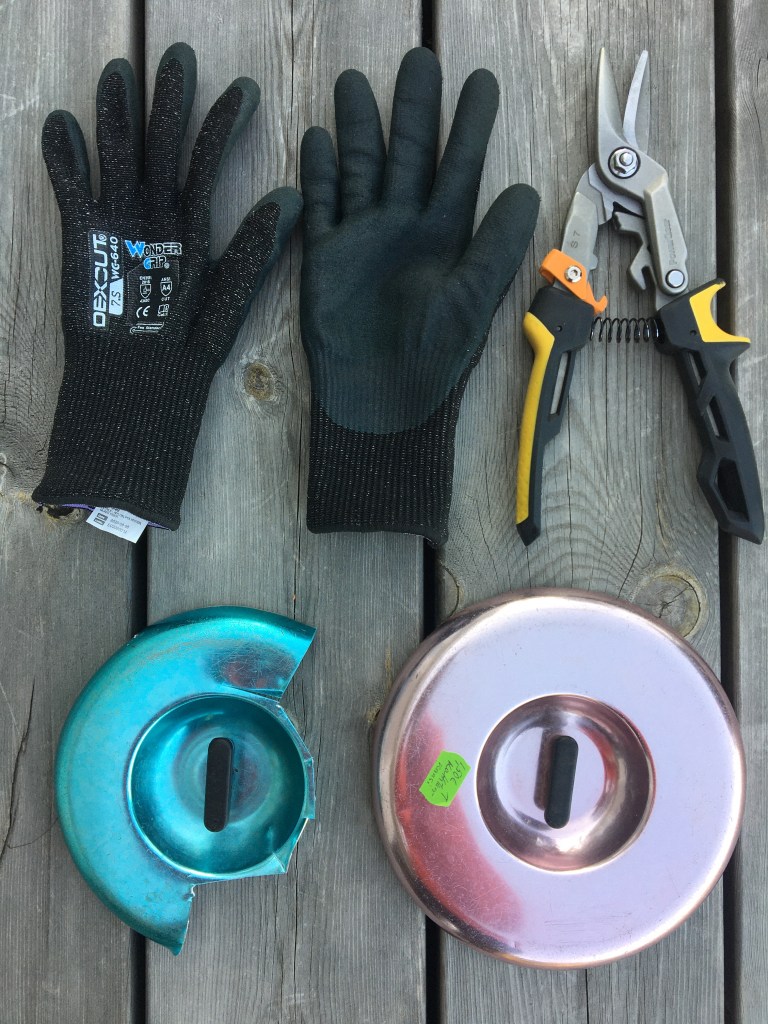
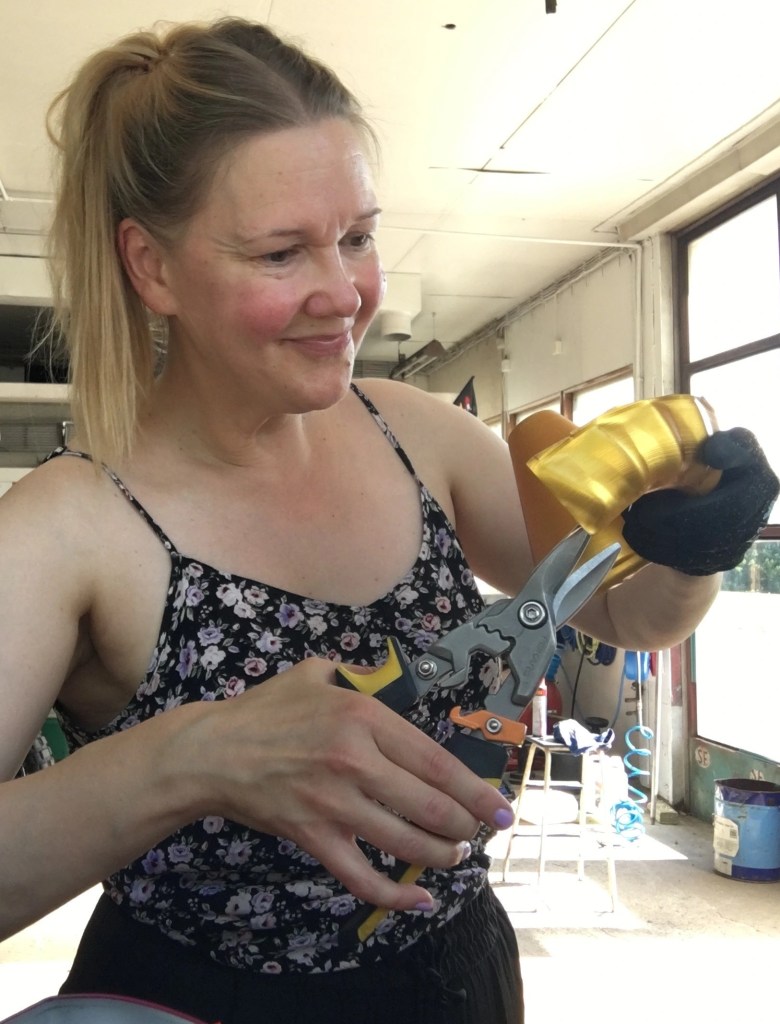
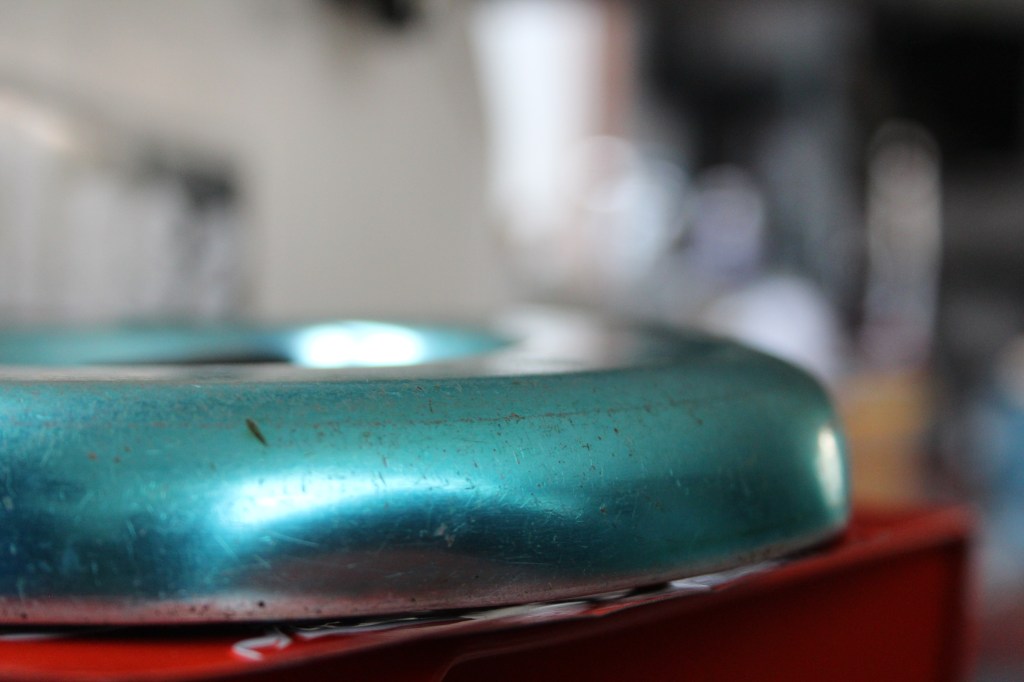
Charity shops etc are filled with unwanted aluminium and metal kitchenware. My interest is on coloured pieces but also the basic golden and silver hues are ok. My work methods are raw, I am not a professional cutting and hammering metal. But the process learns and after a few bleeding cuts in my fingers I started to use gloves when cutting these sometimes tricky pieces into smaller ones.
My endless inspiration source is nature. Organic shapes and roughness. Childlike approach to materials; curious and explorative.
This metal box has a nice orange colour but cutting it into smaller pieces is tricky. Carefully with gloves.
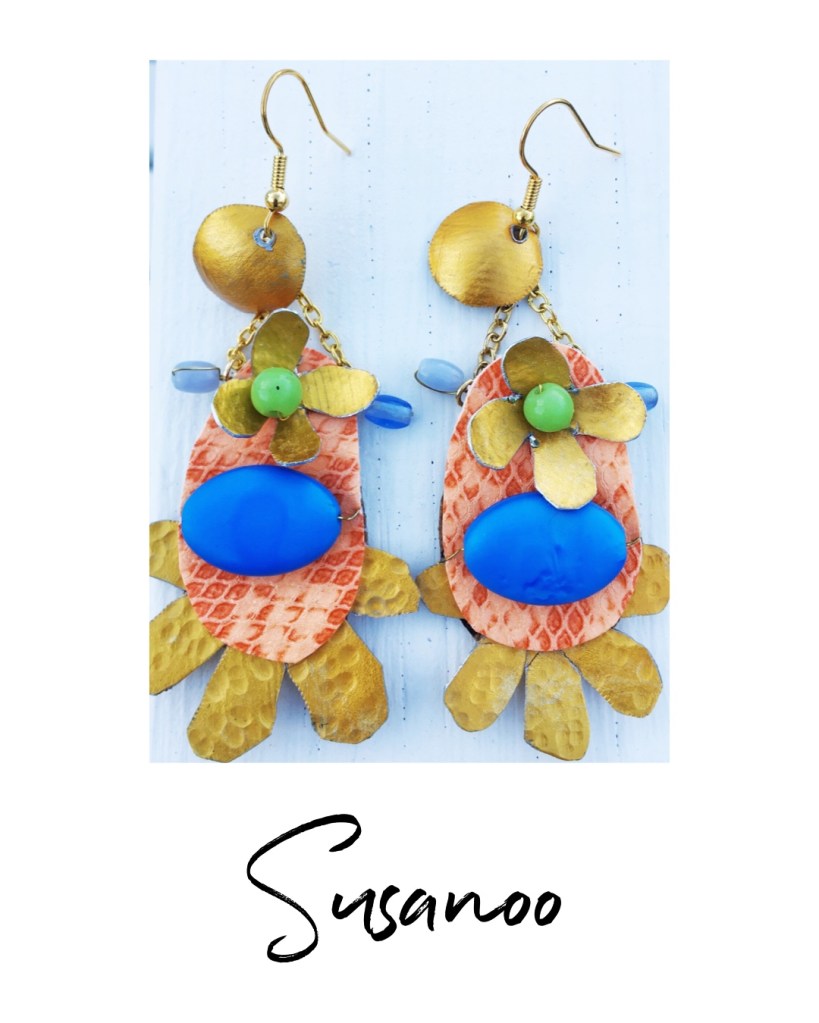
Check out my Instagram. Theres more about me and my jewelry. Independent artist Susanoo, no online shop. All pieces unique.
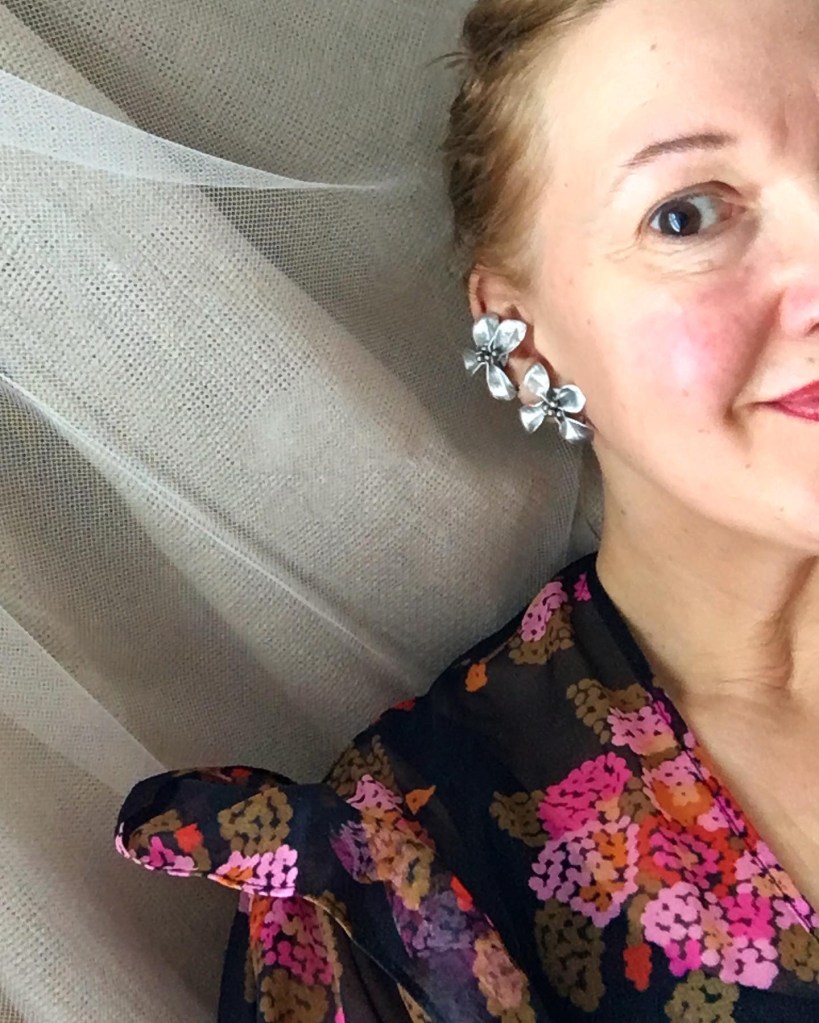
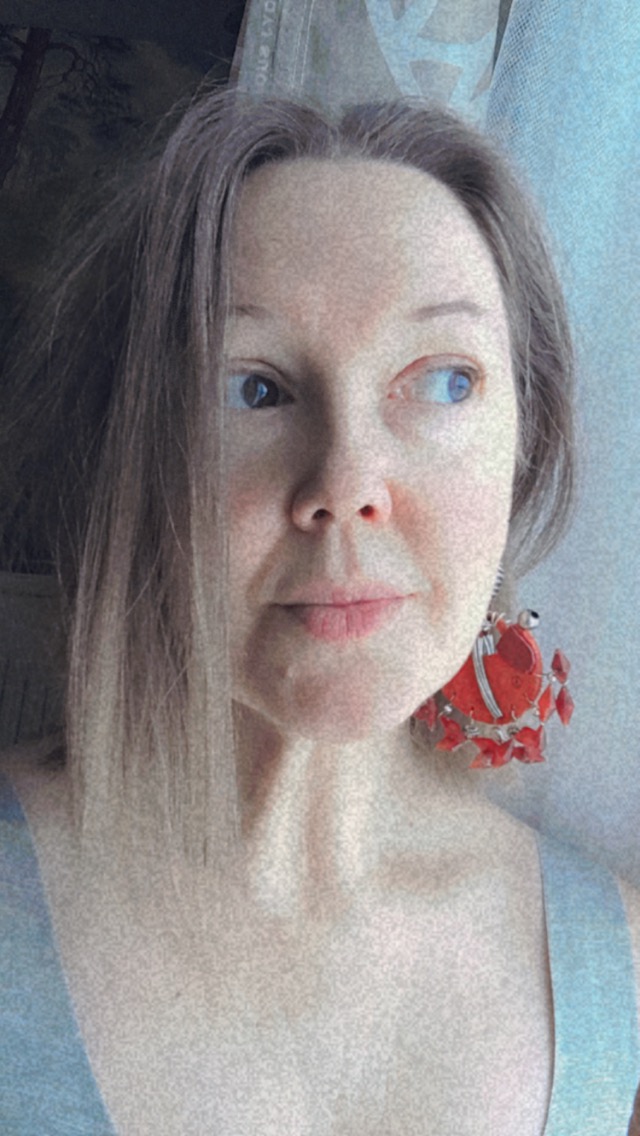
I hammered and folded aluminium to get the right flower shape. To the middle of the flower I glued few silver colored plastic beads. Overall look is really delicate and dreamy.
In this short video you see the parts I hammered for the flowers. Aluminium I used for the earrings is old and broken pieces from hanging decorative lighting.
So just go wild with materials and experiment with different ways to put jewelry together. I usually get inspired by something I see in the old fashion/interior magazines; such as old editorial fashion pics from 80s and 90s which are my favourite years in fashion because of the drama and colors. I do love all vintage, the more age the better.
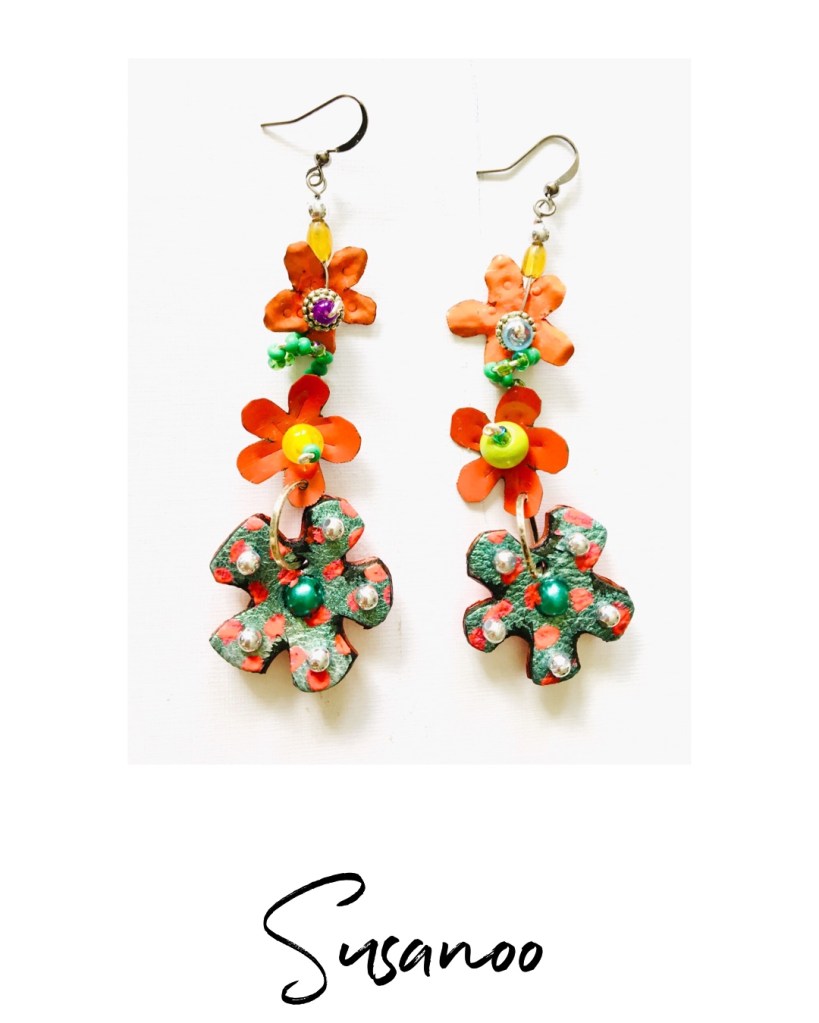
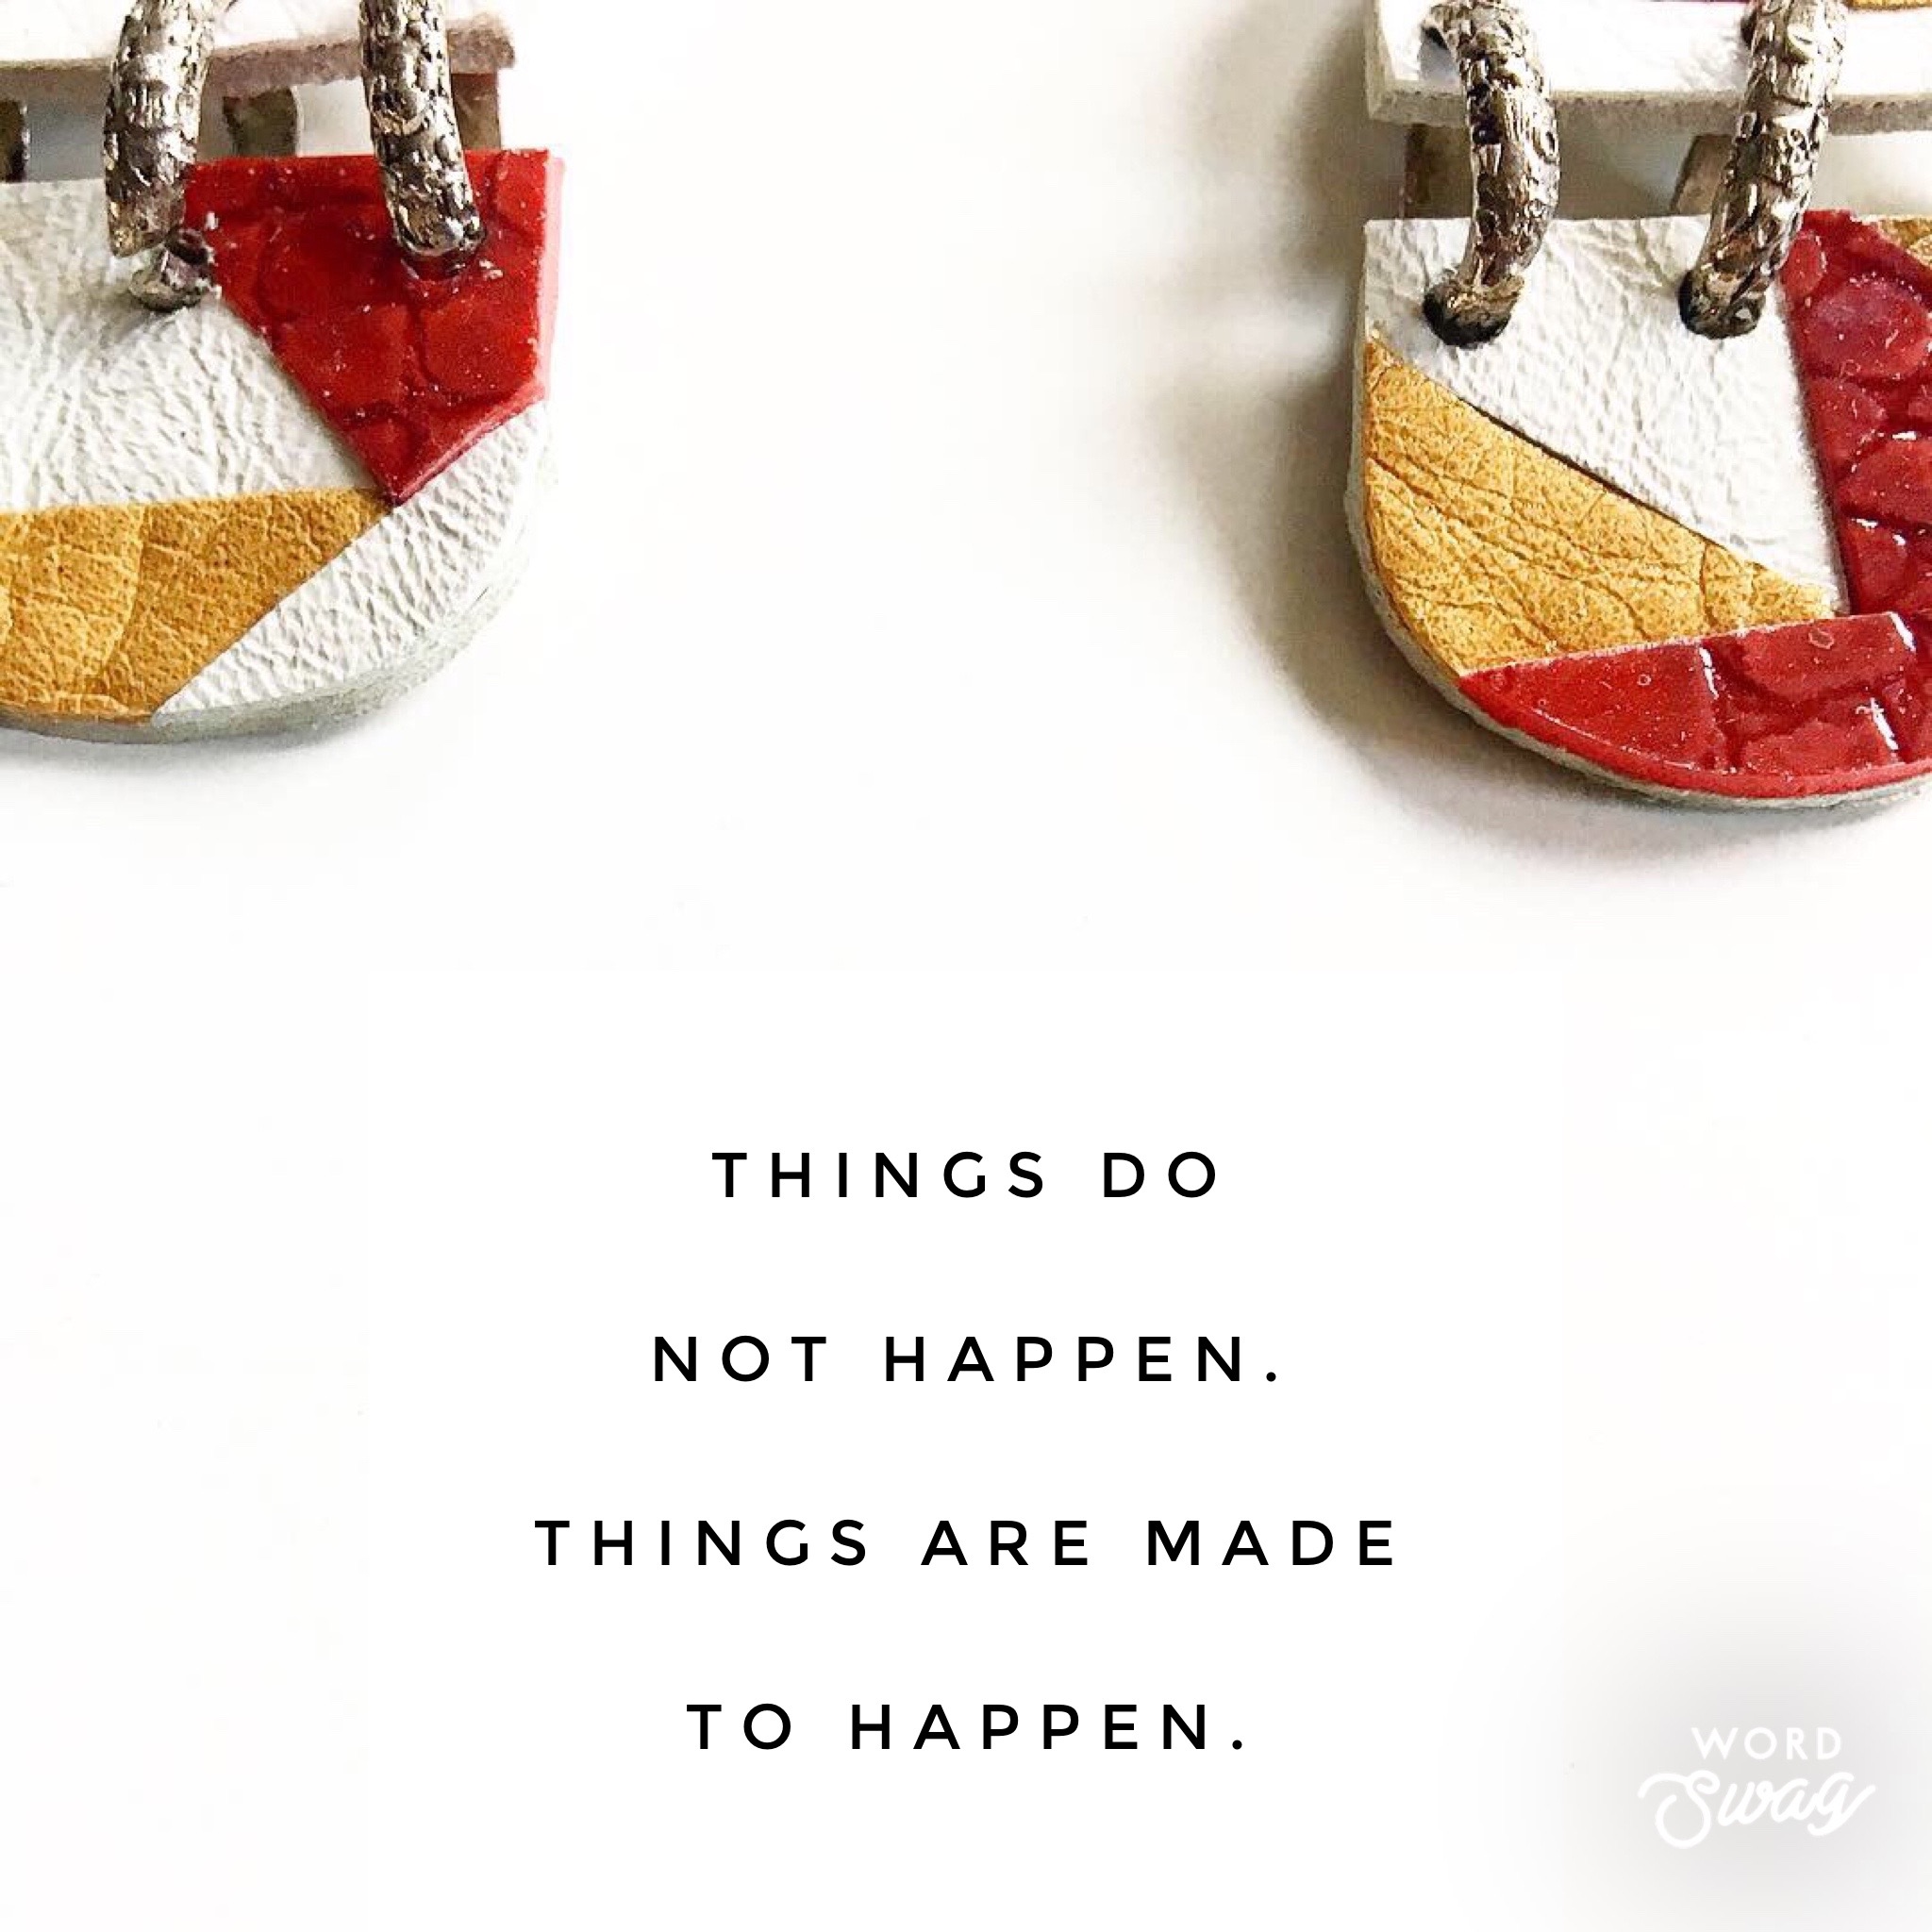
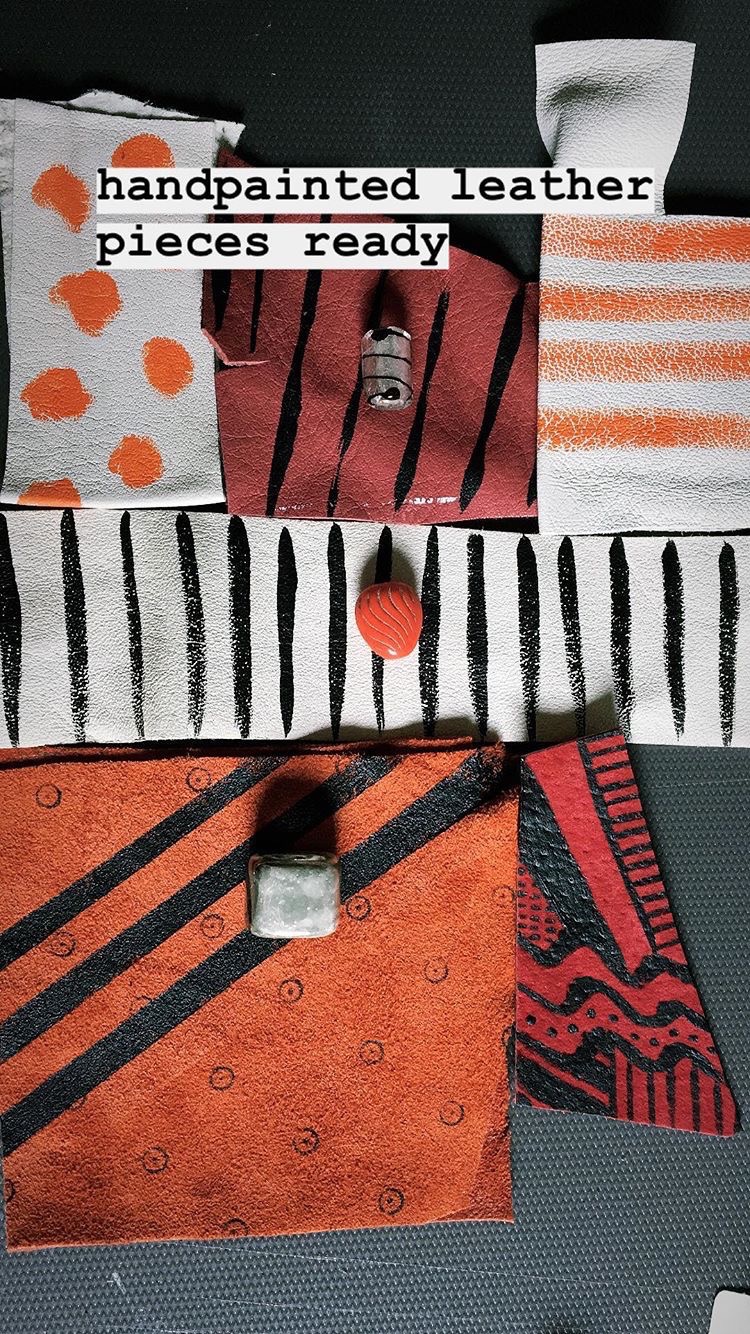
I often paint and glue my leather parts for the earrings in advance. When I feel like it. Then I use the painted leather when my ongoing design needs it- it can take for a year or a week or just hours. Depends on the flow.
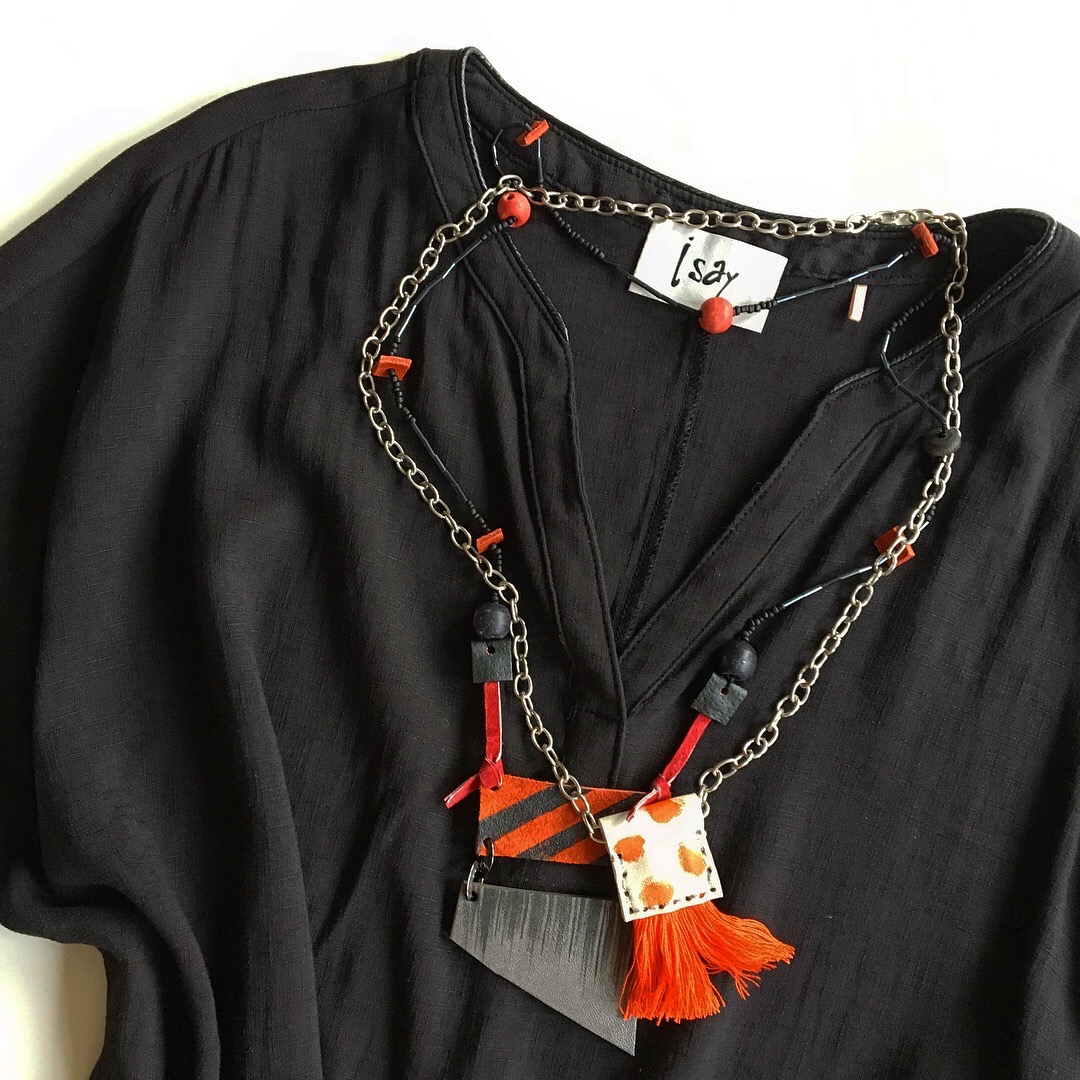
These leather parts I made one summer evening but something more important came along and I put the designs aside. Now when cleaning up my desk and the drawers I found these red and orange leather designs I knew that it was their time to shine.
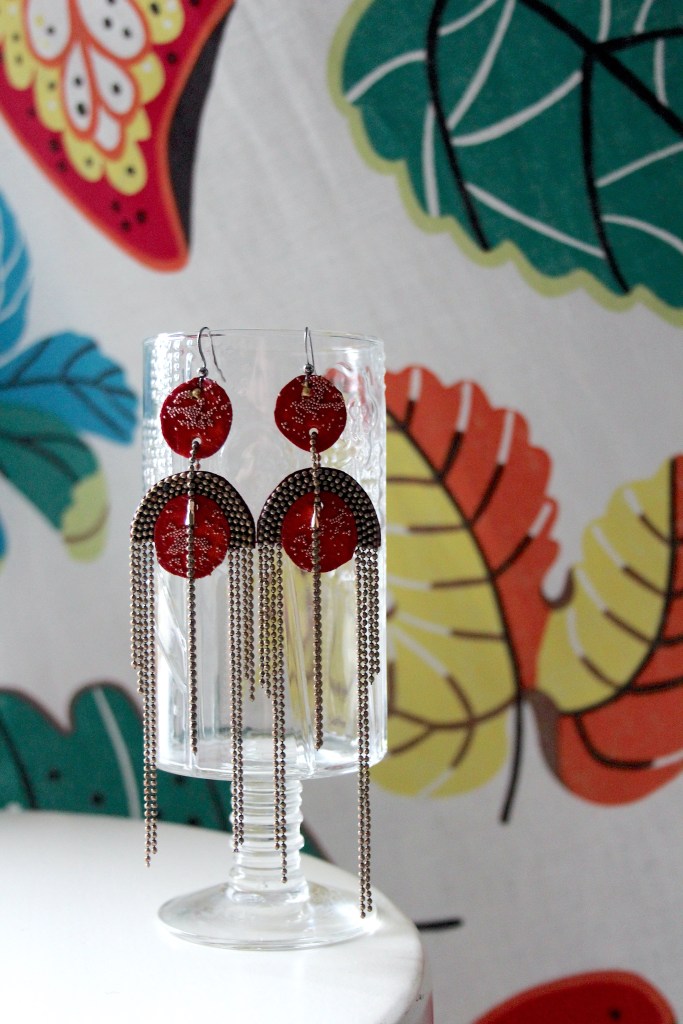
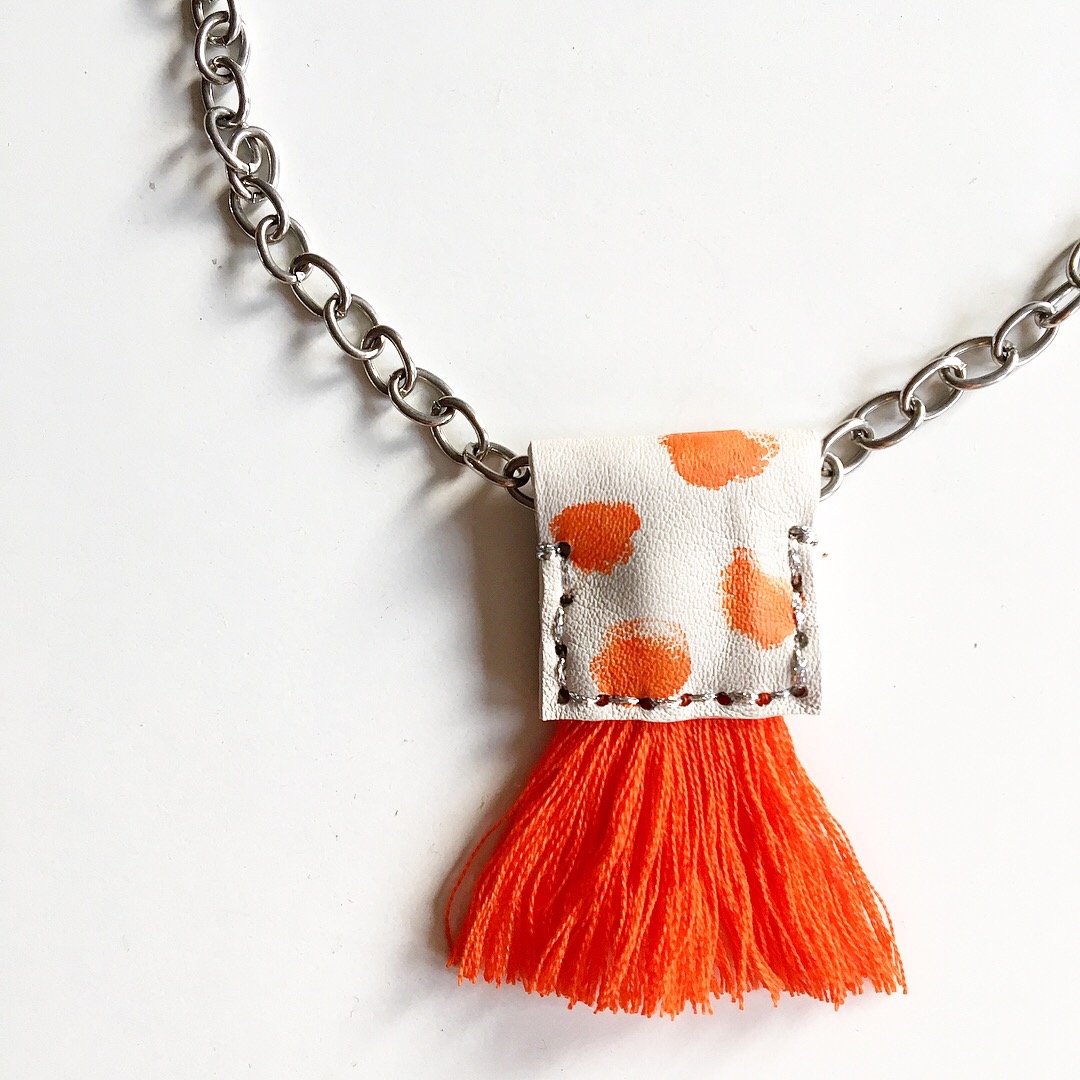
The metal chain is from old bracelet that I found from charity shop and took apart. I love the way the thin chain moves, reminds me of misty mornings and spider webs in the forest.
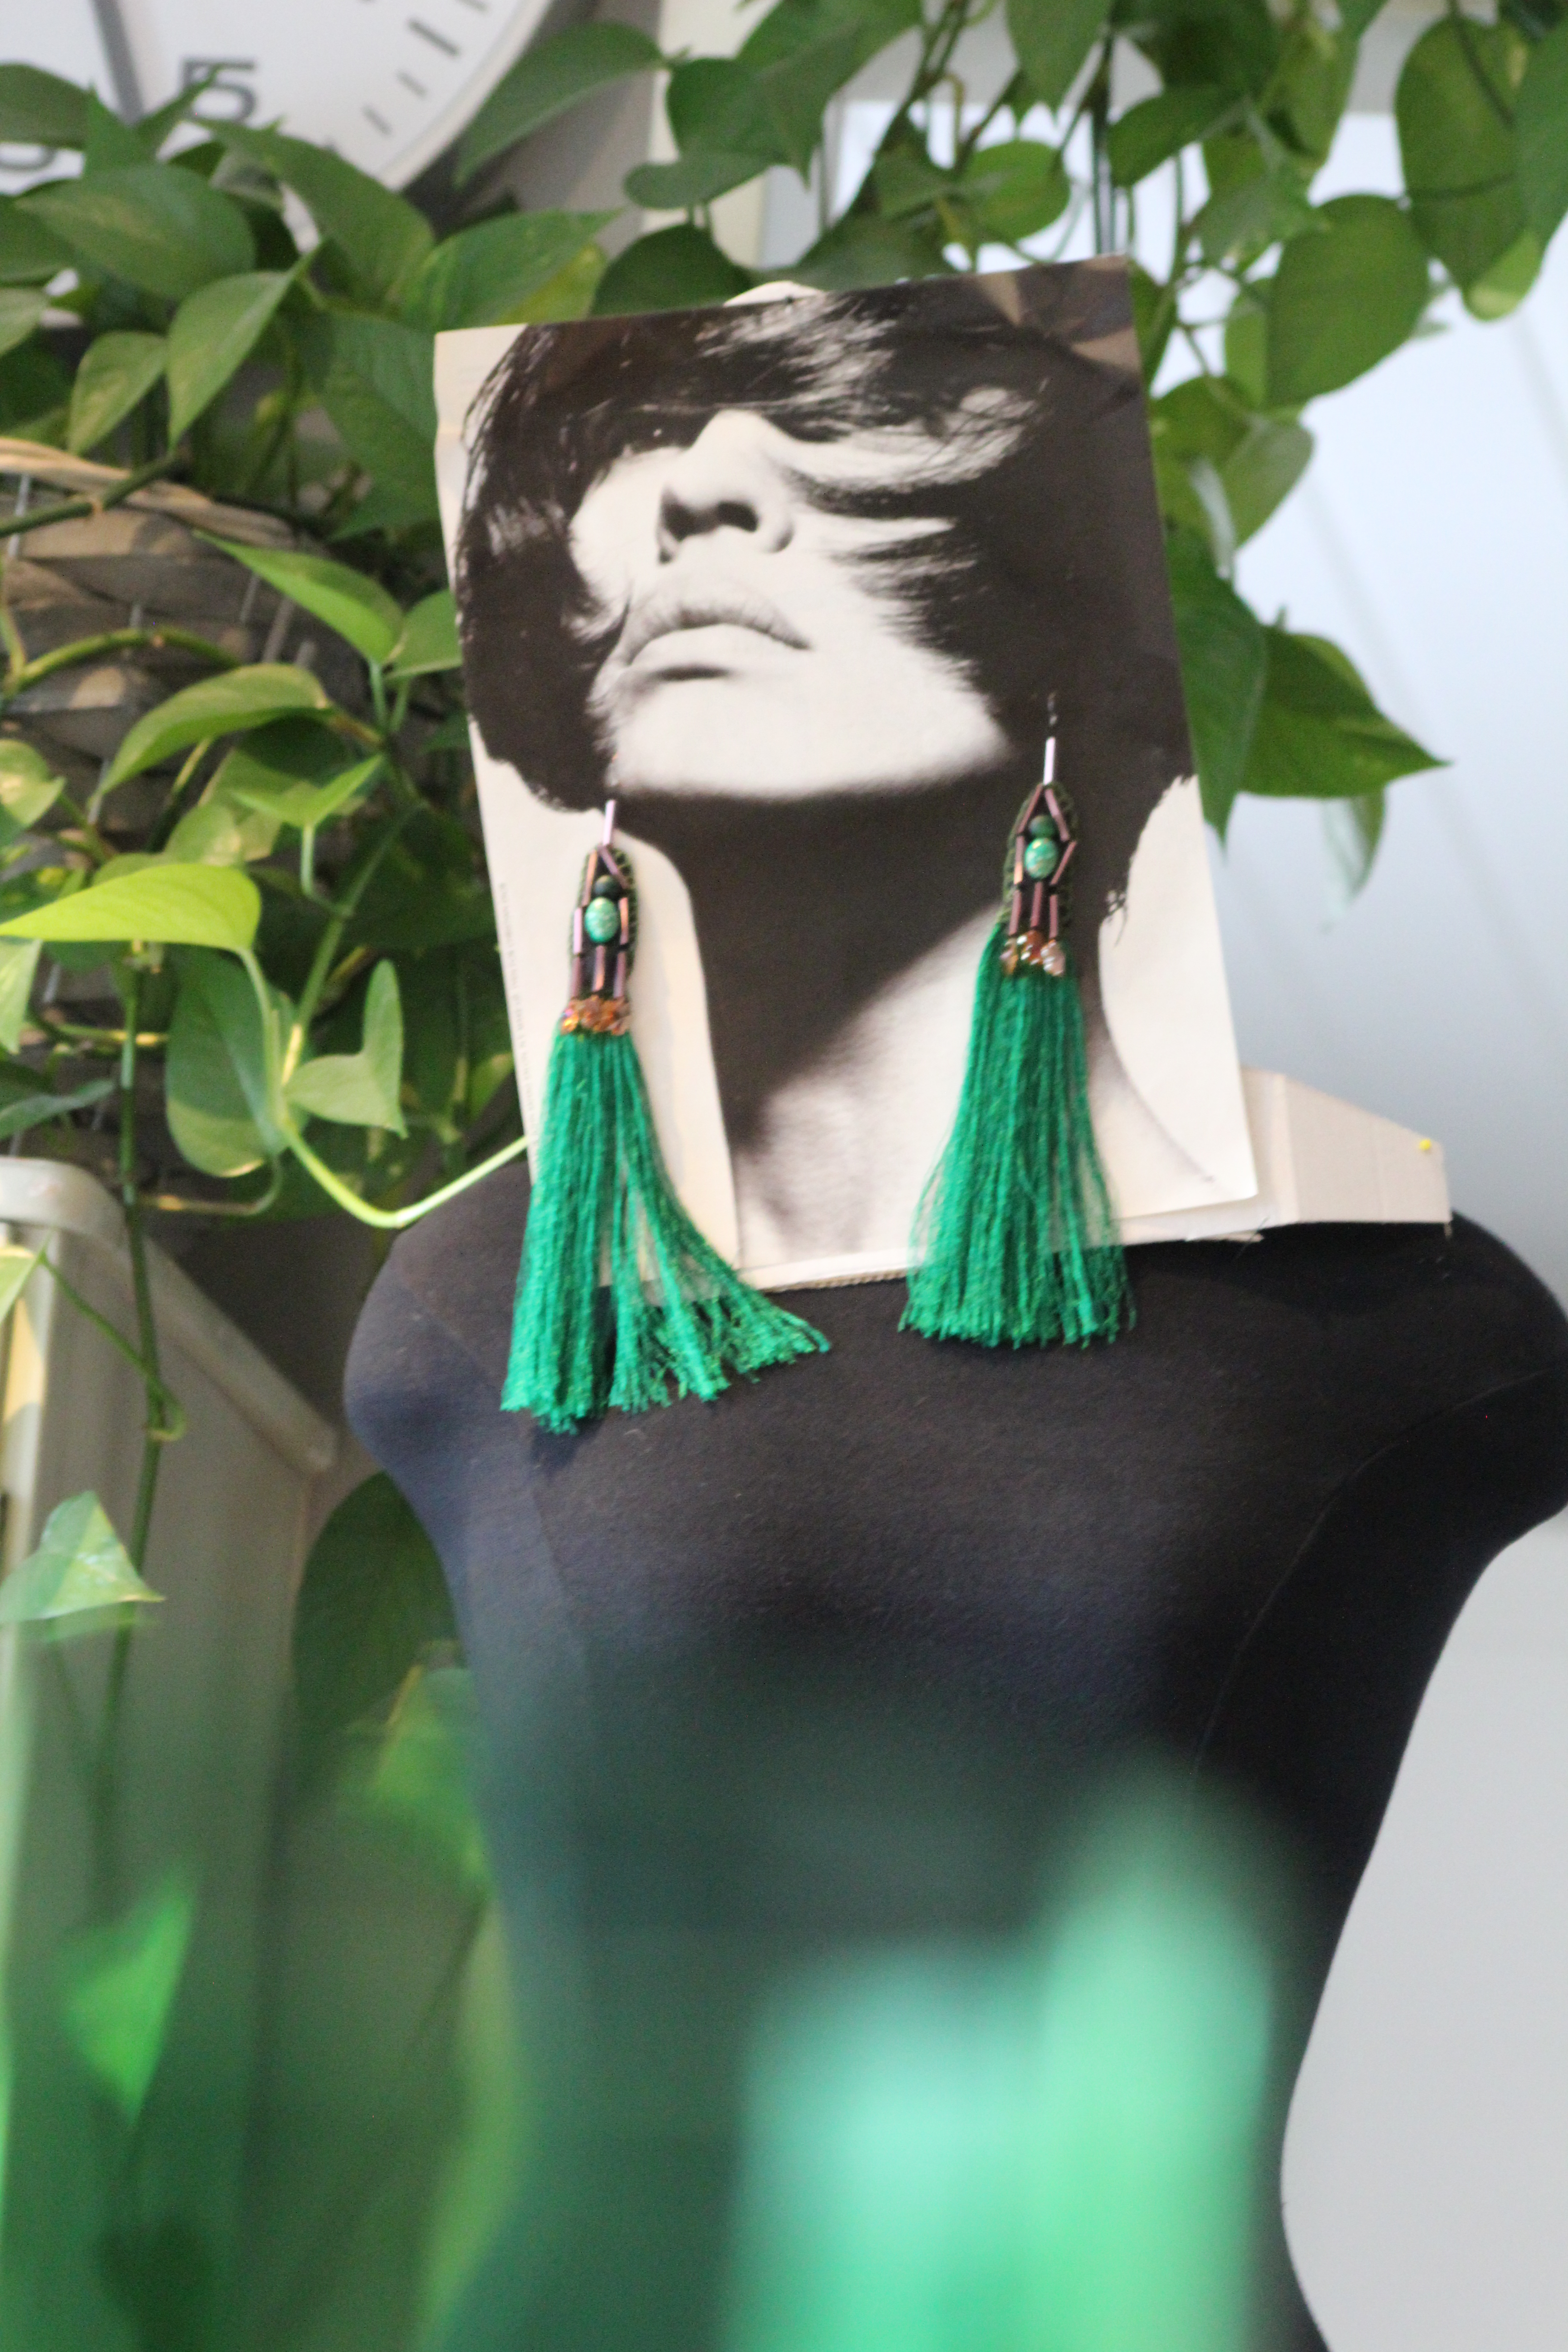
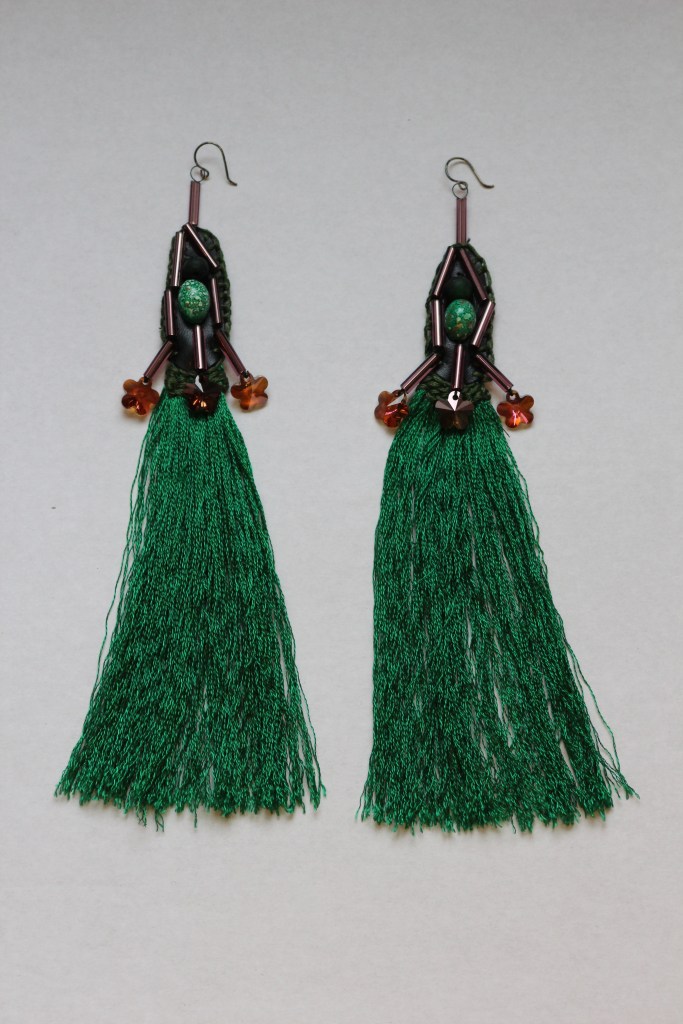
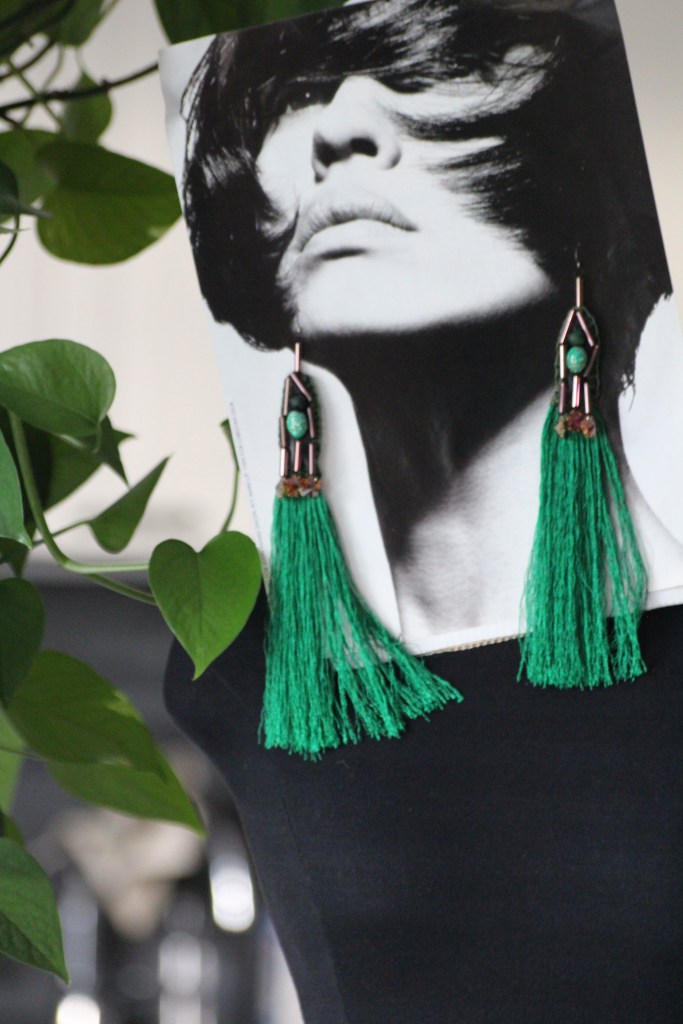
Few years ago I found green silk yarn from nearby charity shop. As I was going through my material boxes, looking for a pair of shoulder pads to another project I came across this hidden green silk gem. I imagined a summer party, soft warm evening air, long chiffon dress, barefoot and these earrings with long green silk tassels.
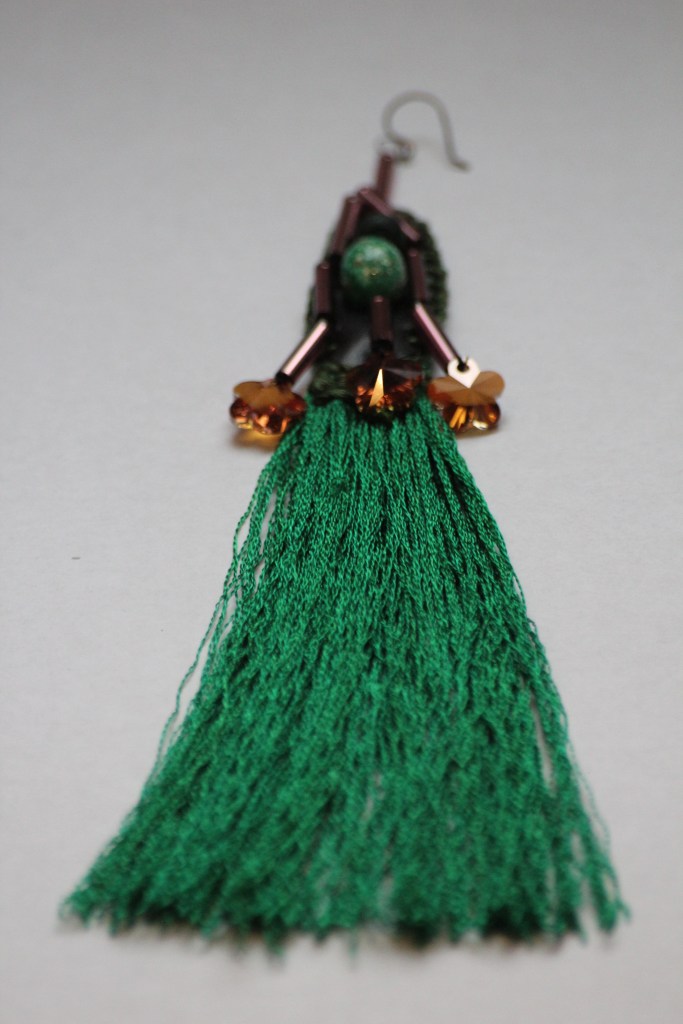
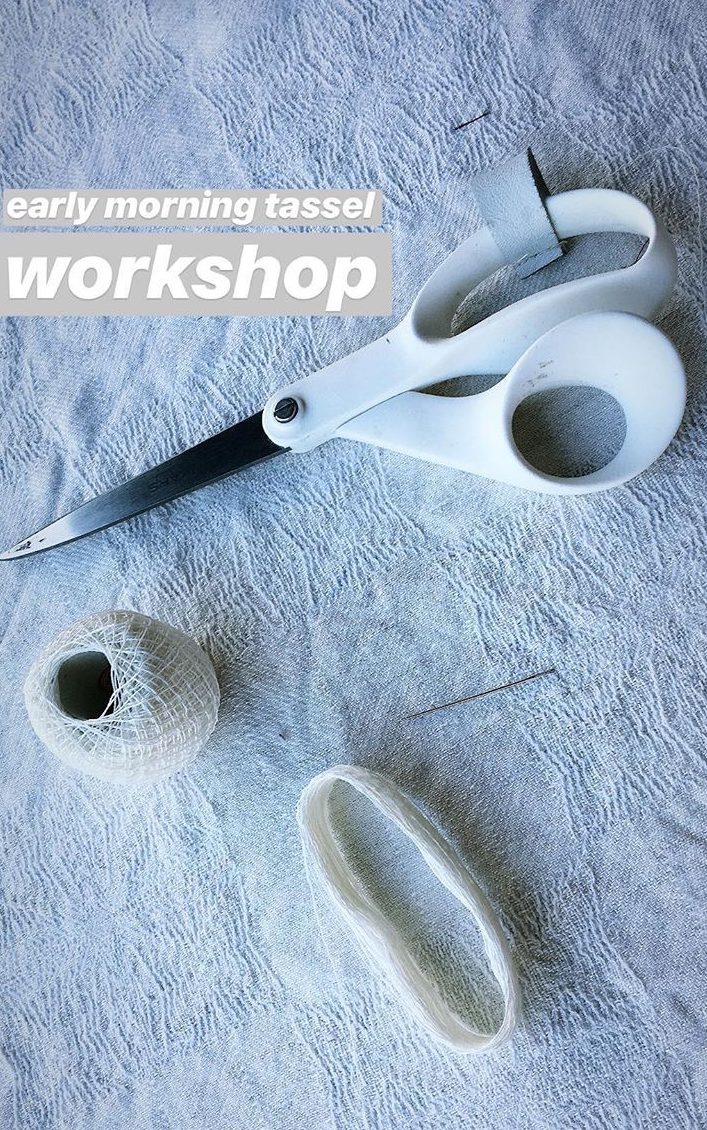
Silk yarn was in tight bundles and curled so I needed to first soak the yarn in water and let air dry to get it straight.
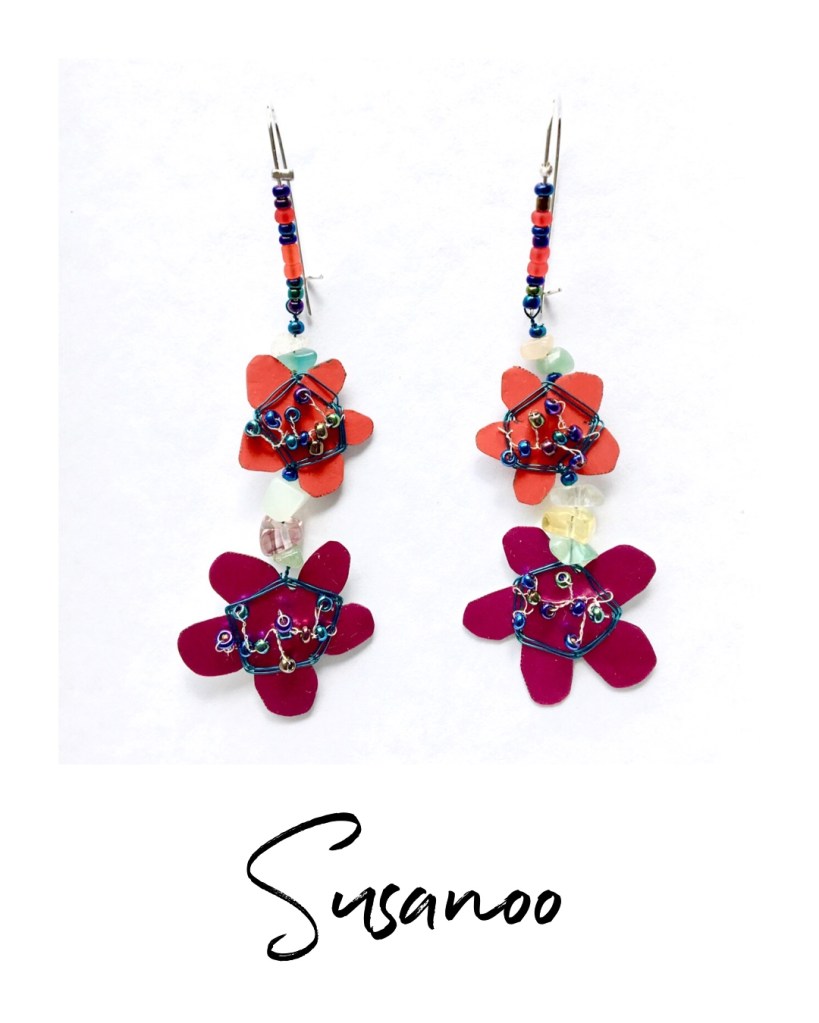
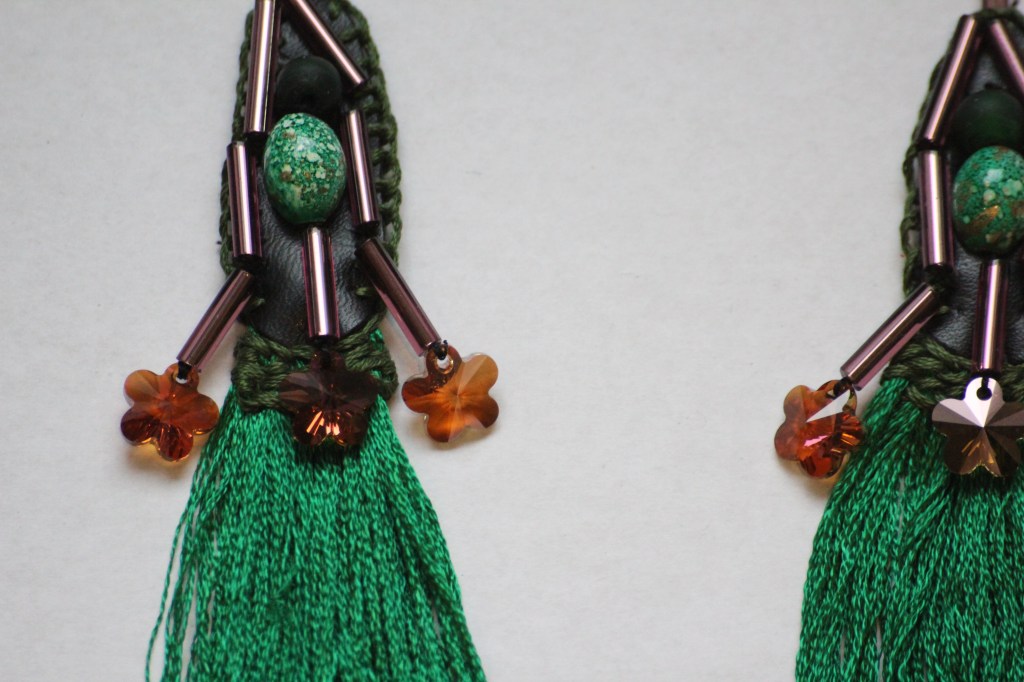
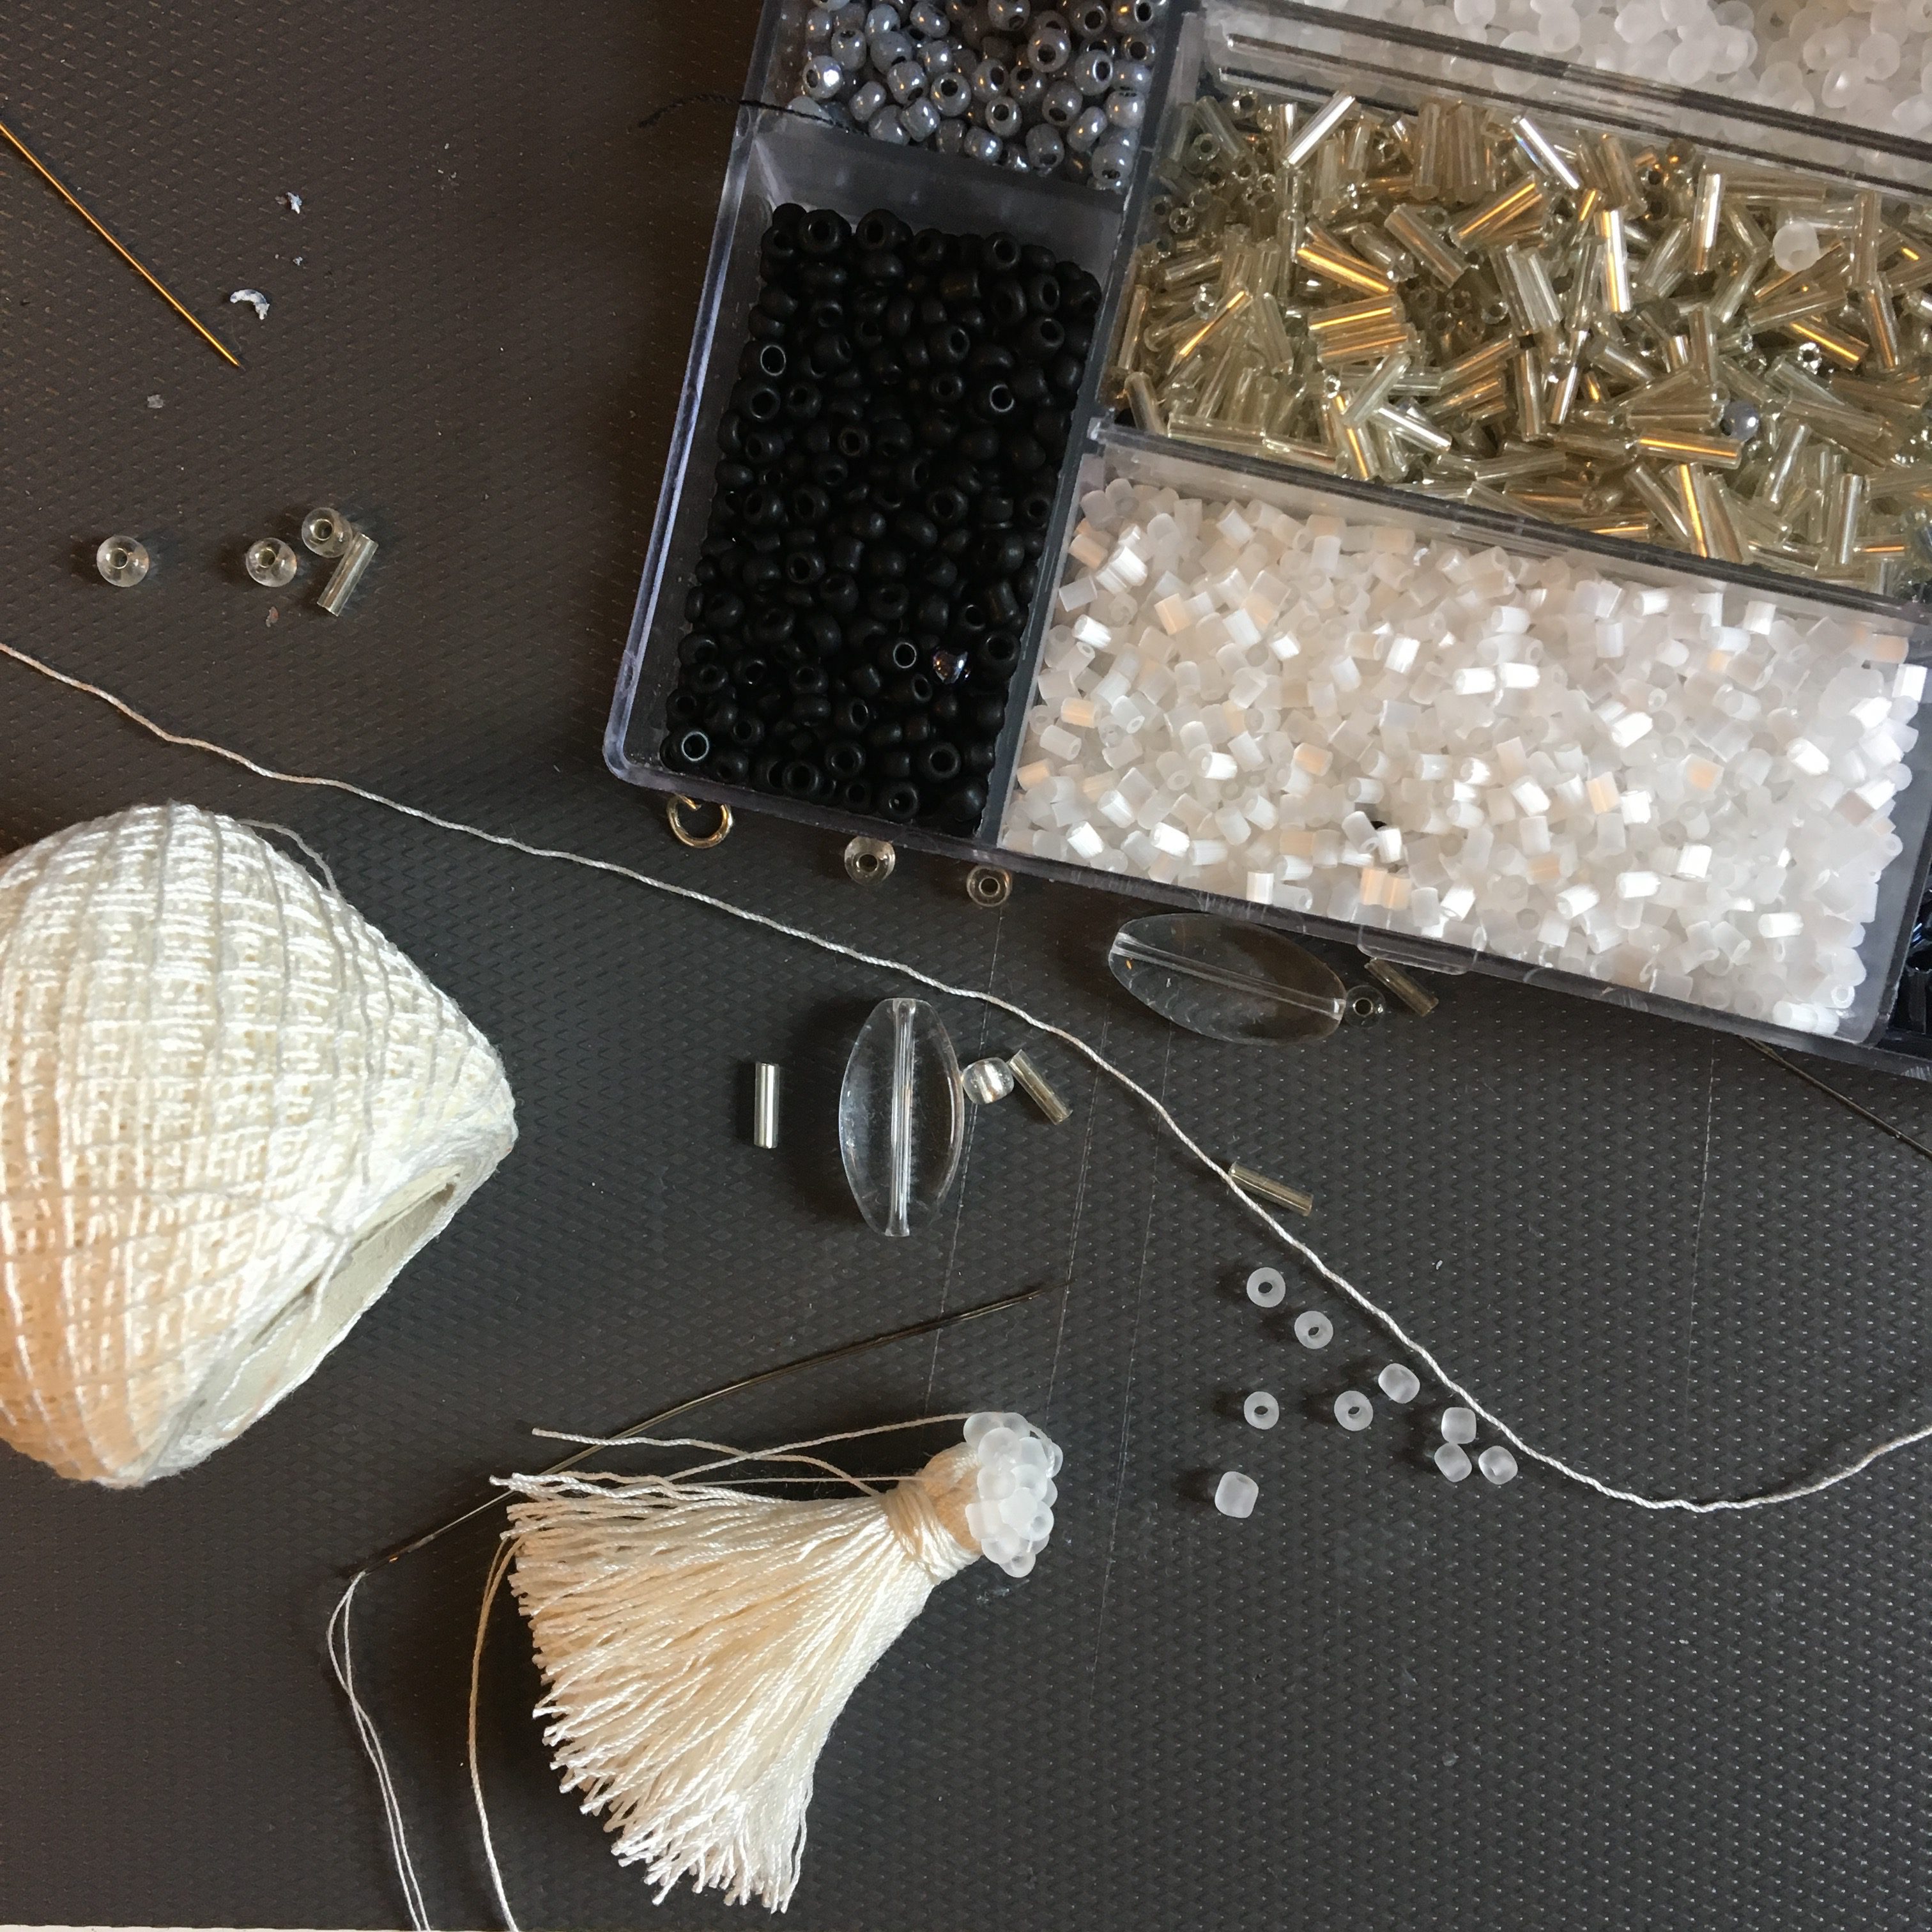
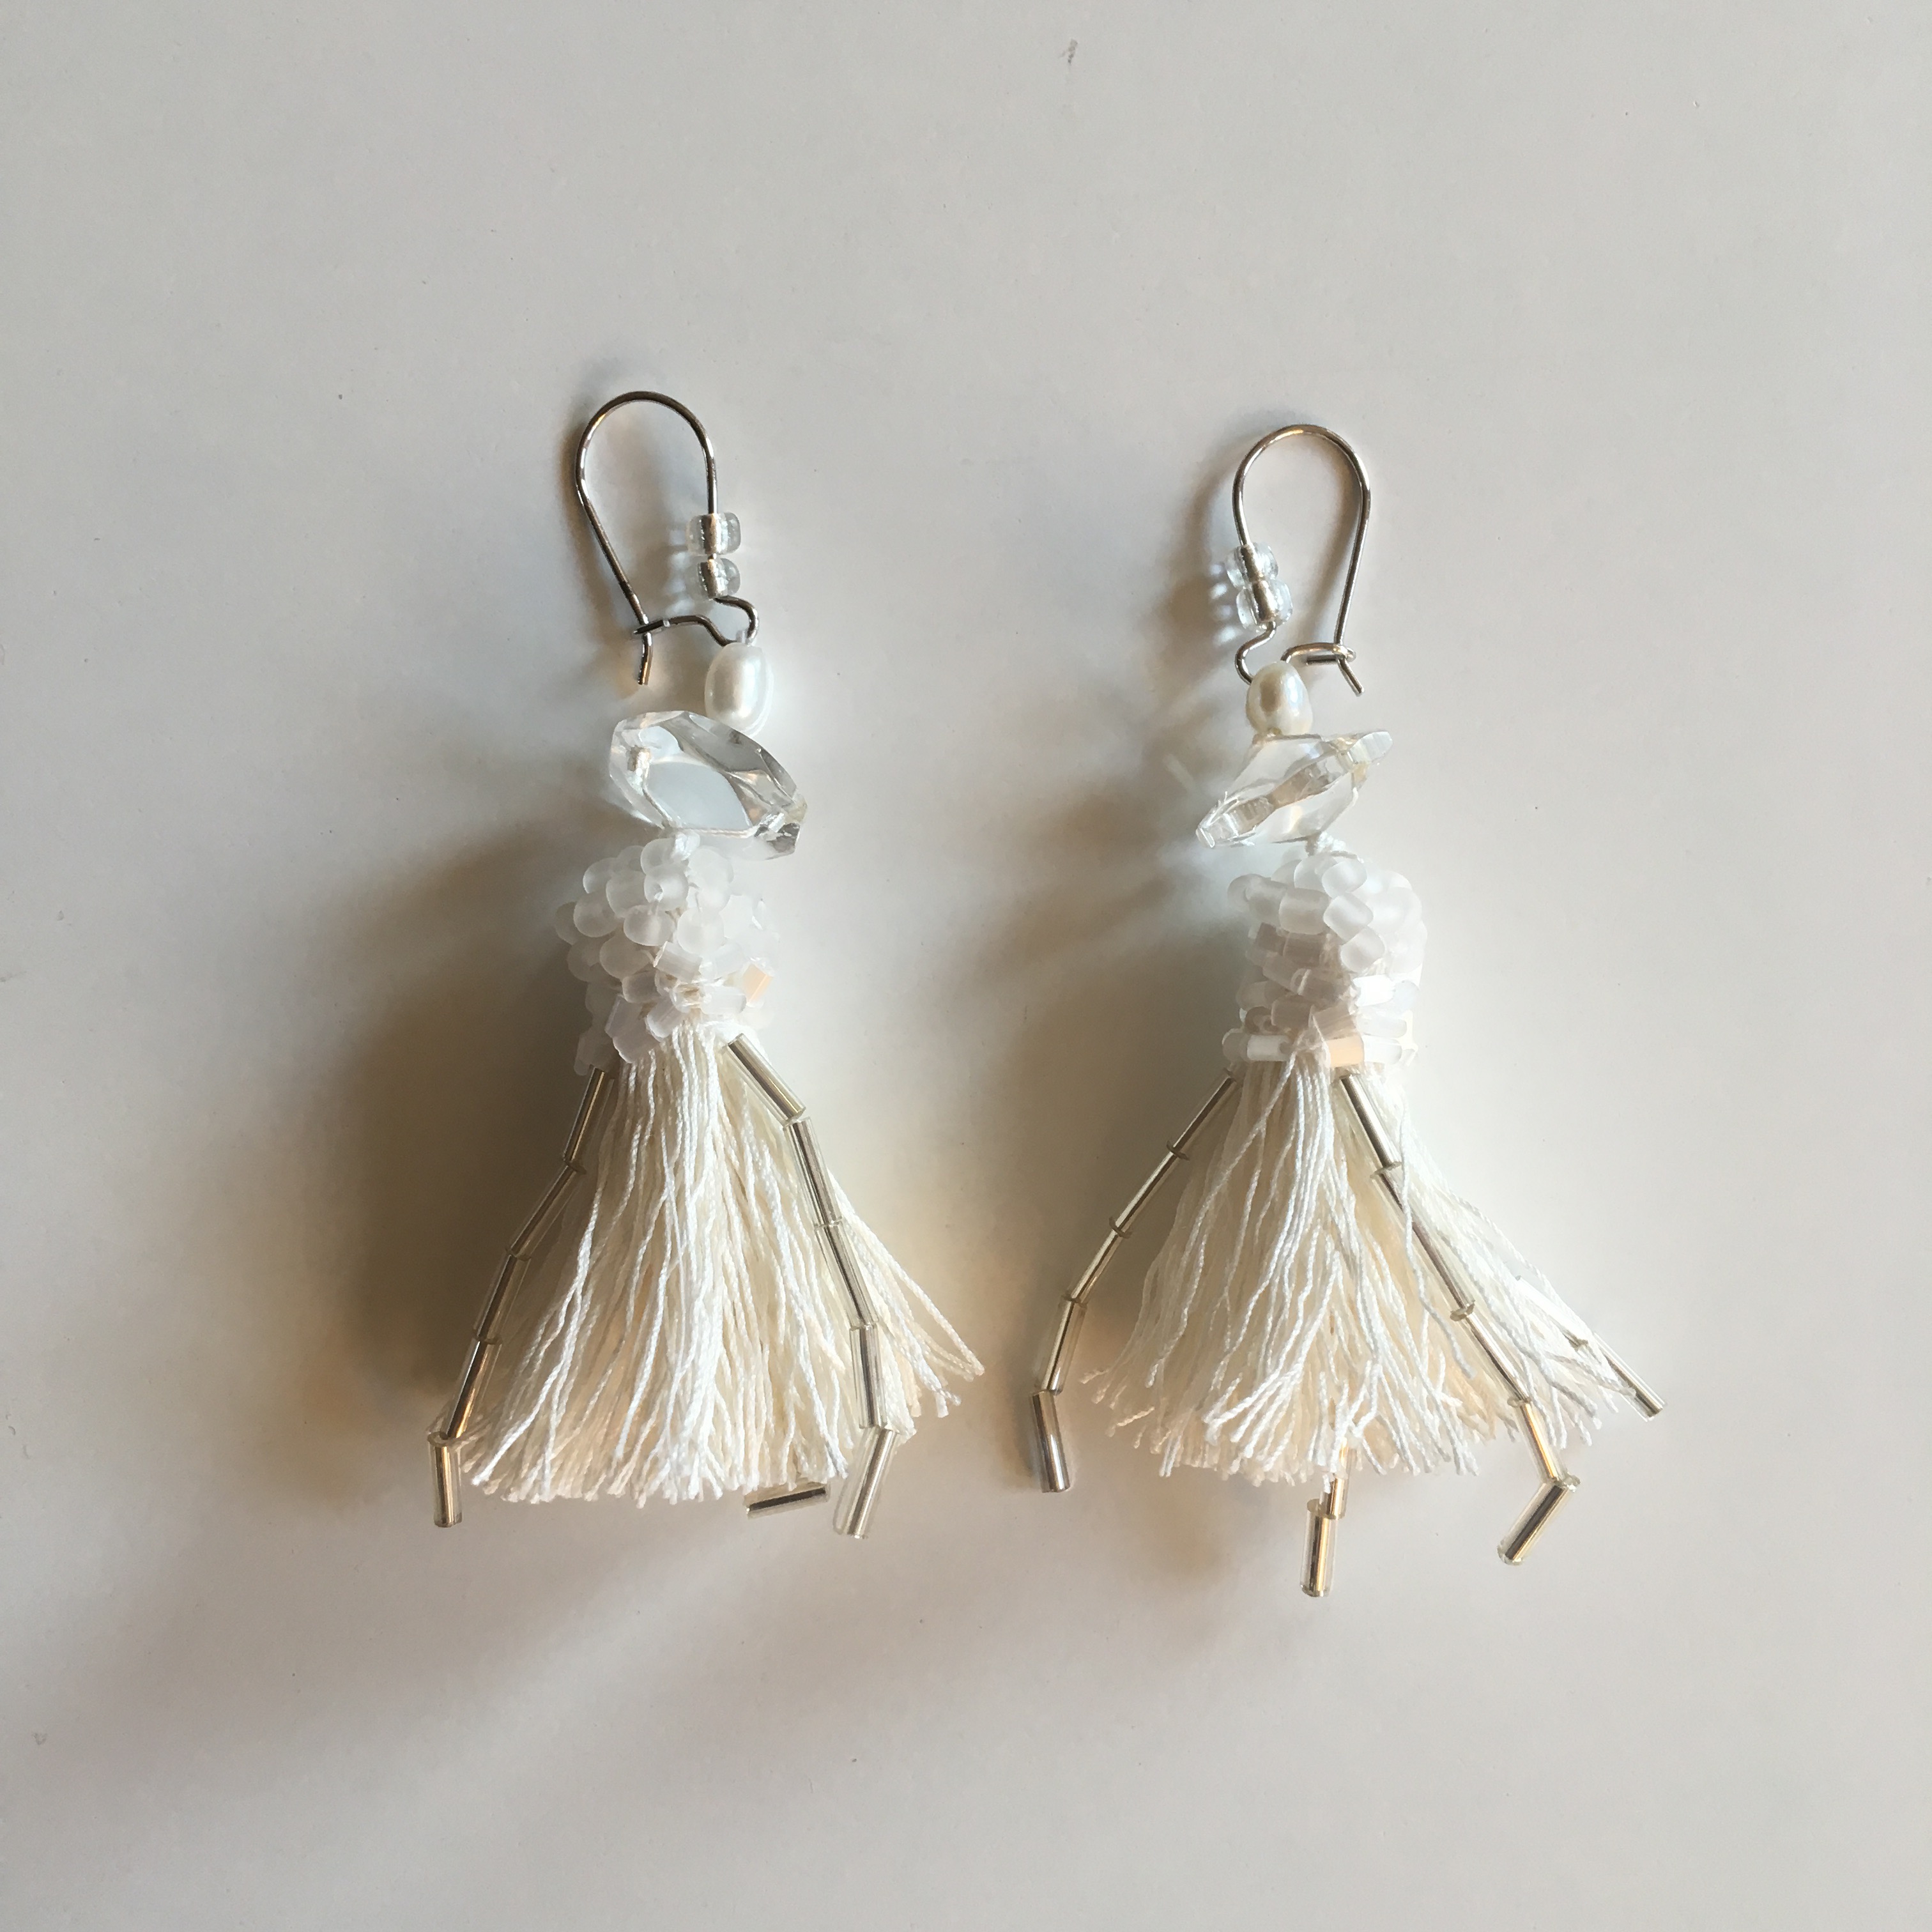
My work flow when creating my earrings is unpredictable, I cannot say directly when my earrings are ready. Sometimes I leave the whole design process for weeks on my table and pick it up again when I feel like it. Here on these “green garden party” tassels I was not able to decide how the top part of the earrings would look like, first I let them to be quite minimalistic but later on decided to add more beads and some nude colored swarovski flower shaped crystals. Minimalistic was not the right feeling for these silk tassels, they needed to shine and catch every glimpse of sunlight.
I love the boldness, the movement of the silk yarn and the touch of raw arts and crafts feeling.
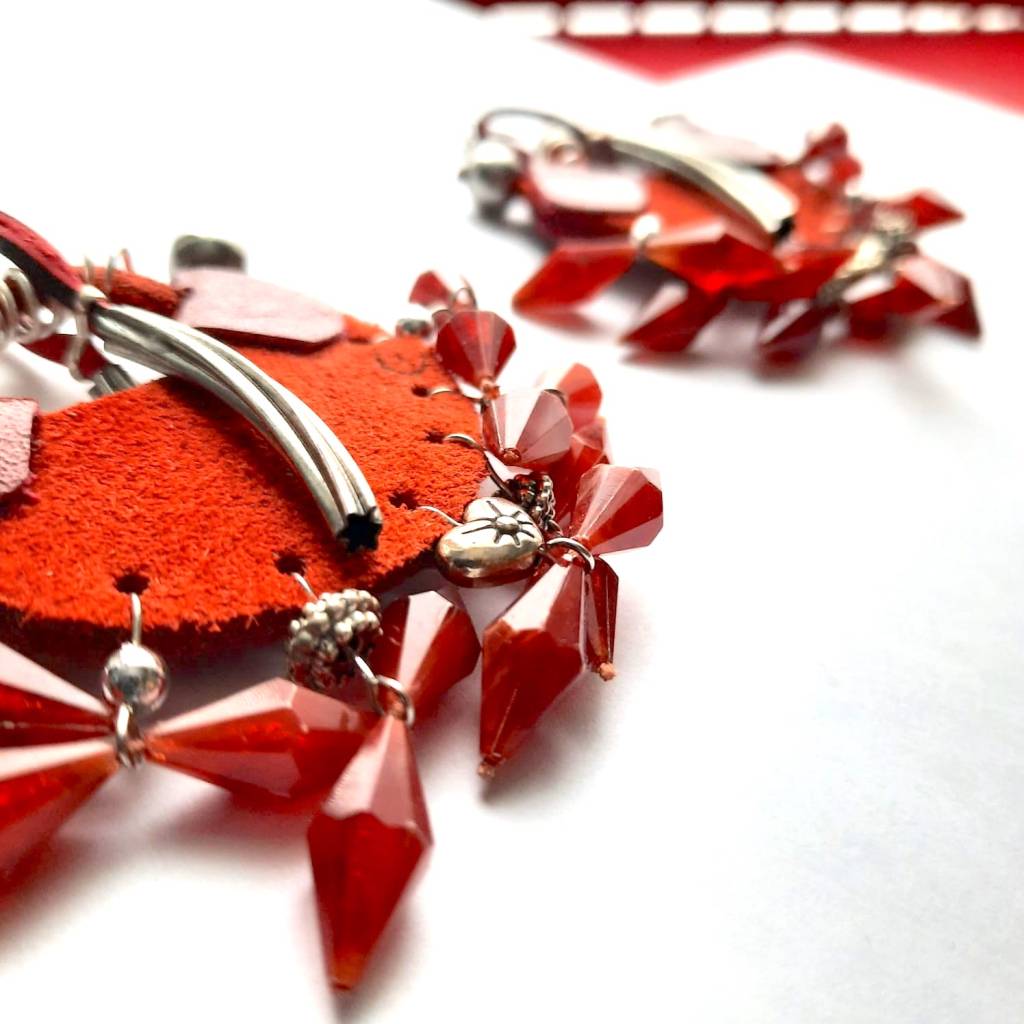
Red hot chili and tangerine with a bling from silver coloured bean(s).
This earring started about three years ago, something went sideways and I put it away in a box for a while. I do this when I loose interest in continuing my work at hand if something goes “wrong”. Then I can find the same project after a while (years) and start over and finish it. Like polishing an old artifact.
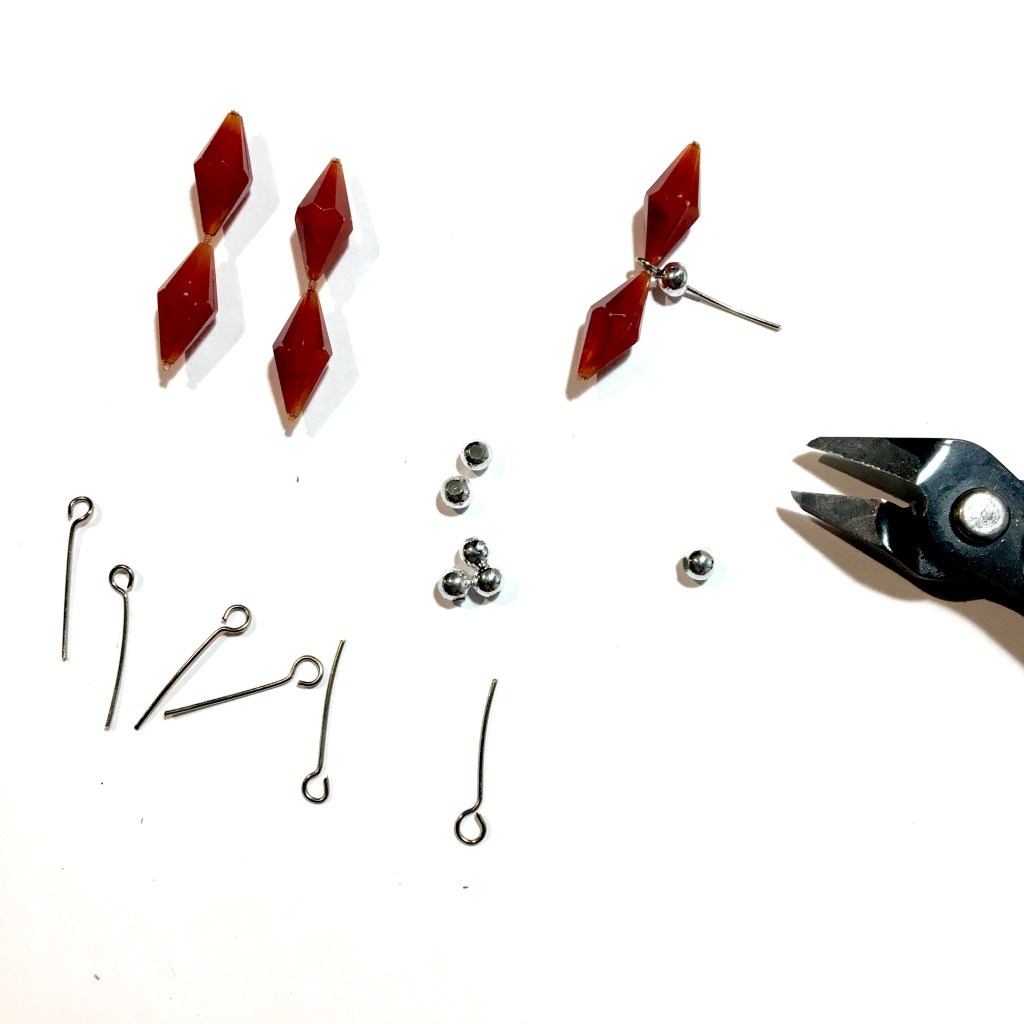
I buy my jewellery material from second hand or charity shops. Found this two toned red plastic necklace and liked the shape of the pearls.
It was easy to attach the plastic beads to the leather with small hooks that I made from metal wire.
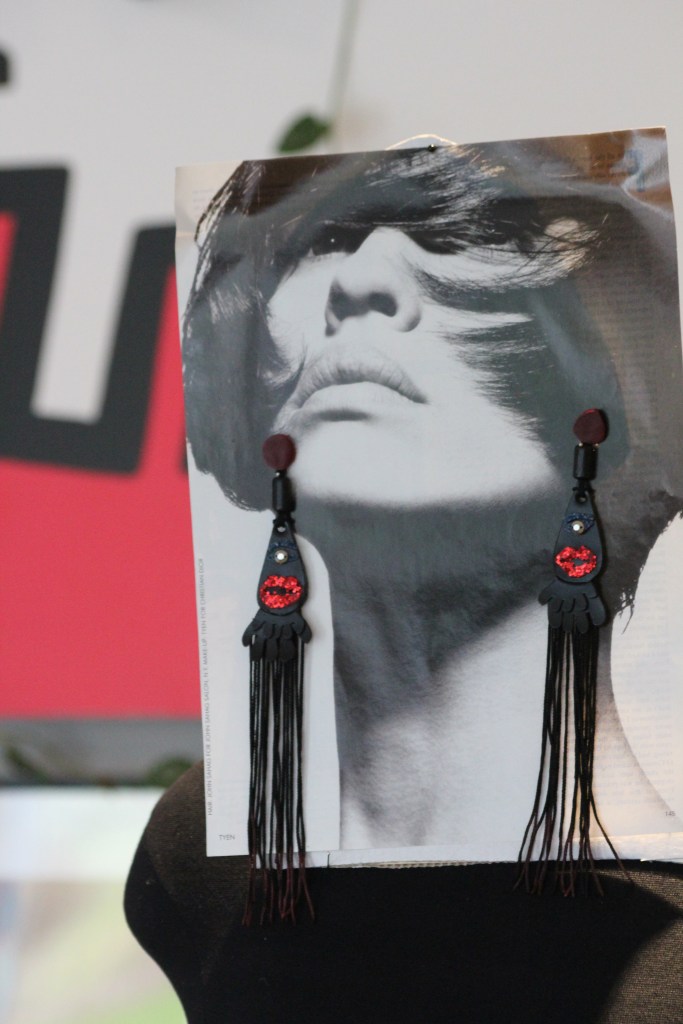
How the earrings hang when put on is important, are they moving freely or should the earring just be seen from the other side? These earrings I made two-sided and movement is needed so that light can bounce on the silver coloured and red beads.
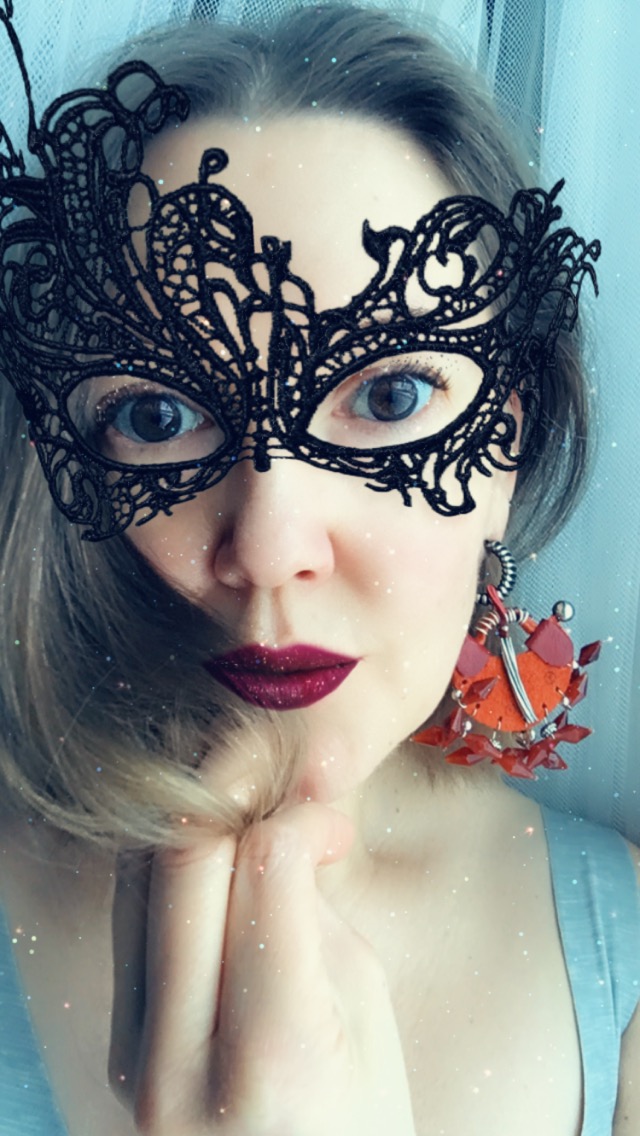
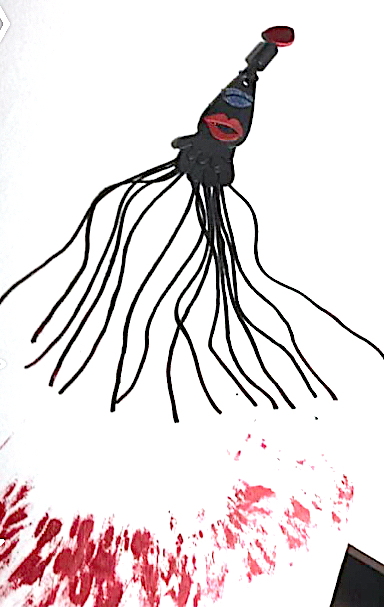
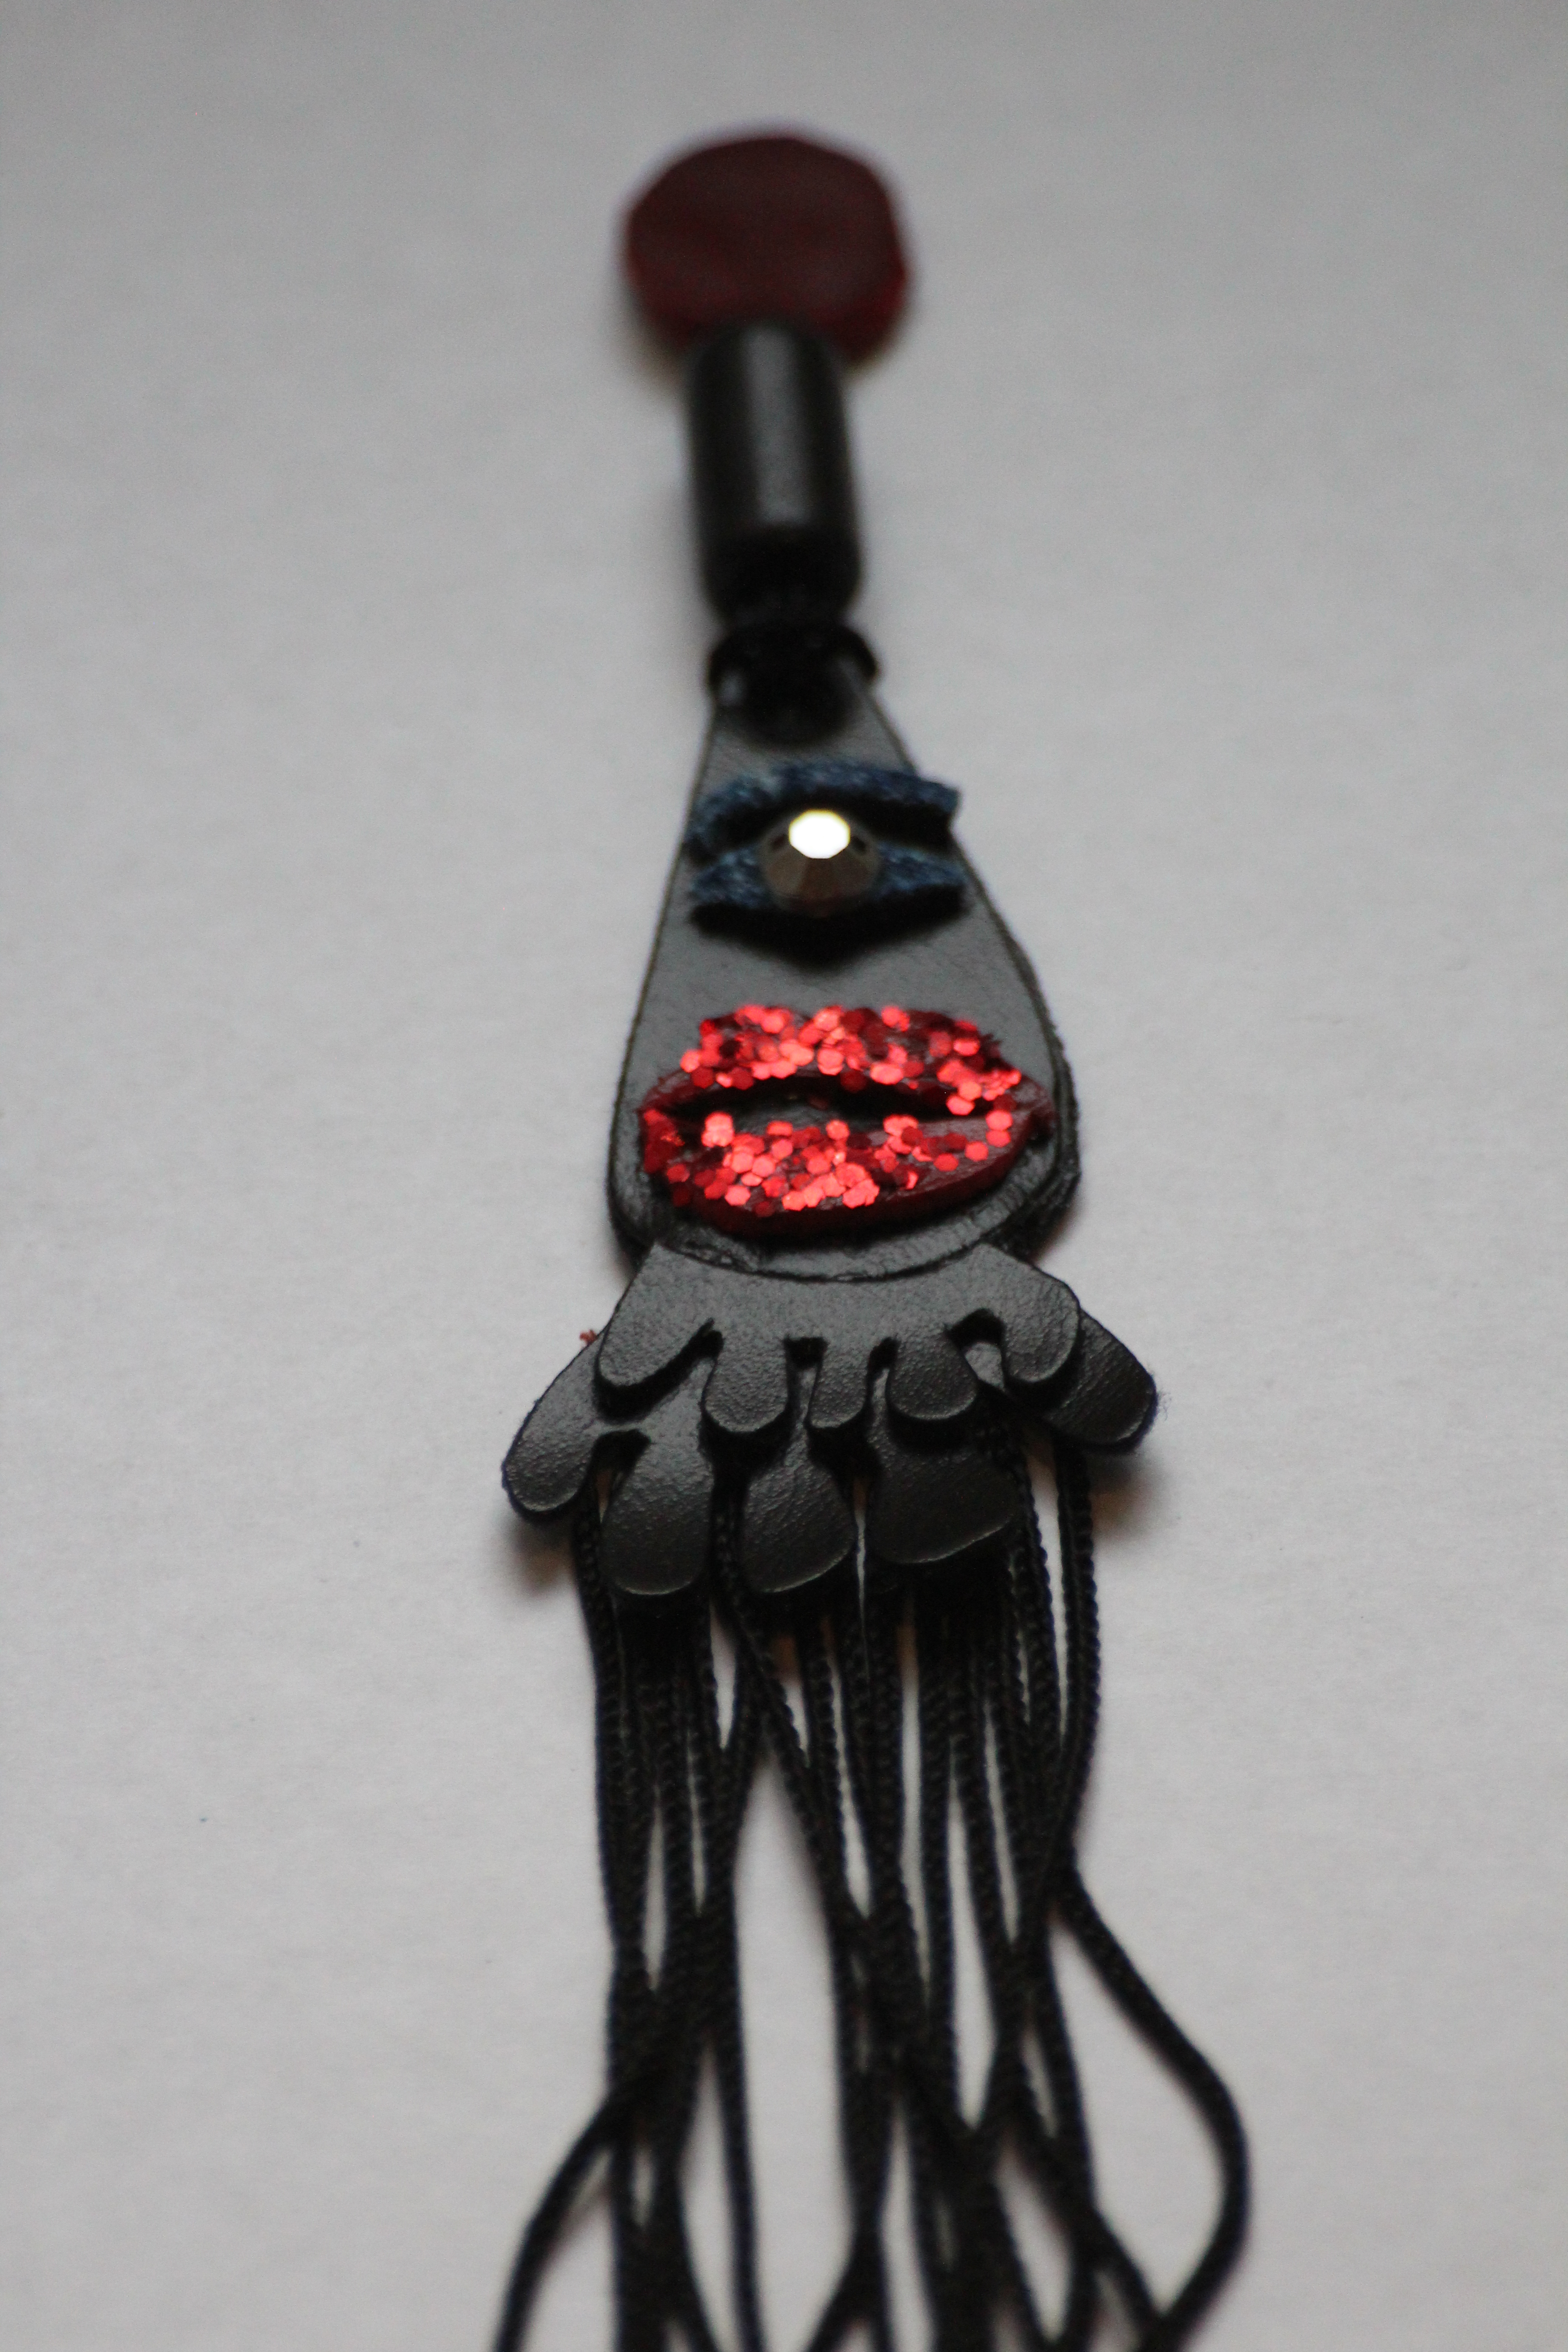
Passion comes in many colors, luscious red lips maybe the ultimate passion statement, Hollywood glam.
Between the two oval leather parts I glued long, black fringes which I painted red from the bottom part to give the fringes more weight and structure.
Red lips are red leather
covered with mixture
of glue and red glitter.
By adding the eye over the lip made the whole design more “salvador dali” that is surrealistic. In the middle of the eye I added one semi shiny plastic bead.
Again one design process that I did not plan step by step, just went with my inner flow. And for sure not gonna repeat these bold lips again, all my designs are one-of-a-kind.
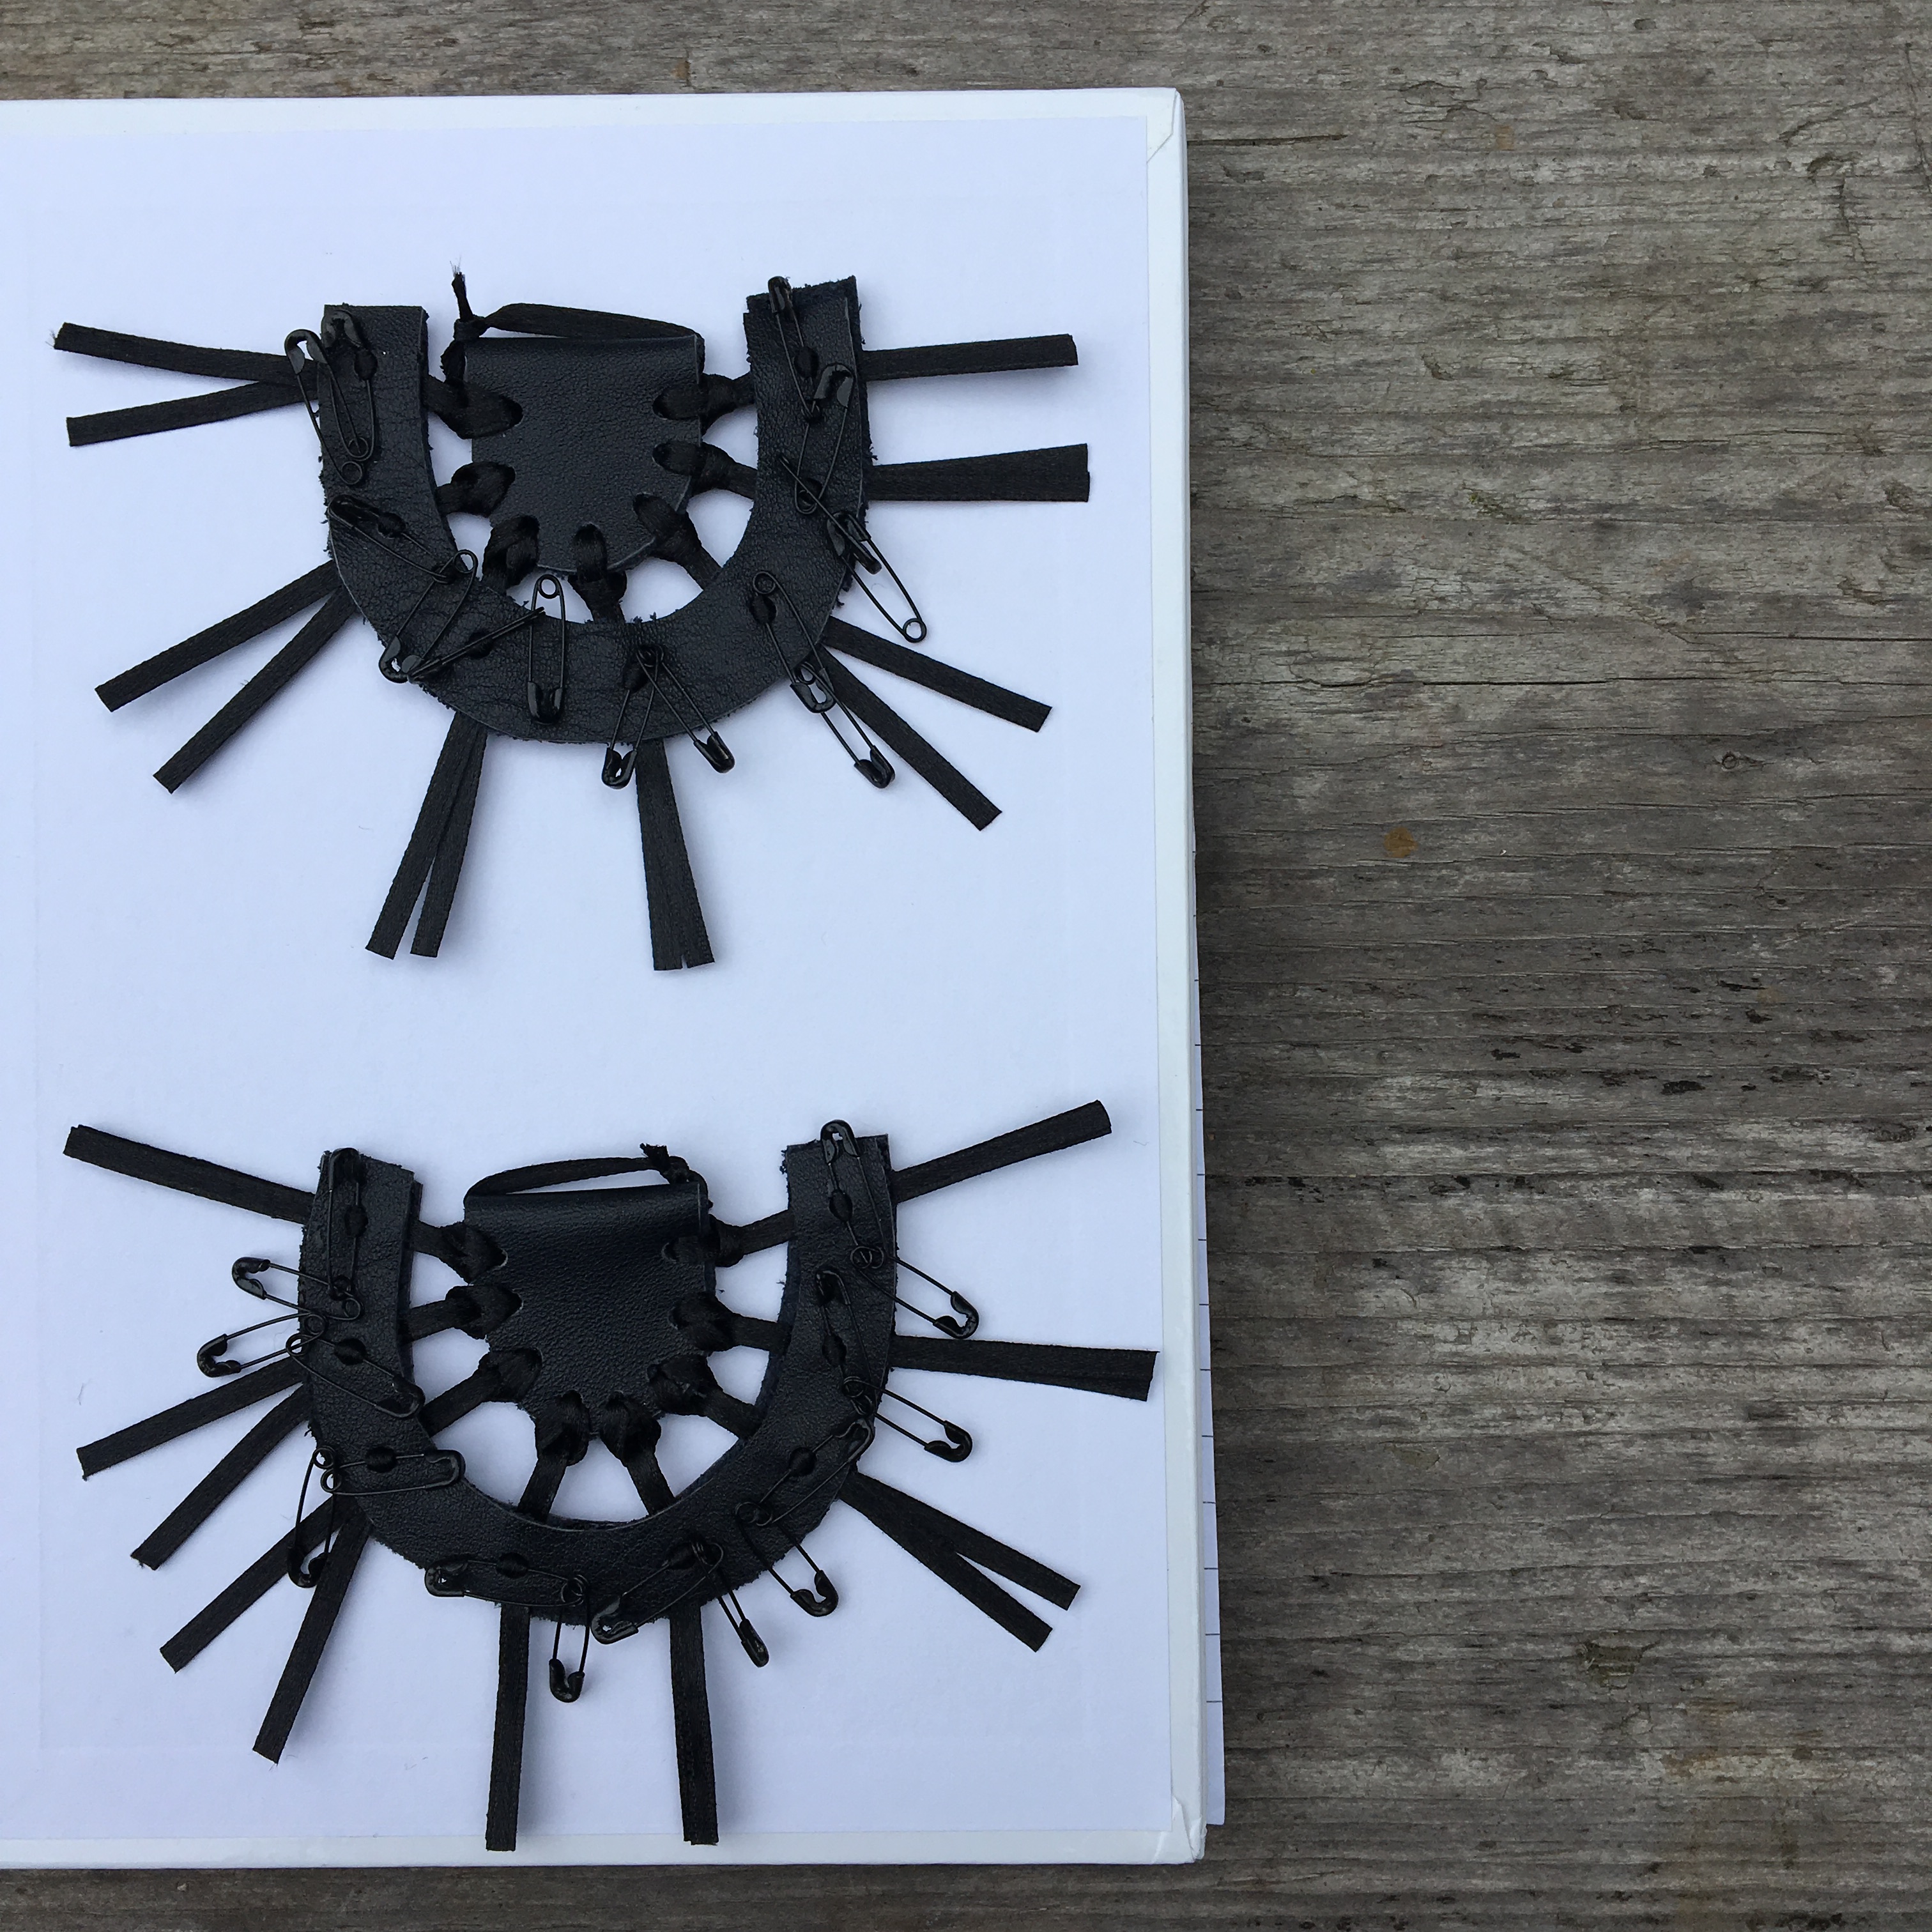
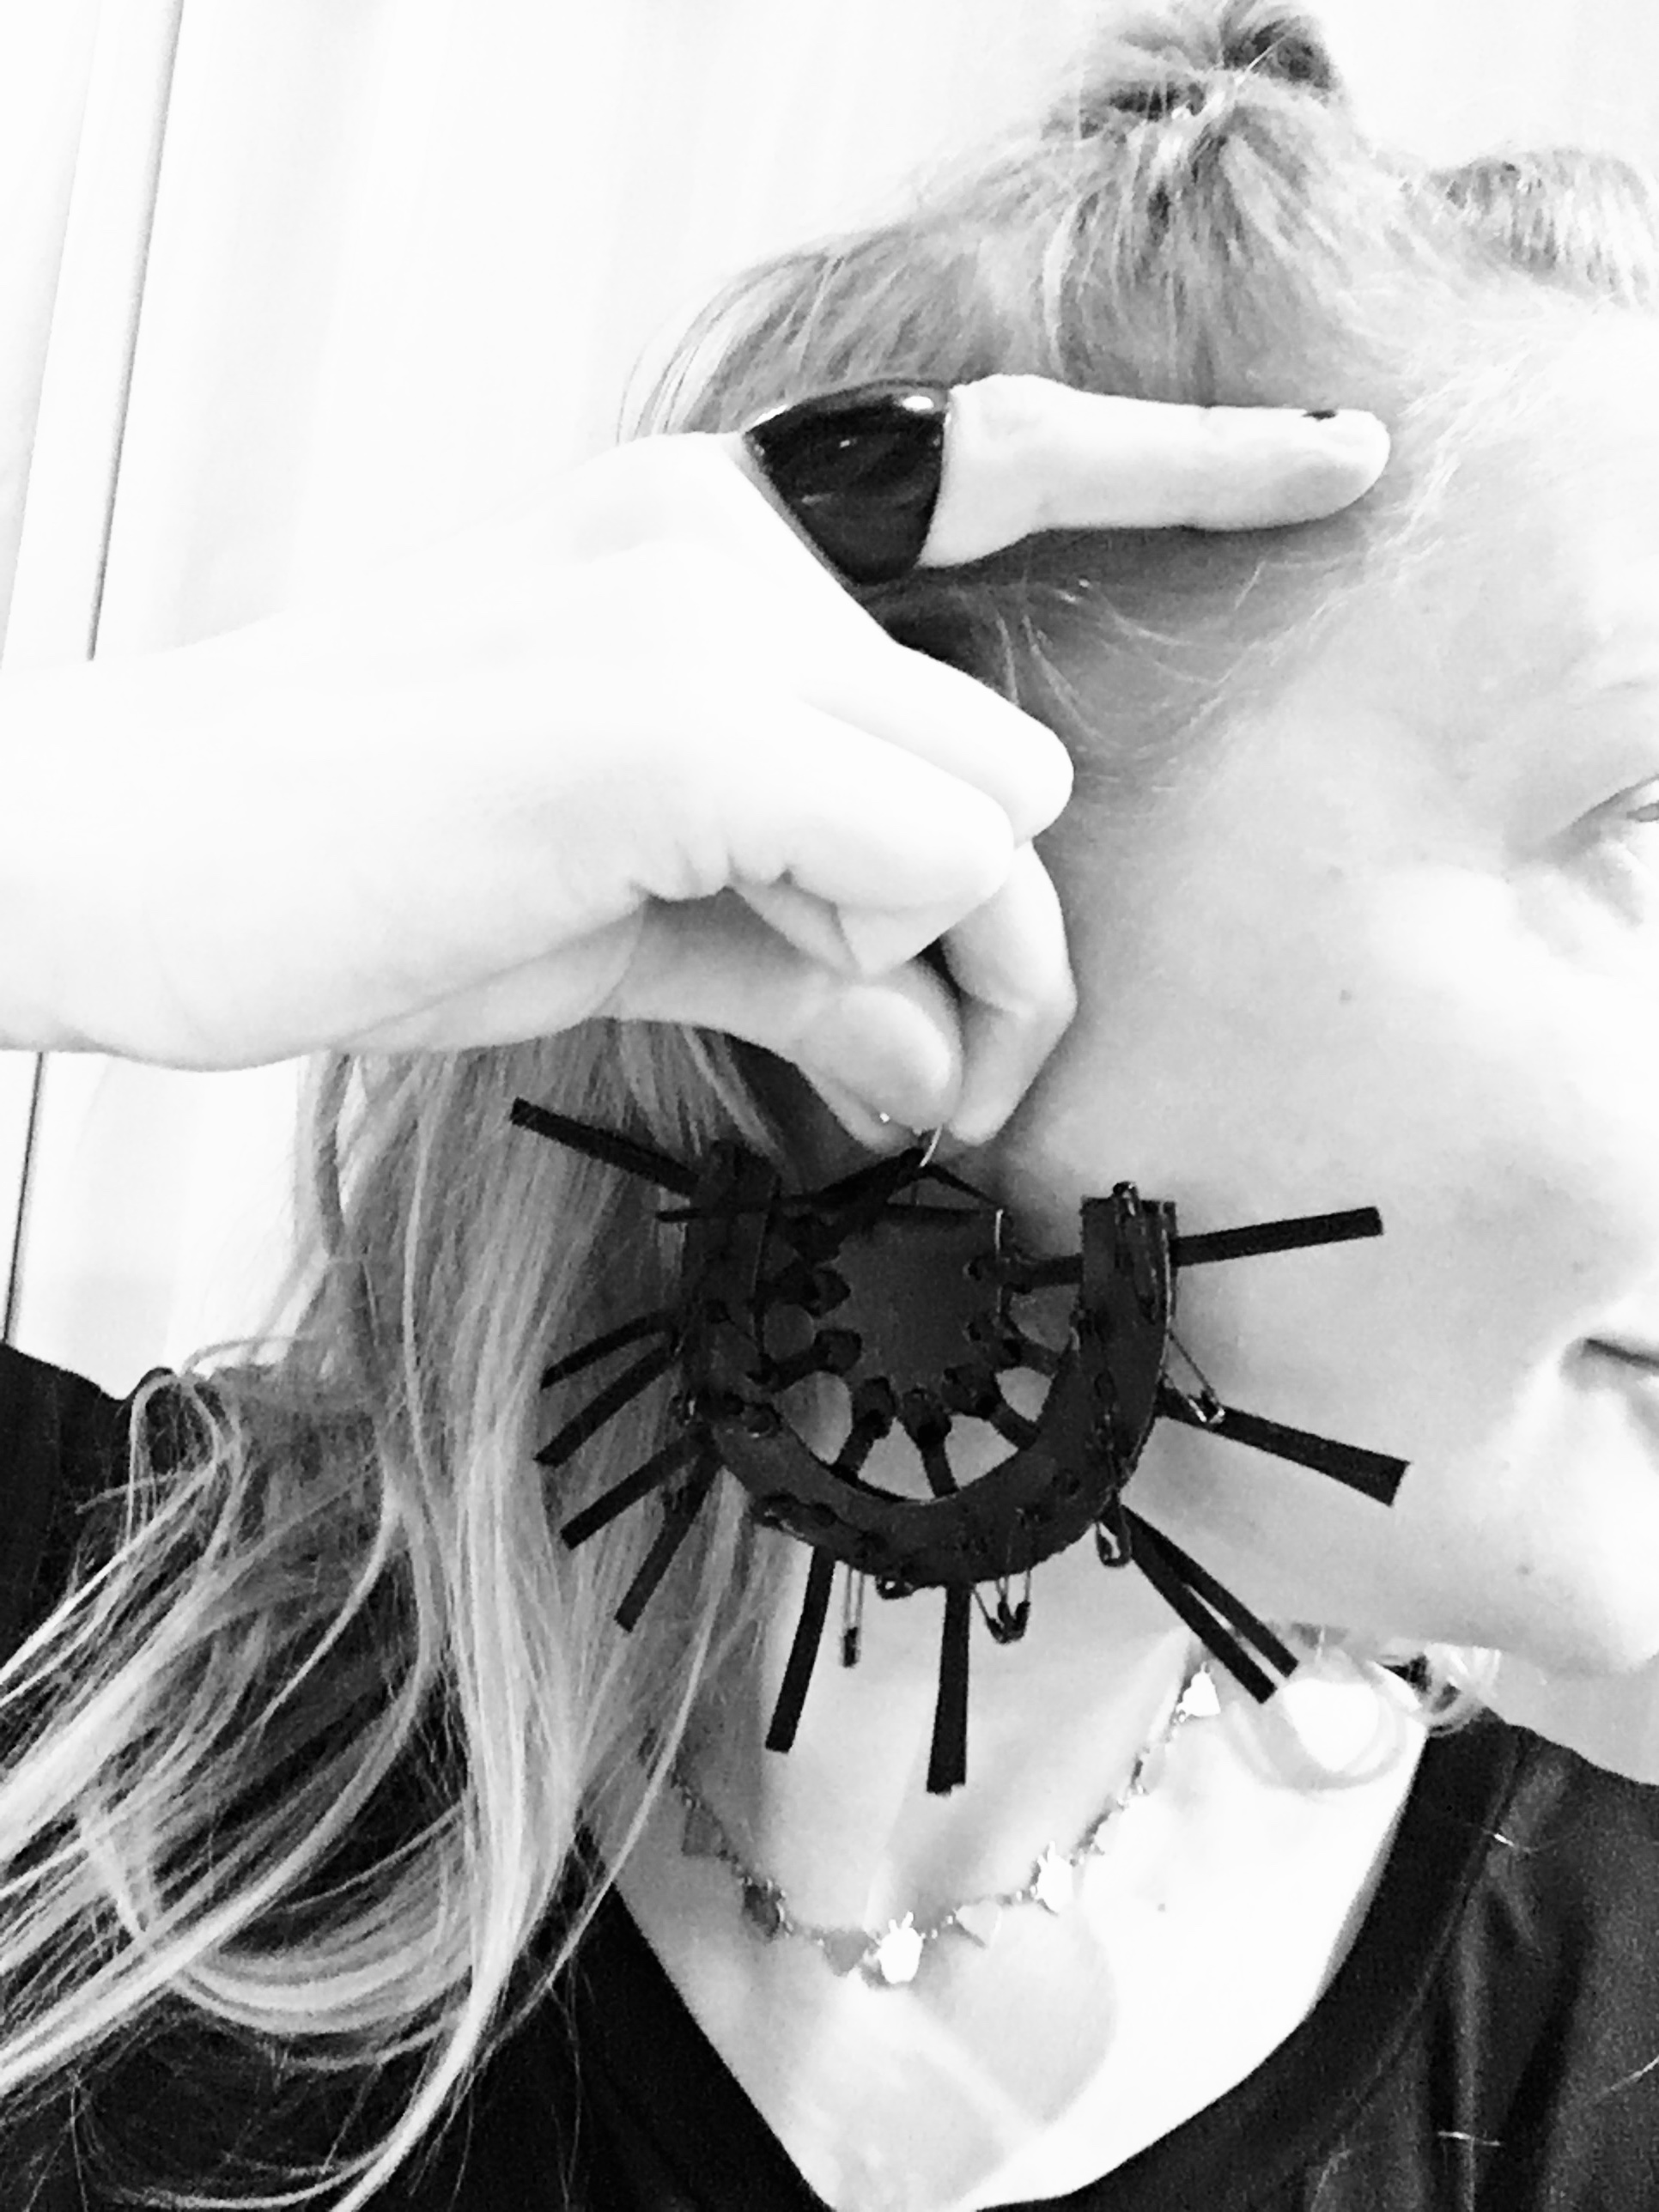
My mission was to make earrings from a piece of black leather, decorative black ribbons and black safety pins that I got as a gift from my friends. The shape just happened without planning. Now when it is ready I have been searching from different sources the symbol which the earring represents. First I searched for wheel (no hit) then for moon/sun (no hit) BUT I looked at the earring more closely and I am sure it is a horseshoe. For good luck and protection. And safety pins to firmly hold things together.
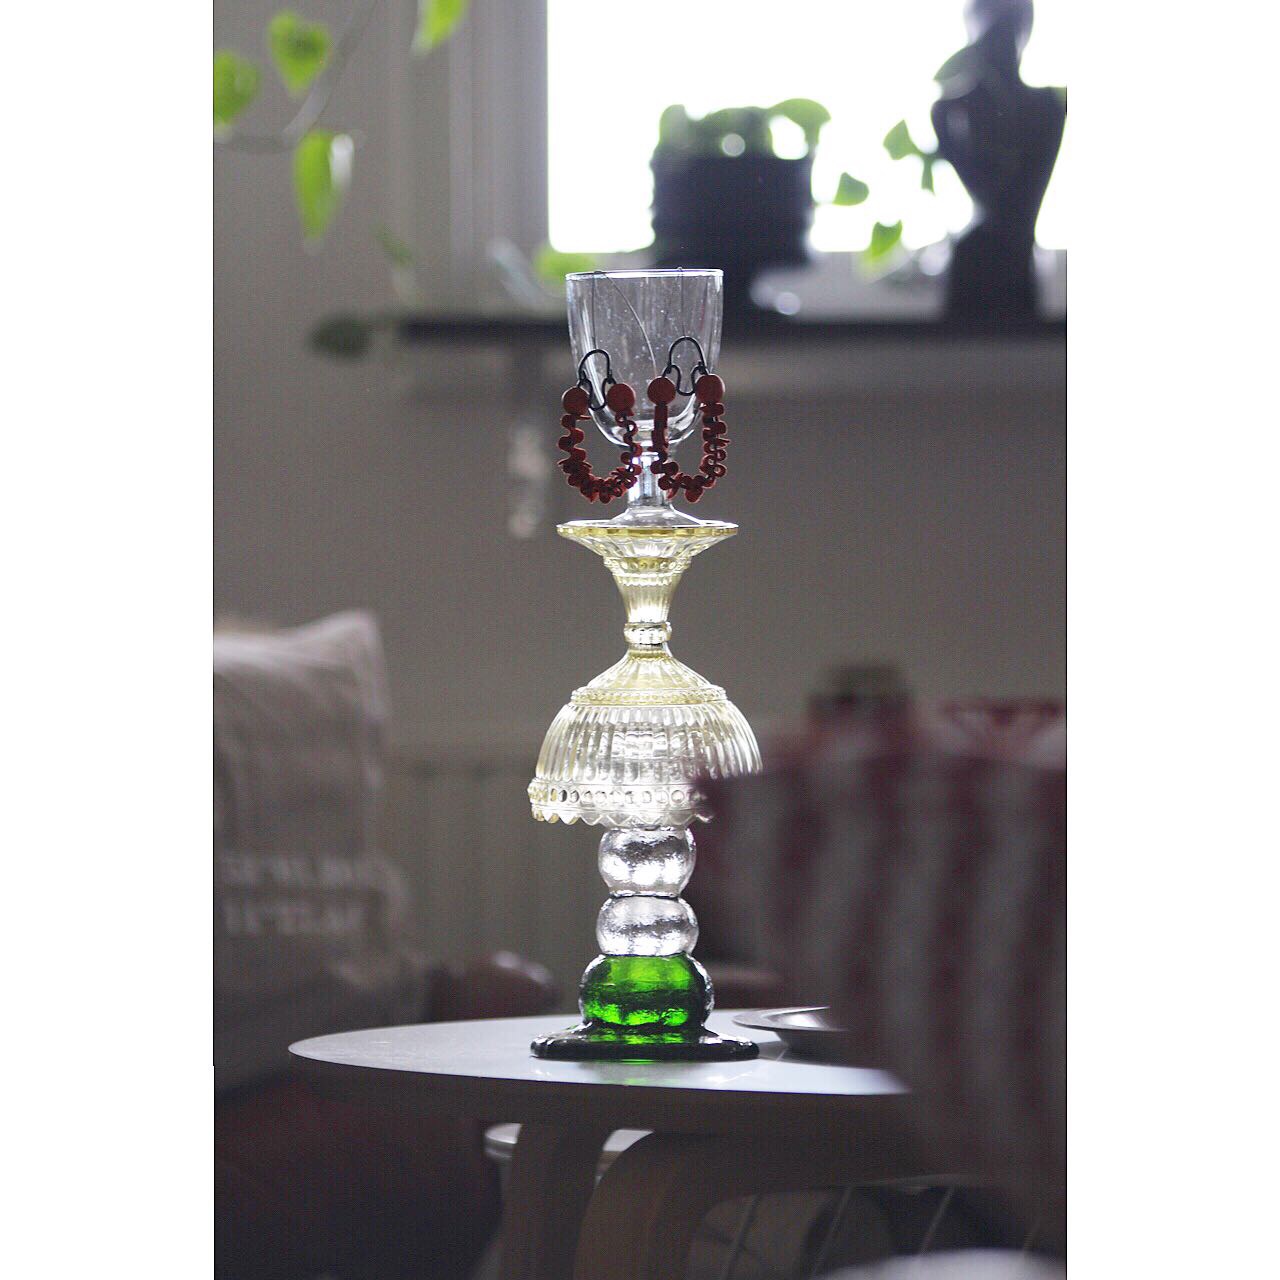
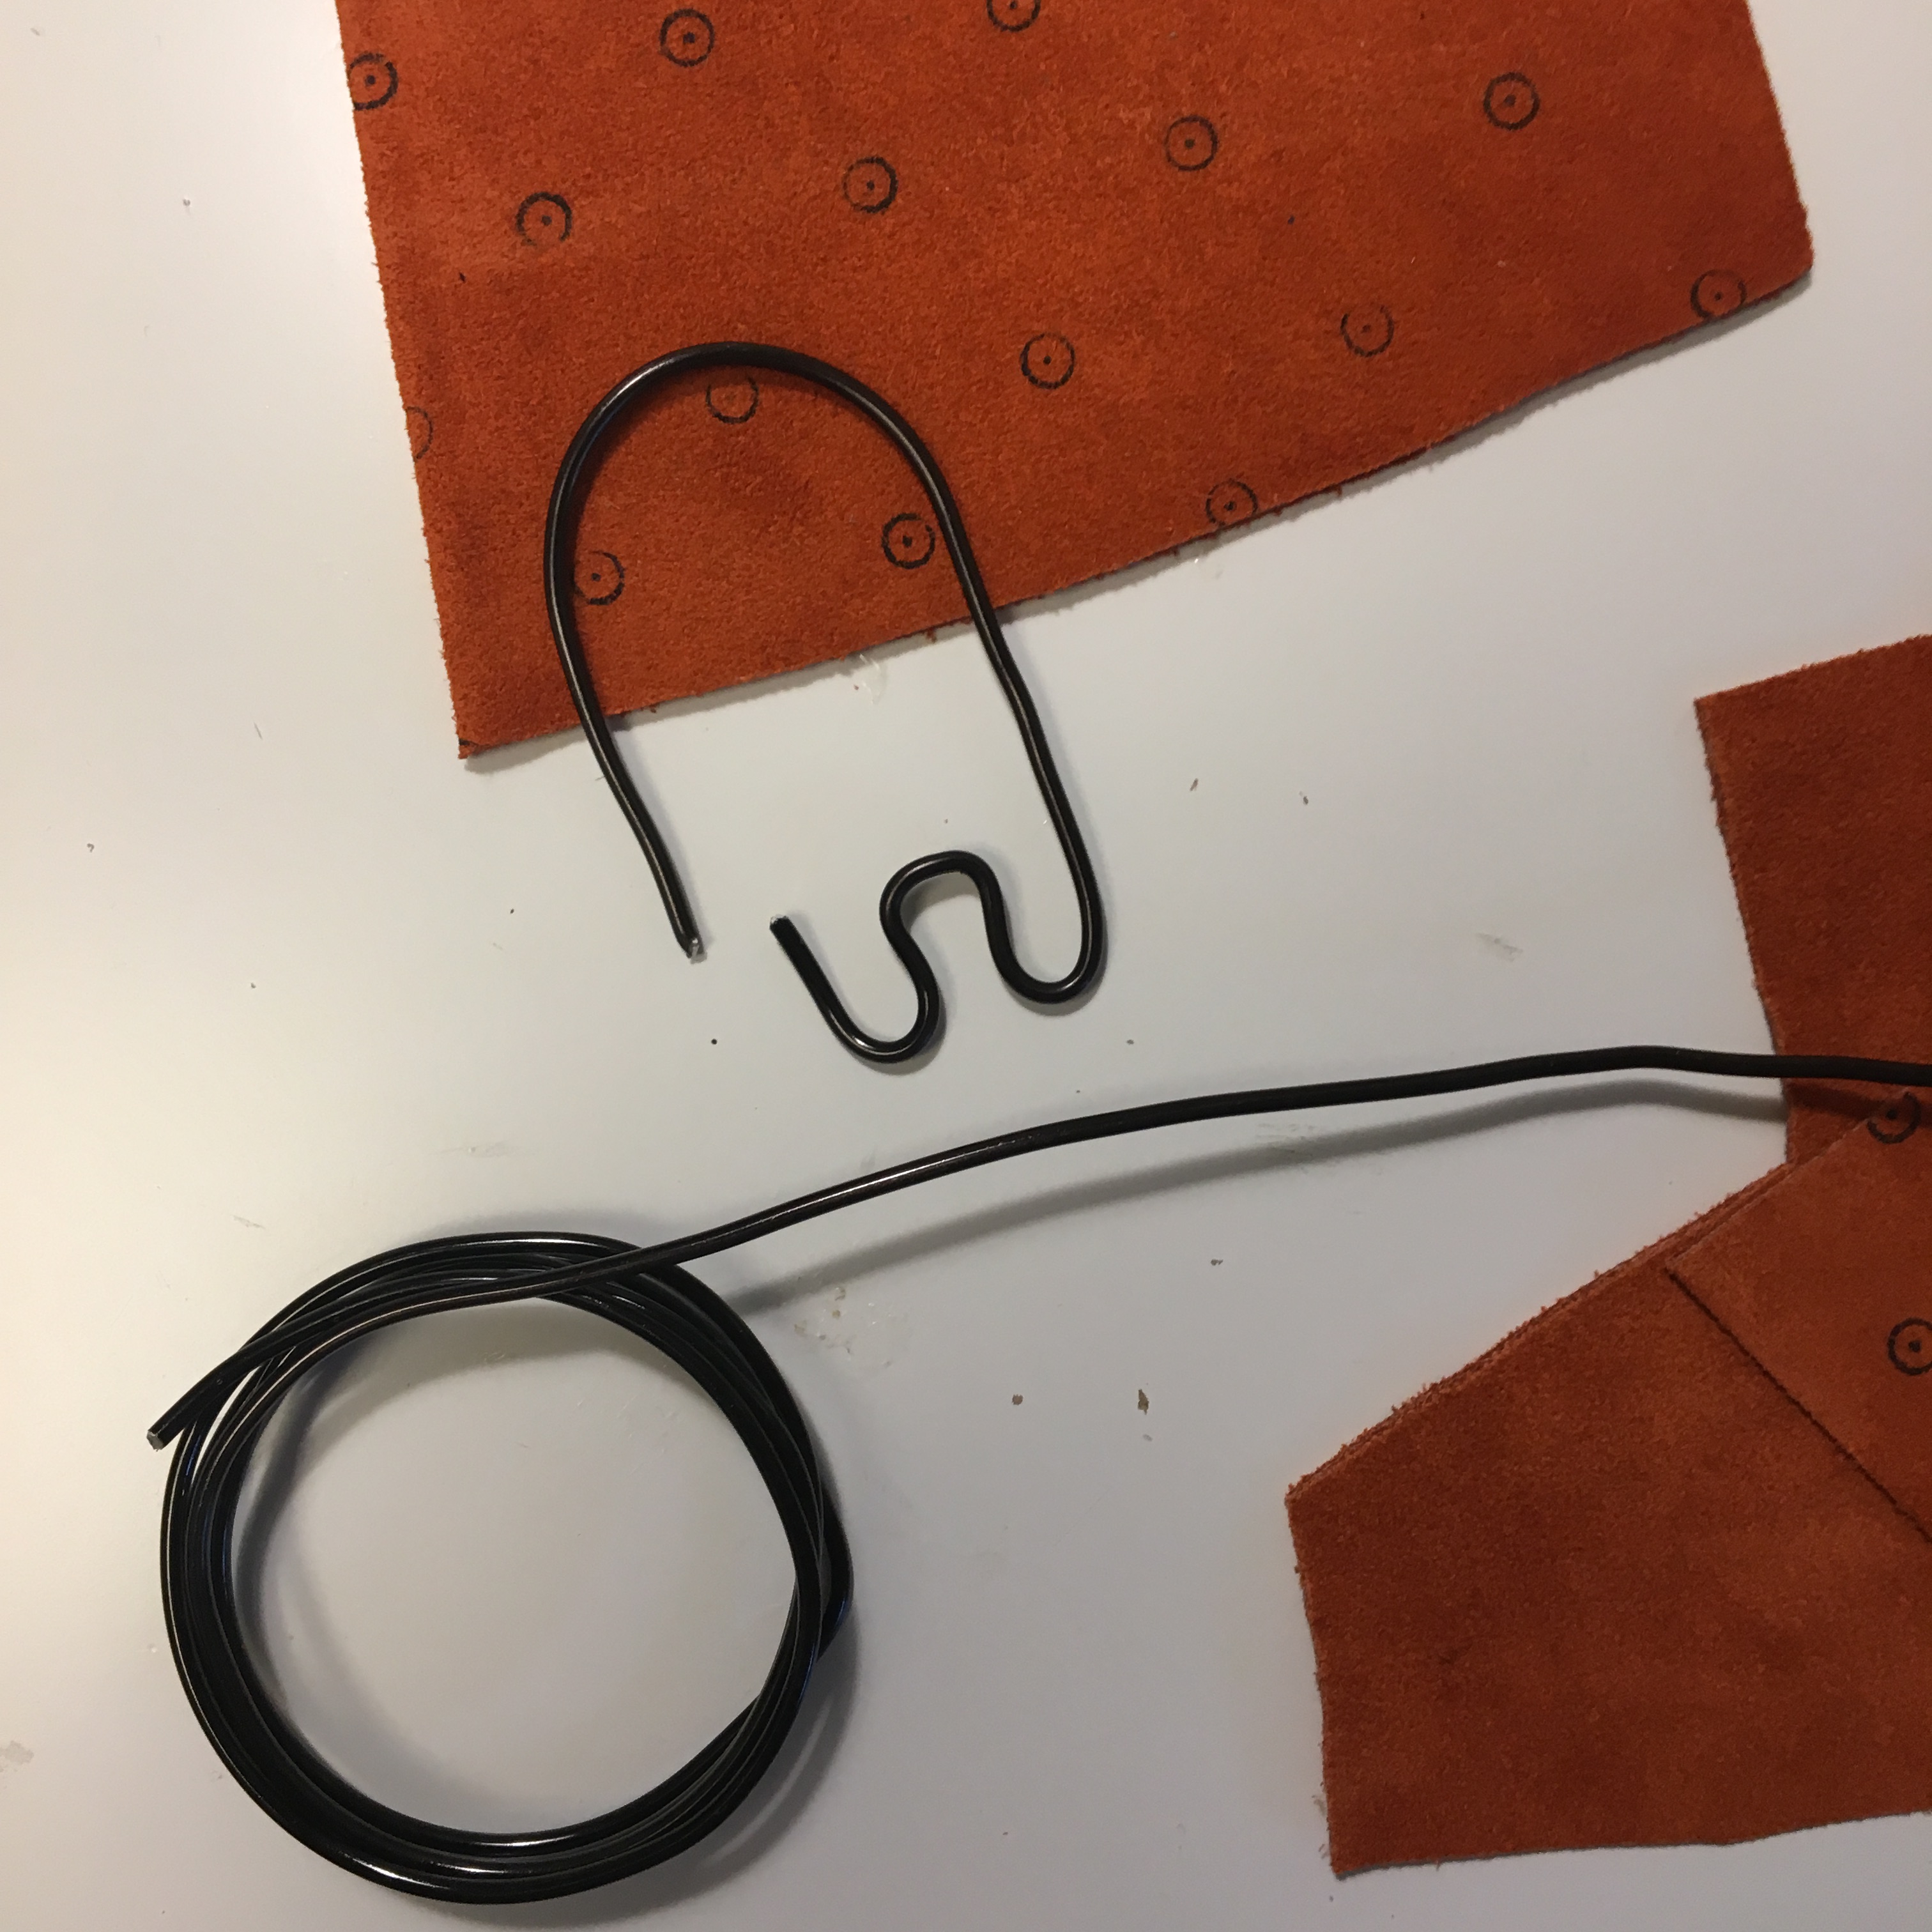
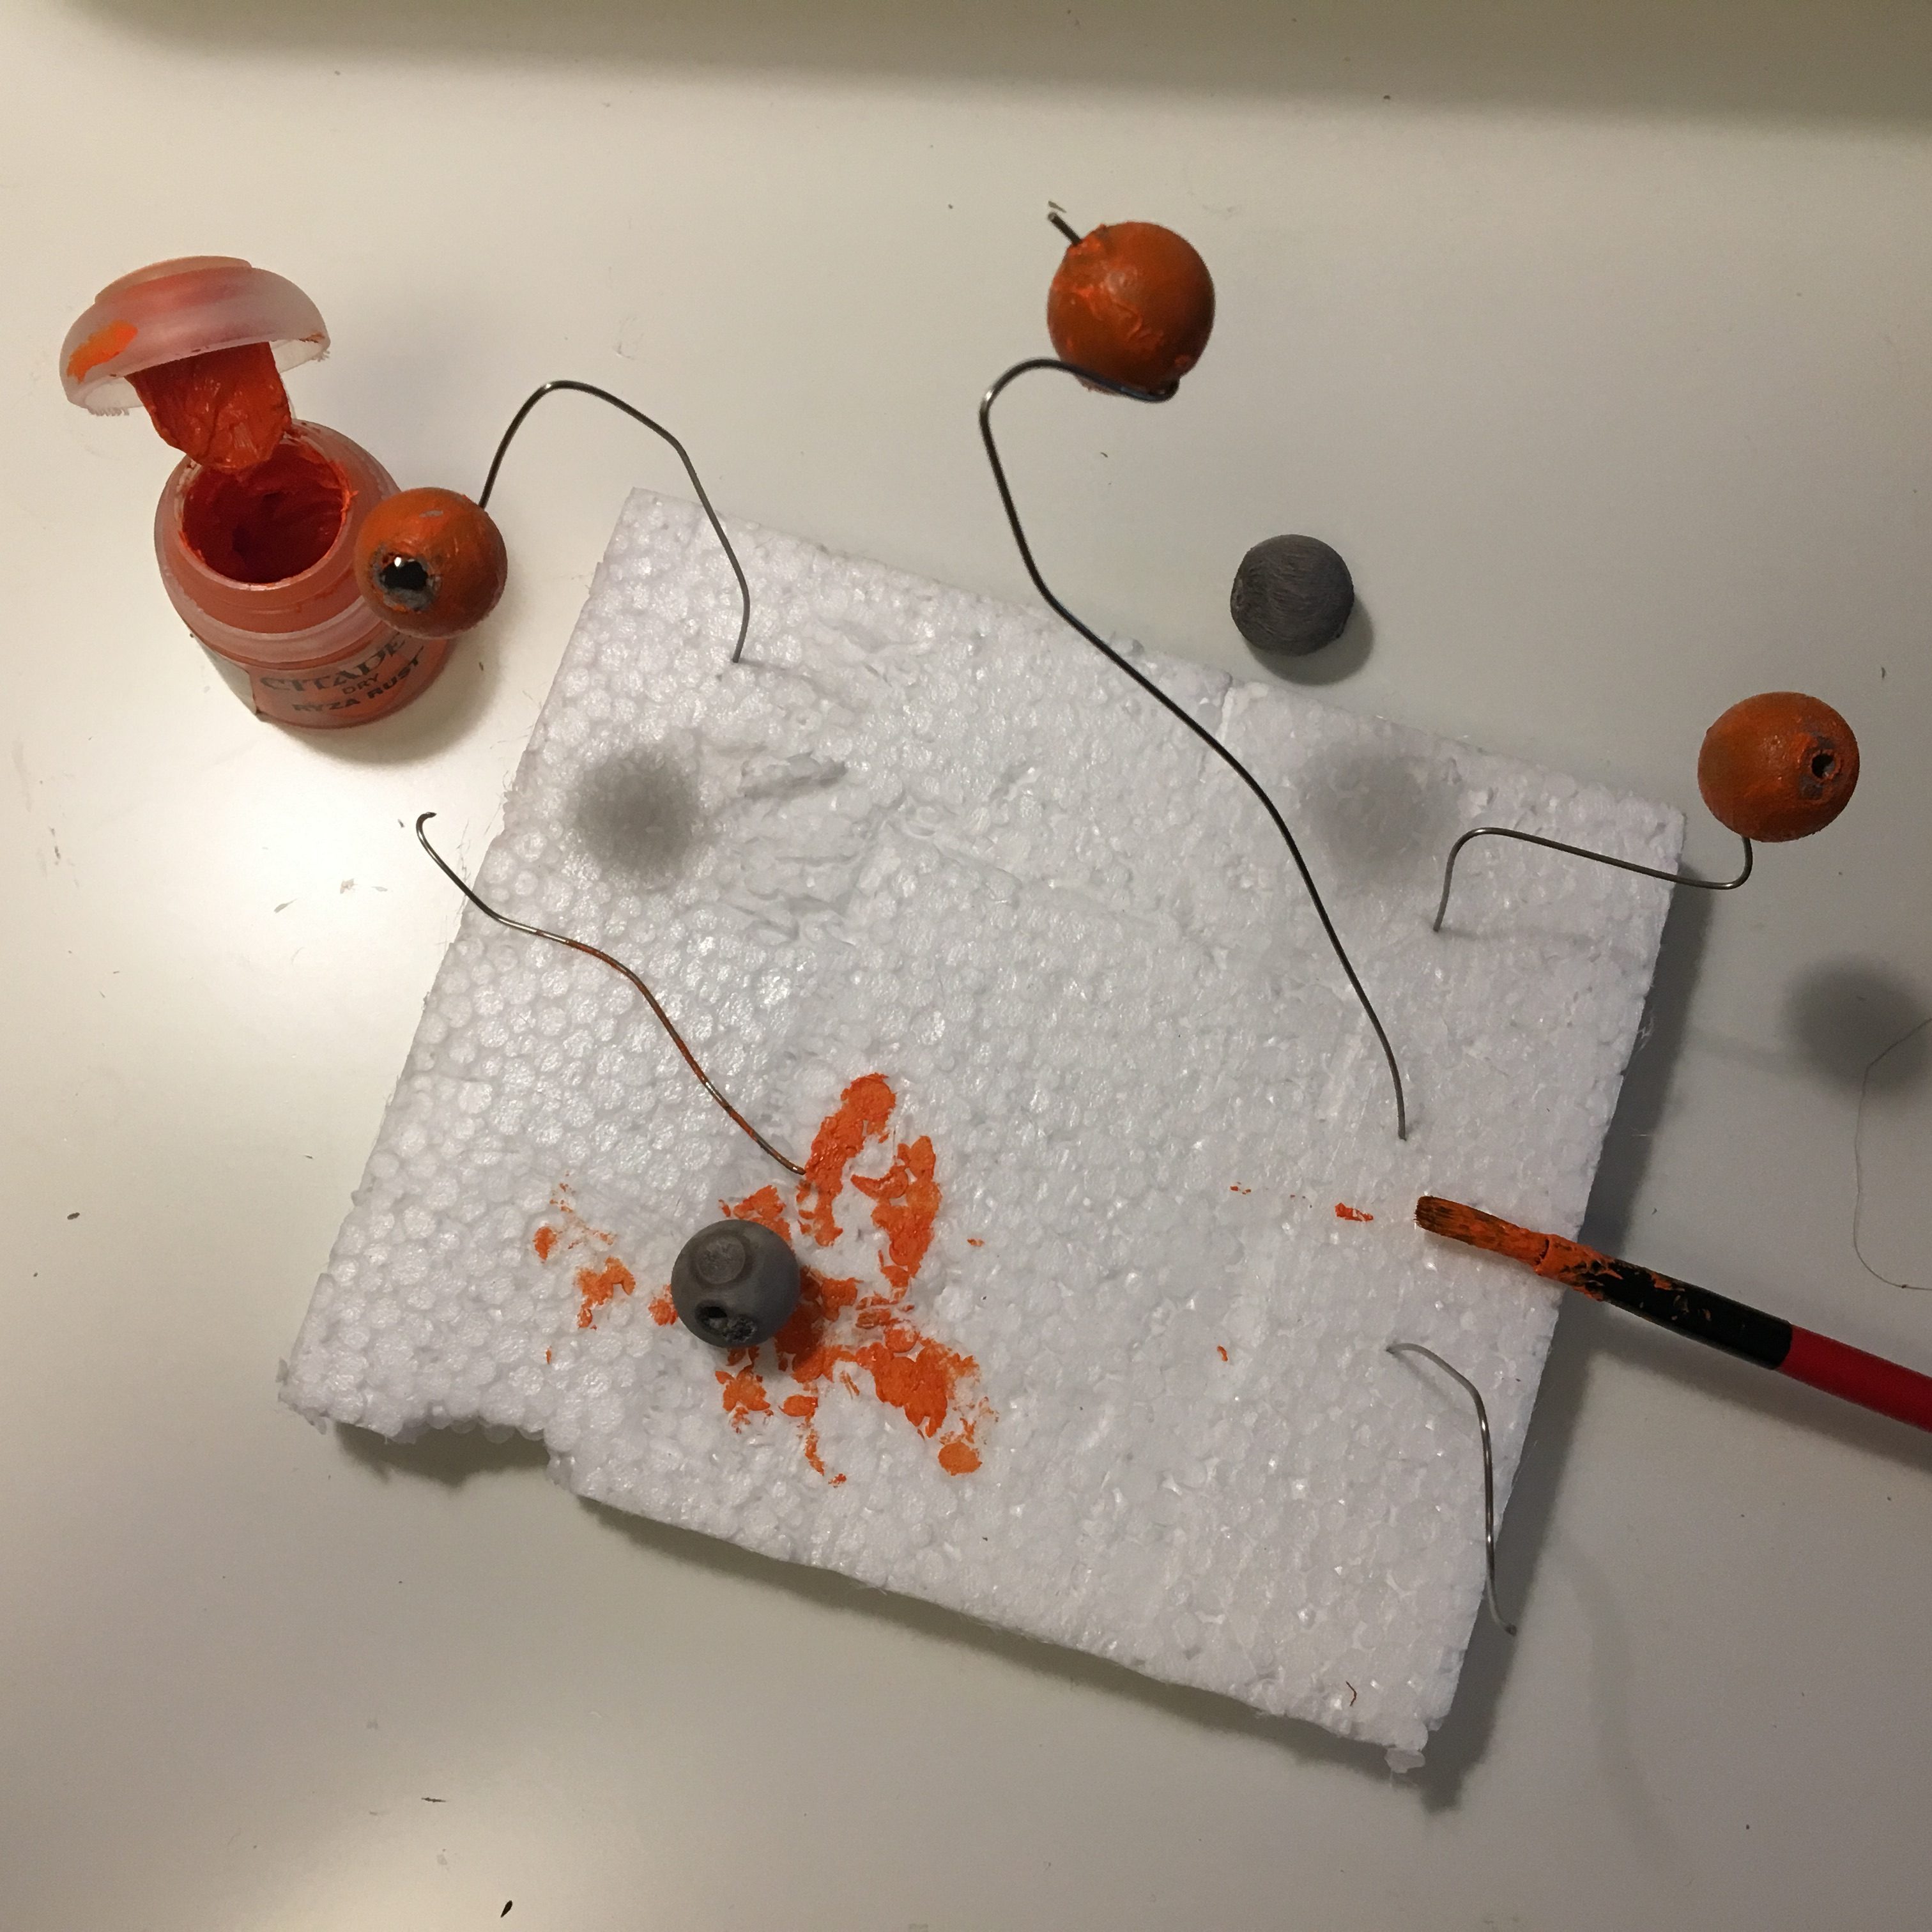
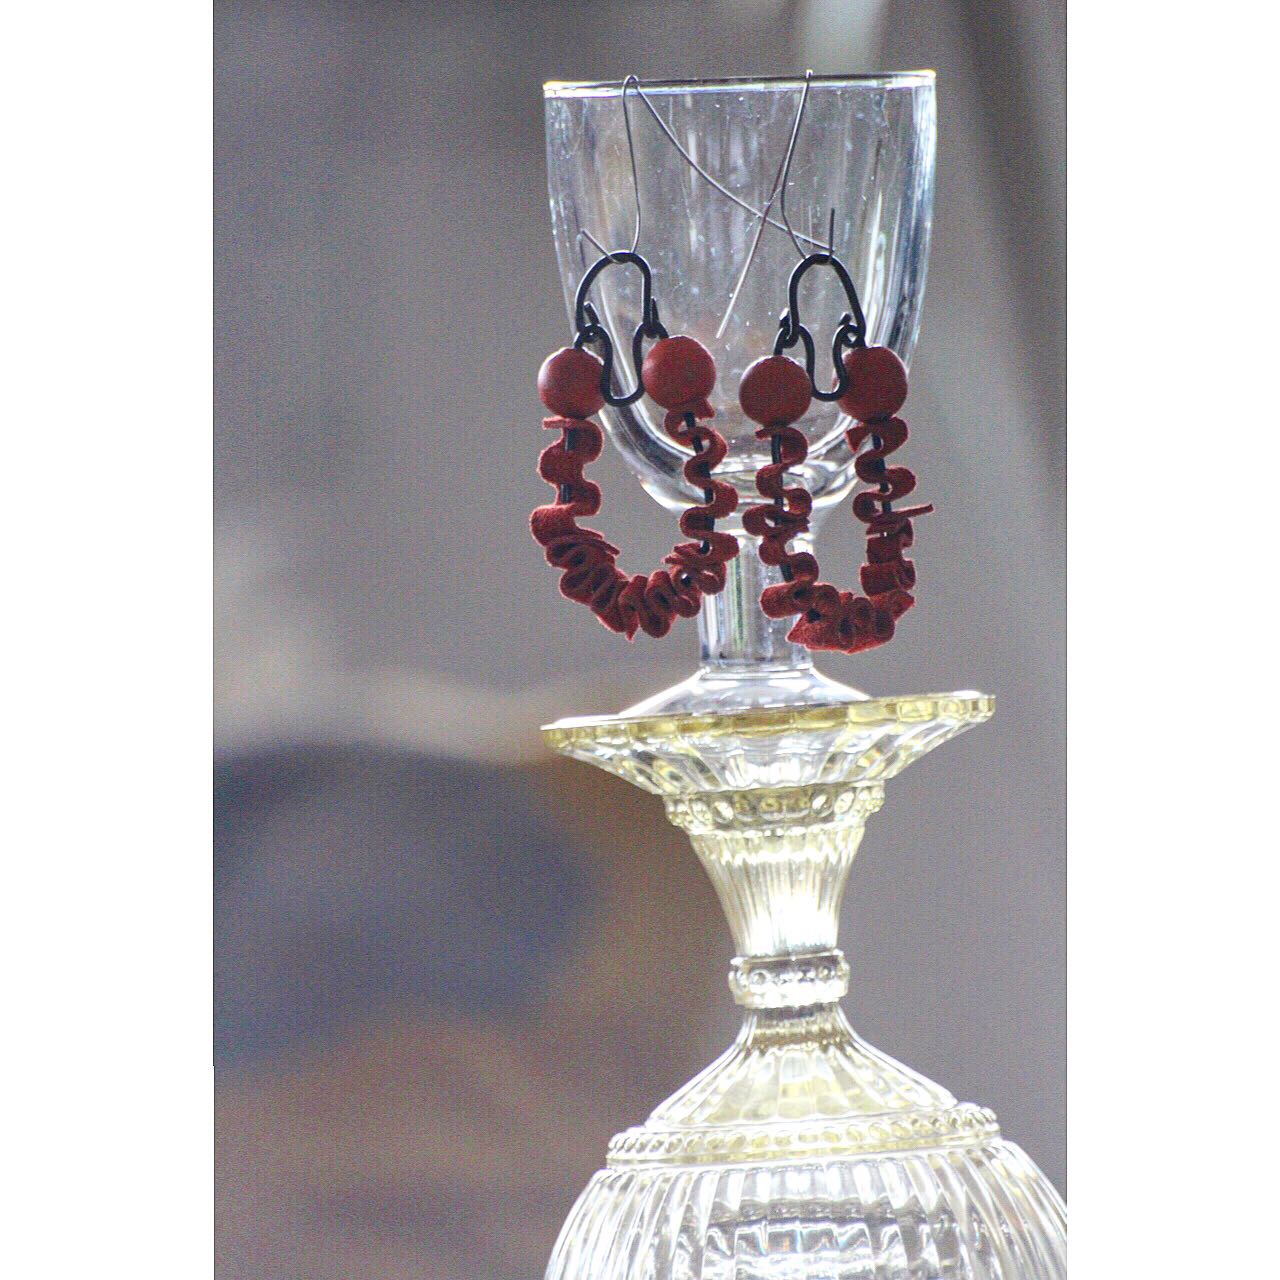
These earrings started first with bending and shaping black metal cord. Orange suede parts are punched first so it is easy to slide them into the metal cord. Easy and quick technique that is quite often used when leather needs to look ruffled. First it seemed that the shape does not need other decorations but I wanted the outcome to be more playful and childish. So I added wood beads that I painted with orange paint. Earrings looks now chunky modern and playful with a clear handmade stamp on them. Like candy or bubble gum.
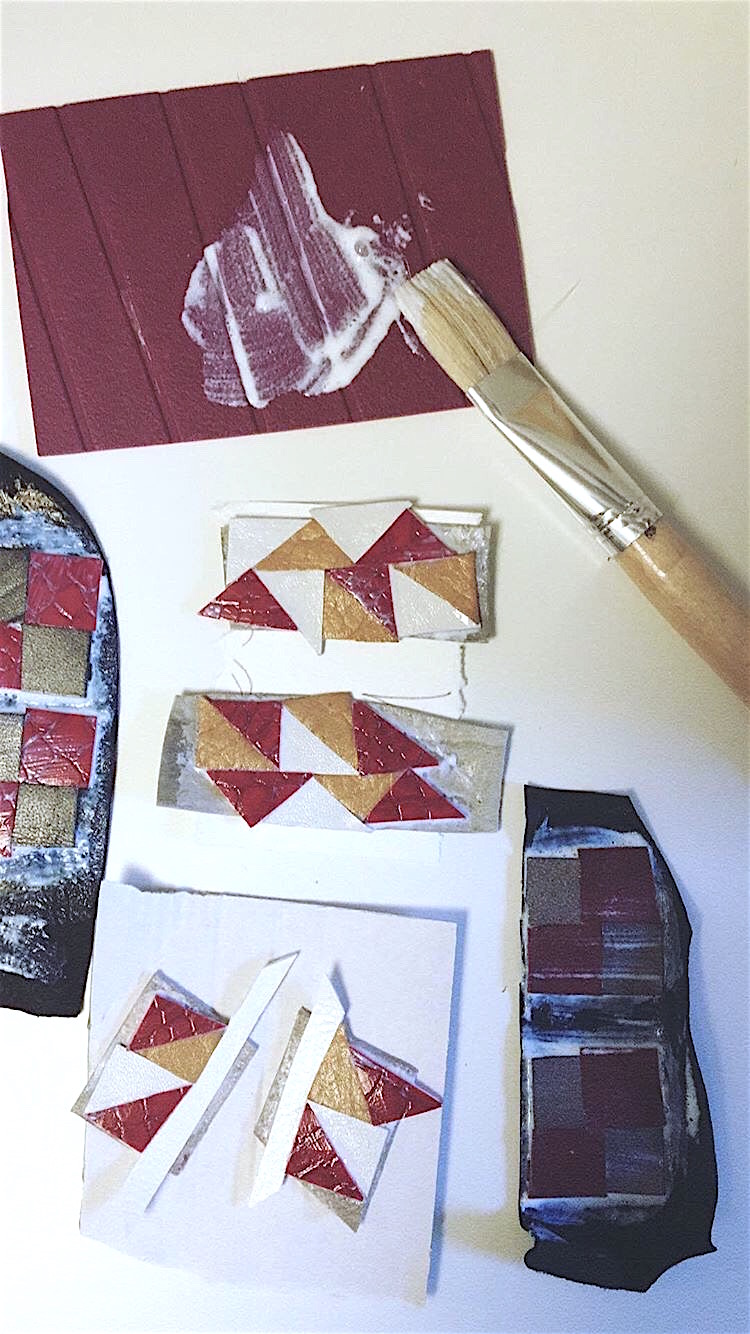
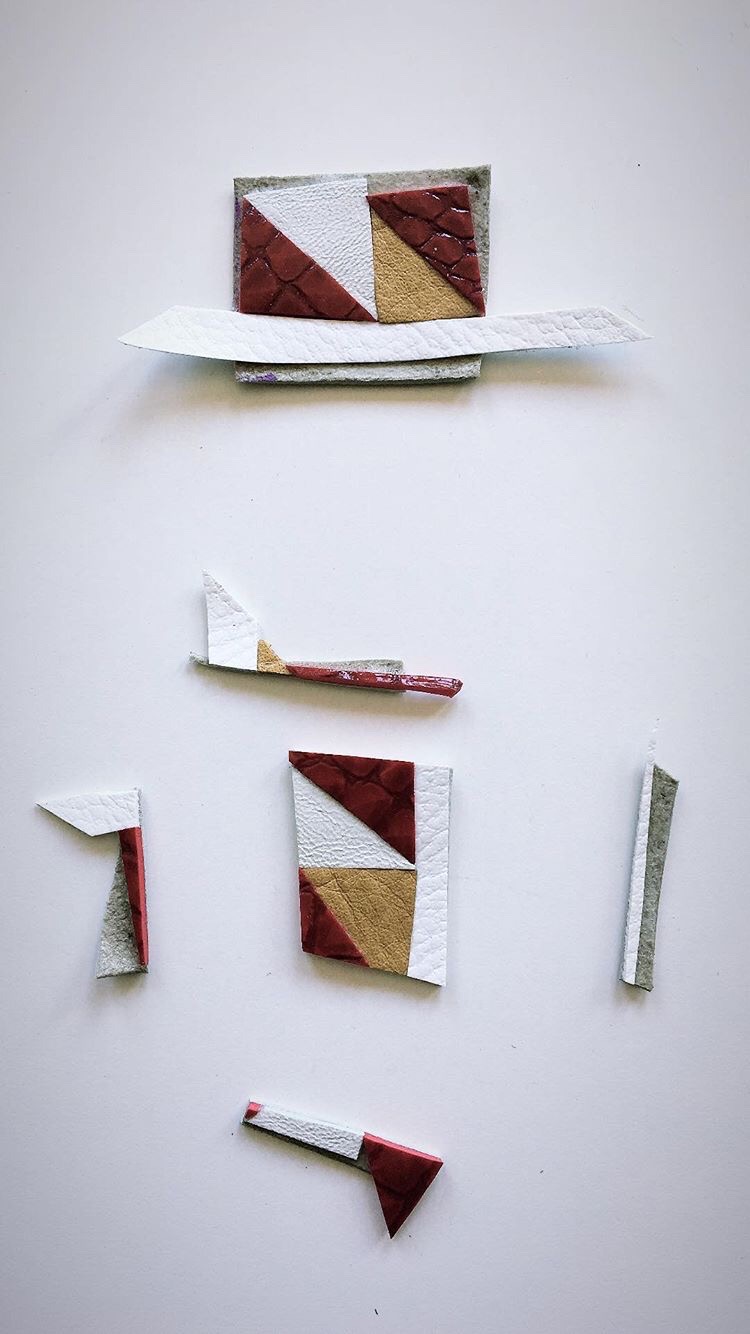
I have started to use this way of working with small leather scraps and other materials. First I cut out the shapes I want and glue them on to a piece of leather- let the pieces dry over night- after that I add a quite thick coat of decoupage lack on the surface- after the lack is completely dry I cut out the shape I want. Here I used old leather scraps and one old plastic snake pattern belt. Metal parts are from old bracelet.
These earrings I cut out as half moon shape and added o-rings from an old bracelet to give them more body and movement.
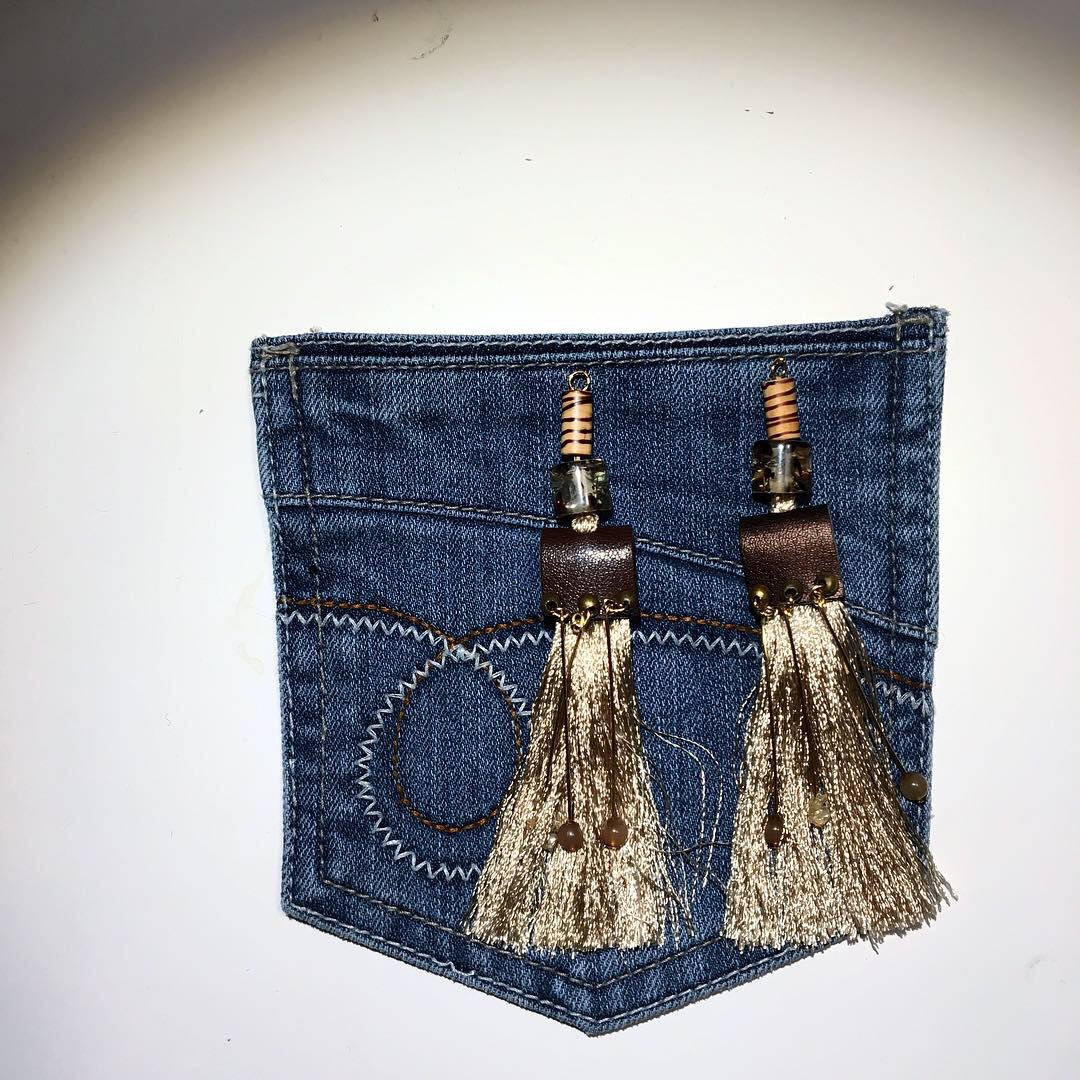
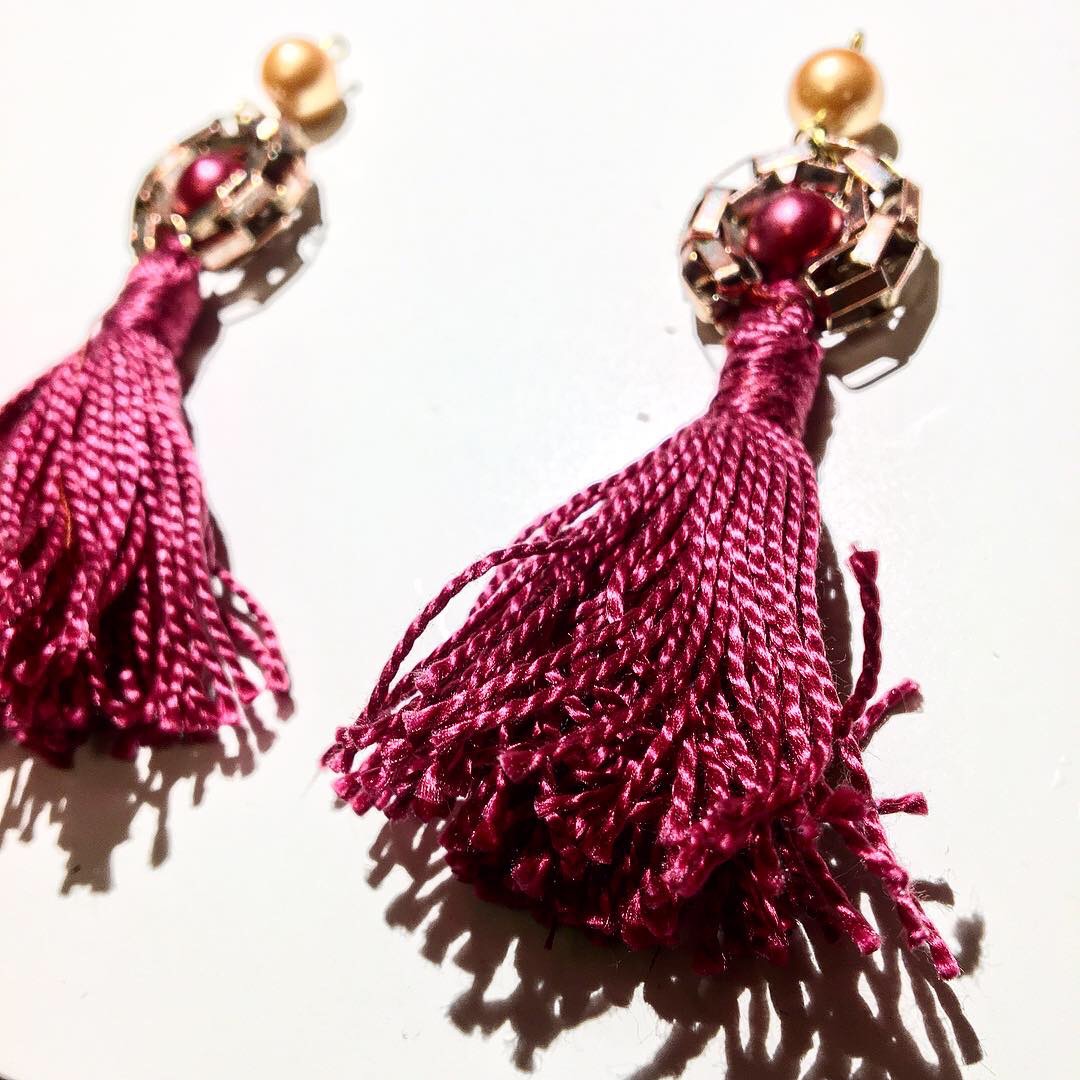
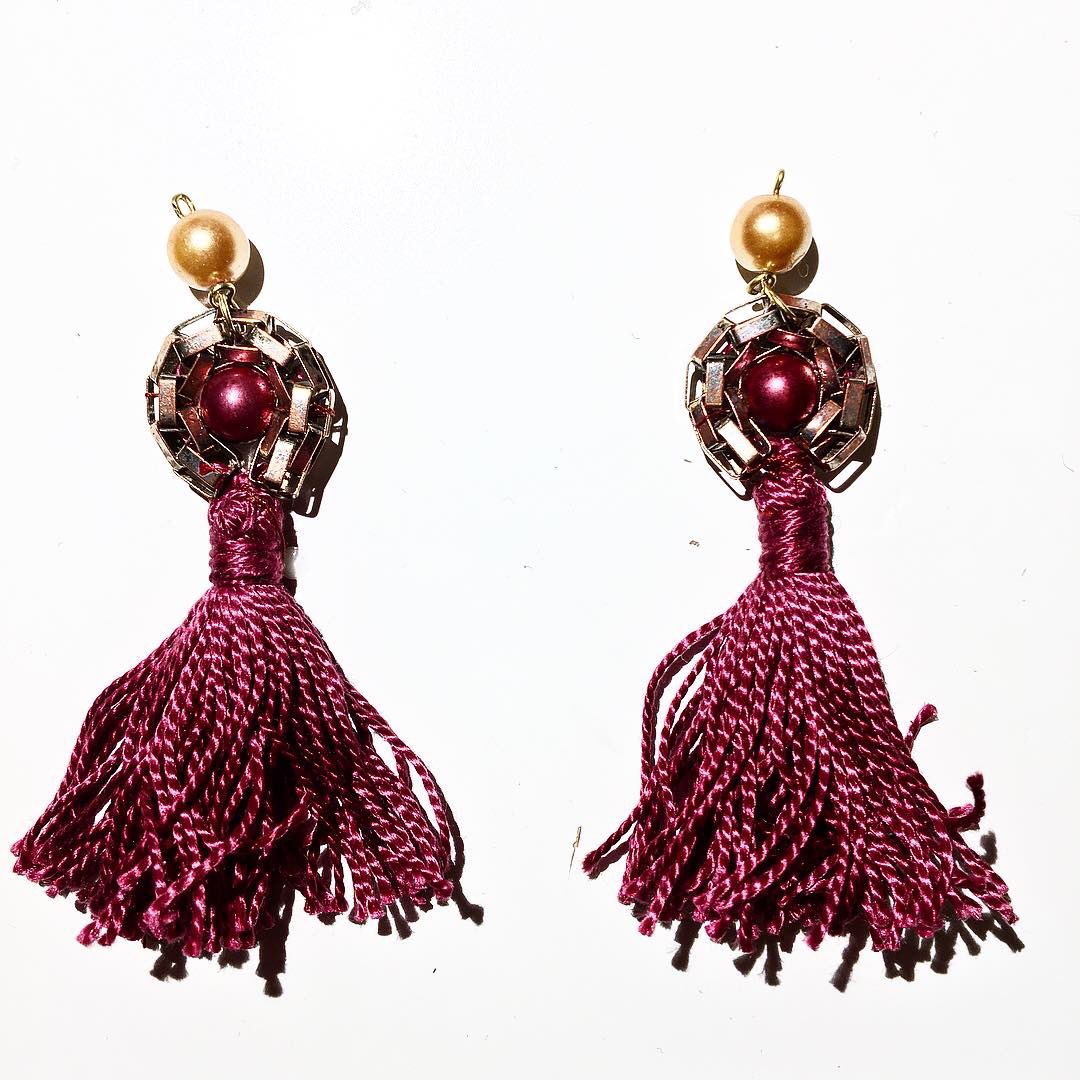
These two pairs of tassel earrings I made out of quality yarns that I always buy second hand from charity/flea markets. Here I combined other elements with the tassel earrings such as old jewelry parts and fake leather from one old belt.
I love old clip earrings and some of my handmade earrings I design in a way that it is easy to slide it into the clip earring. In this way you can change the look of the pair of earrings easily.
The red tassel earrings metal part is from old metal bracelet which I formed into a circle to fit a red bead in.
Handpainted leather earrings and starched denim earrings.
Denim starched with sugar and hot water gives endless possibilities to form whatever you can imagine after the fabric is soaked with the mix. Even 3D is possible if you have patience to form it first and then wait for 2 or 3 days until the piece is totally dry.
When the starched denim piece is dry you can for example paint, punch or glue the pieces how ever you want. Easy and fun.