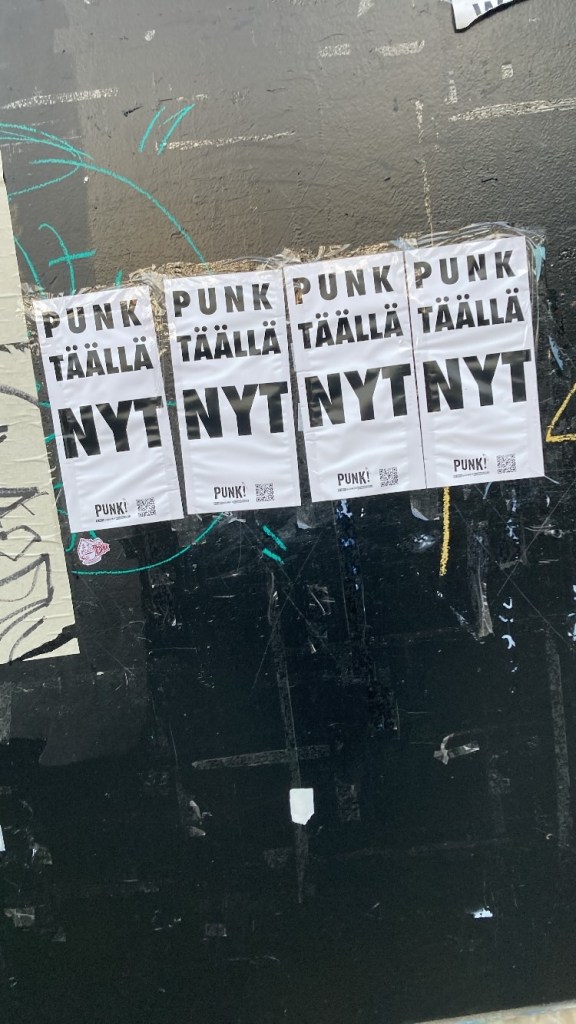
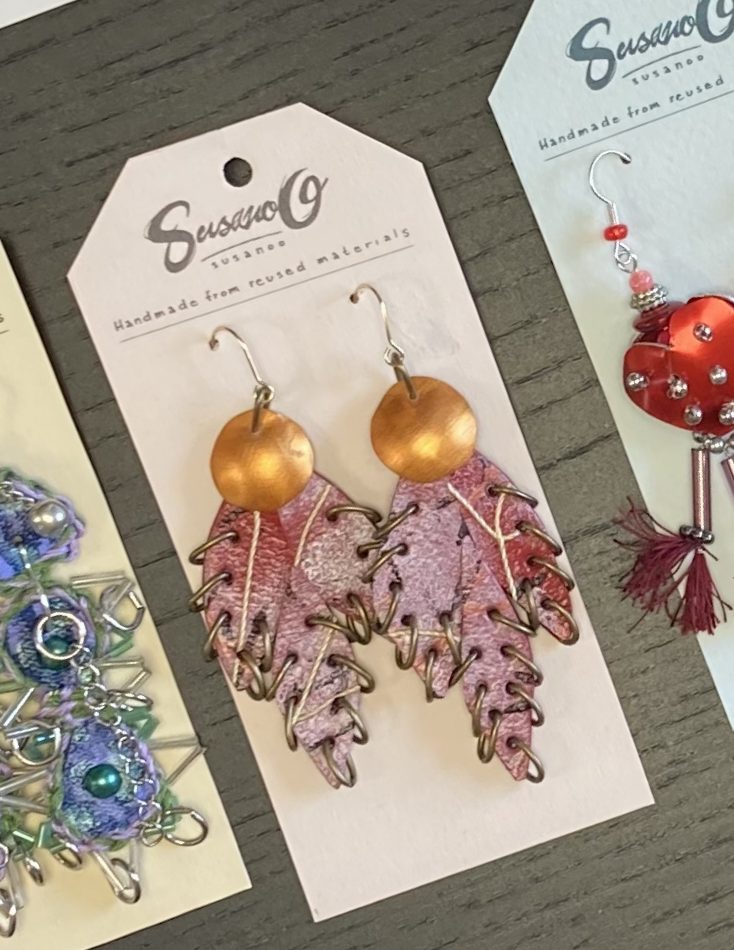
Mahtava näyttely Helsingin Hakaniemen huvilassa, PUNK! Olin todella otettu kun kuulin että korujani halutaan myyntiin museokauppaan. Eikä mikä tahansa museokauppa, vaan vastavirtahenkeen rakennettu elämys. Graafikko suunnitteli korujen taustapahvit ja asiaan kuuluva esillepano (rautaristikko) toi esiin koruistani tekemiseni ytimen: yksilöllisyys ja erilaisuus. Punk elää!
"War on apathy Go against the current
An awesome exhibition at Hakasalmi Villa in Helsinki called PUNK! — I was really moved when I heard my jewelry would be sold in the museum shop. And not just any museum shop, but an experience built with an anti-mainstream spirit. The graphic designer planned the backing cards for the jewelry, and the proper display (a wire mesh / iron grid) brought out the core of what I do: individuality and difference. Punk lives!
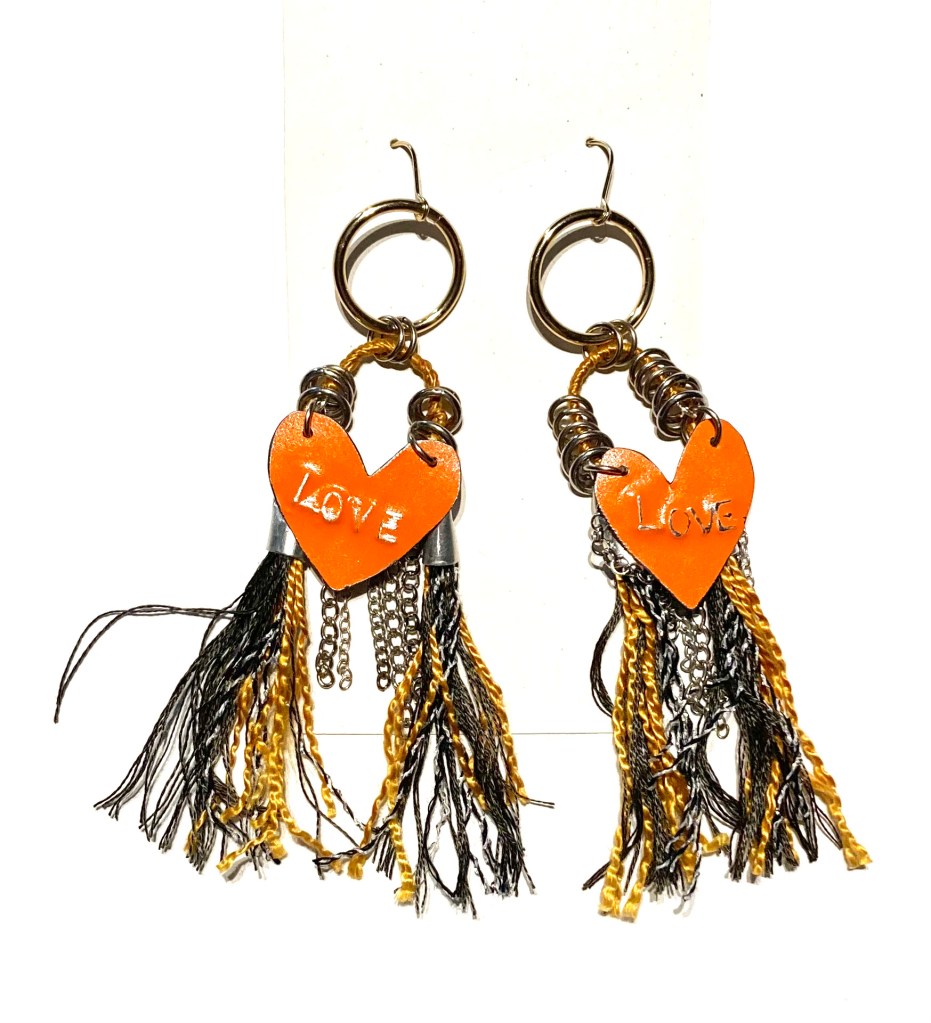
Korvakorujen oranssi metalliosa on leikattu vanhasta riisipurkista. Oranssiksi värjättyä metallia on vaikeampi löytää kirppareilta mutta silloin tällöin on onni matkassa. Ajatuksena oli kokeilla tekstiä metalliin. Löin tekstin metallin nurjalle puolelle erityisillä metallin pakottamiseen tehdyillä kirjaimilla. Hion sen jälkeen kirjaimista värin pois jotta teksti näkyisi paremmin.
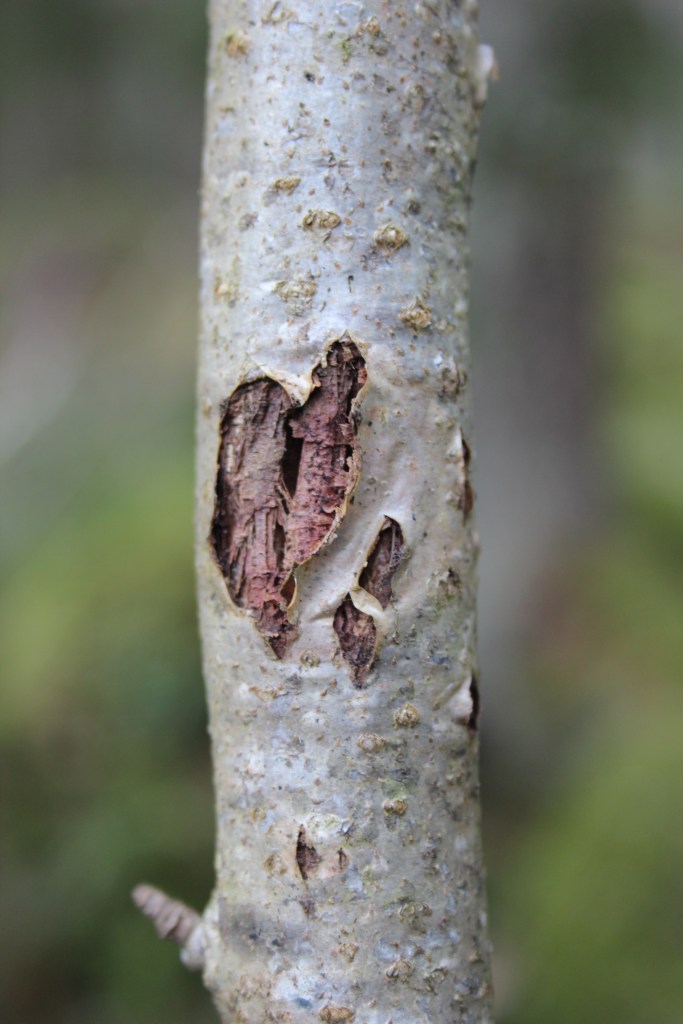
(Inspiraatio muotoihin voi löytyä vaikka puun pinnasta.)
“The orange metal part of the earrings is cut from an old rice tin. Orange-colored metal is harder to find at flea markets, but every now and then, luck is on my side. The idea was to experiment with text on metal. I stamped the text onto the back of the metal using special metal stamping letter punches. After that, I sanded the color off the letters so the text would stand out better.
(I often find inspiration just by walking in the forest.)
Yhdistelen koruissani useita eri tekniikoita, kuten esimerkiksi virkkaan lankaa korun runkoon. Pehmeän ja taipuisan langan yhdistäminen kovaan metalliin saa korun muodon elämään. En tee koskaan tarkkaa suunnitelmaa etukäteen miltä lopputulos näyttää, minulla saattaa olla ajatus miltä koru tuntuu tai miten se liikkuu kun se on koruna korvassa. Usein kokeilen pitkänkin aikaa mitkä materiaalit toimivat idean kanssa, lopputulos riippuu siitä miten materiaalit “puhuvat” toistensa kanssa. Tietysti ajattelen myös korun käyttäjää, kiinnitysmekanismien tulee kestää jotta koru ei pääse putoamaan tai hajoa jo muutaman käyttökerran jälkeen. Usein testaan heiluttamalla korua voimakkaasti kädessäni ja katson miten osat liikkuvat.
Yllä olevassa videossa näytän miten tunnustelen eri muotojen kohtaamista koruissani.
I combine several different techniques in my jewelry, such as crocheting yarn onto the frame. Pairing soft, flexible yarn with hard metal brings the shape of the jewelry to life. I never make a precise plan of the final look beforehand; instead, I might have an idea of how the piece feels or how it moves when worn as an earring. I often spend a long time experimenting with which materials work best with the concept, and the final result depends on how the materials ‘talk’ to each other. Of course, I also think about the wearer—the fastening mechanisms must be durable so that the jewelry won’t fall off or break after just a few uses. I often test this by shaking the piece vigorously in my hand to see how the parts move.
In the video abow, I show how I feel out the intersection of different shapes in my jewelry.
Pienten muotojen leikkaaminen alumiinista on haastavaa. On mahdollista käyttää apuvälineitä joilla lyödään haluttu muoto metallista jolloin saa samanmuotoisia metallipaloja nopeasti. Itse käytän aina metallileikkureita ja leikkaan kaikki muodot ensin käsin jonka jälkeen viilaan reunat lopulliseen, haluttuun muotoon. Käsityötä. Useamman pienen palan leikkuusssa ja viilaamisessa kuluukin iso osa korun tekoajasta.
Cutting small shapes from aluminum is challenging. It is possible to use tools to punch the desired shape out of the metal, which allows you to get identical metal pieces quickly. Personally, I always use metal shears and cut all the shapes by hand first, after which I file the edges into their final, desired shape. Handcrafted. Cutting and filing several small pieces actually takes up a huge part of the jewelry-making time.
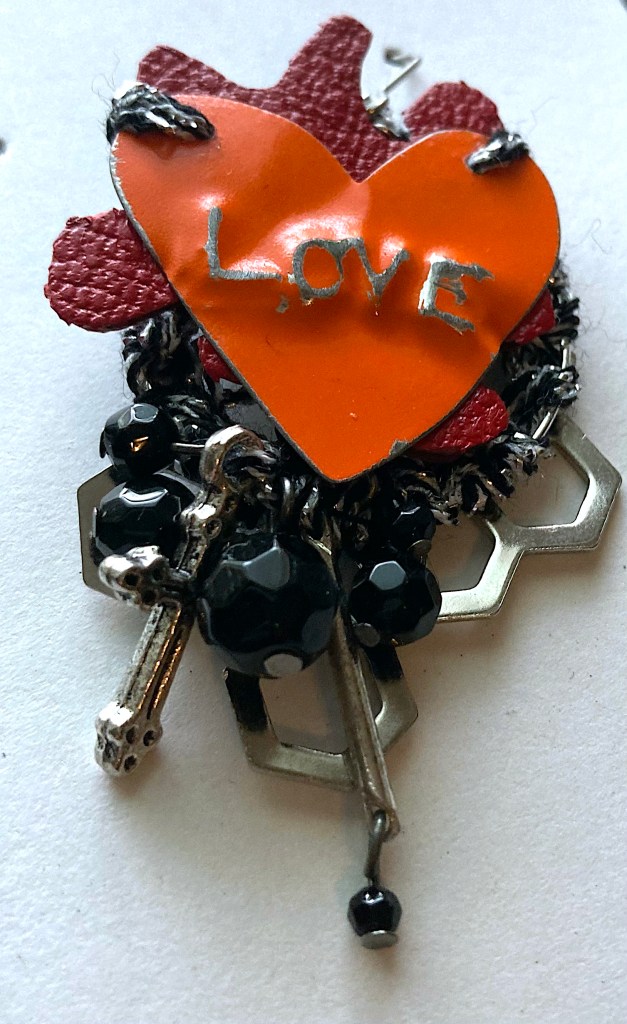
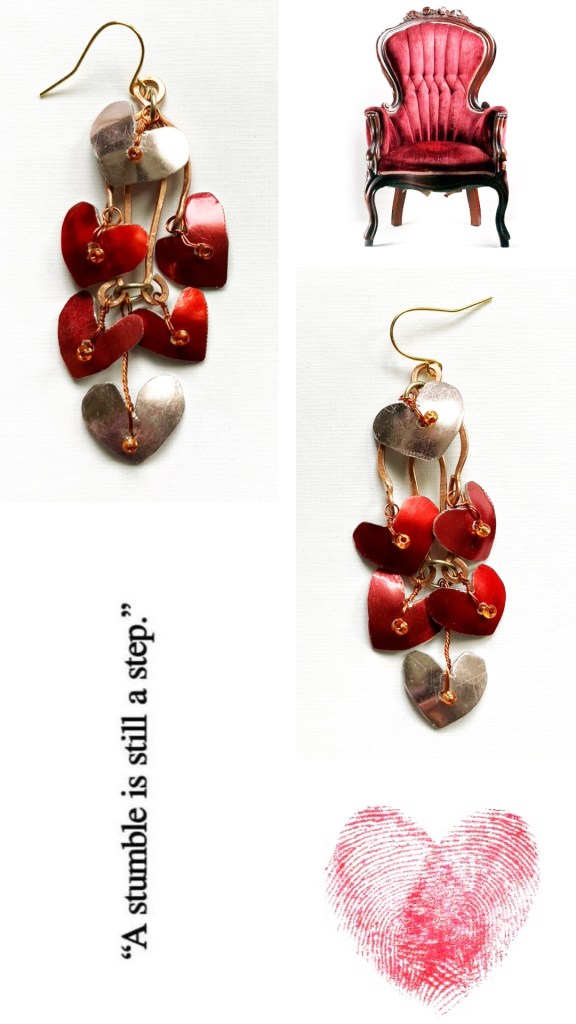
Tämä sydänkoru oli kokeilu usean pienen muodon muodostamasta kokonaisuudesta. Käytän koruissani useaa eri materiaalia ja tekniikkaa, tämä koru oli utelias kokeilu yksinkertaisemmasta, muutaman materiaalin kombosta. Ja sydämen muoto puhutteli minua pienessä mittakaavassa.
“This heart pendant was an experiment in creating a whole piece from several small shapes. I usually use many different materials and techniques in my jewelry, but this piece was a curious exploration of a simpler combination of just a few materials. And the heart shape really spoke to me on a small scale.”
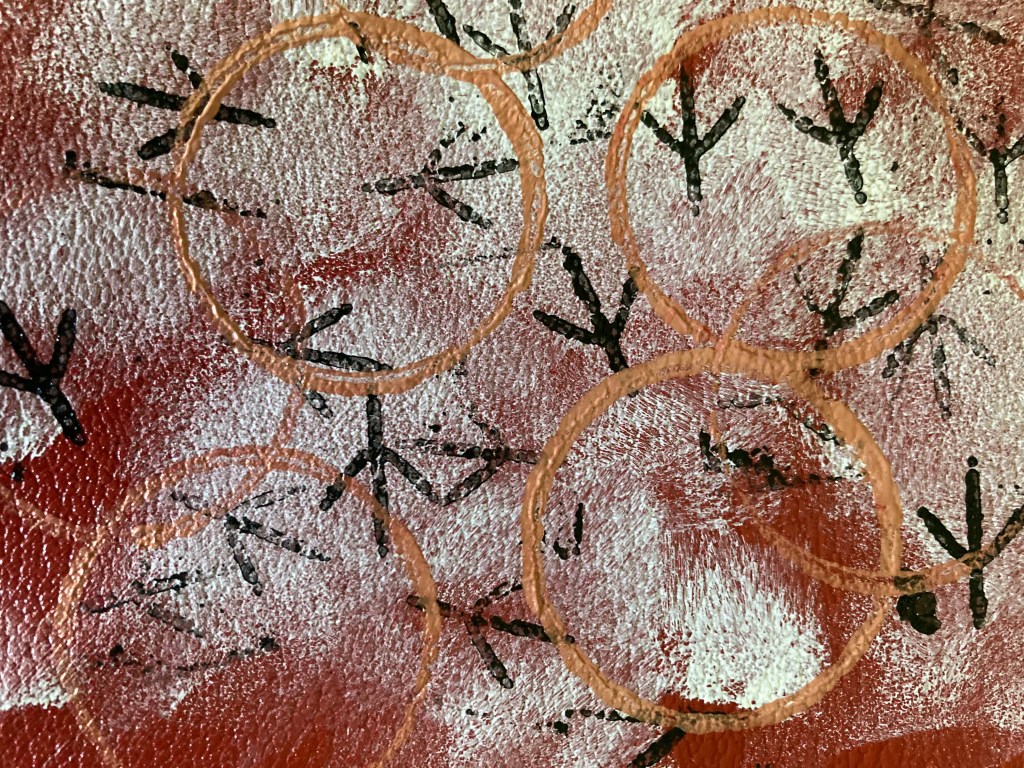
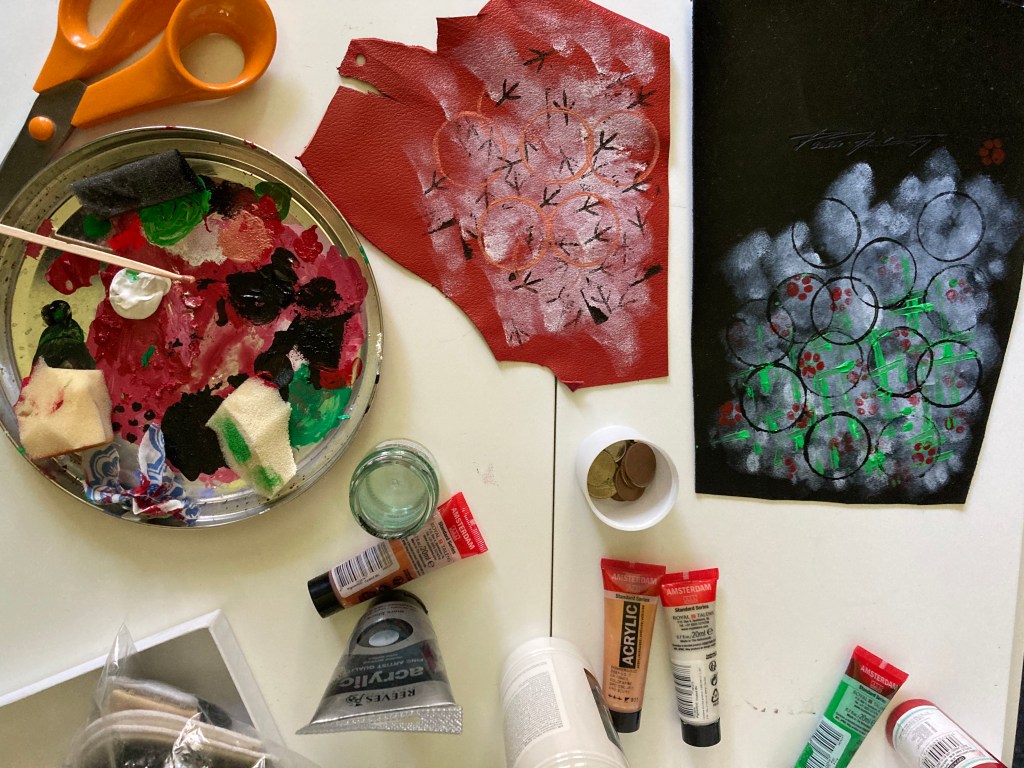
Maalaan ja kuvioin isommat nahkapalat ja kuivuttuaan liimaan vielä toisen nahan taustaksi tukemaan nahan rakennetta. Kutsun näitä kuvioituja nahkapaloja koruvuodaksi. Leikkaan korun muodot suoraan näistä nahkapaloista, usein ilman kaavaa. Näin korut ovat aina myös yksilöitä vaikka silmämääräisesti korupari näyttää samanlaisilta.
Käytän koruissani vanhoja korunosia joita saan purkamalla mm. kaulakoruja. Pyrin aina ostamaan kaikki osat kirppareilta ja kierrätyskeskuksista. Olen tietoinen että en pysty 100% todentamaan uudelleenkäytettyjen korujen materiaaleja, pyrin silti aina tutkimaan ostamani korun jo ostohetkellä. Silmämääräisesti tunnistan laadukkaan vanhan korun ns. “halpakoruista”. Myös tutkimalla pinnoitetta ja korunosia tarkasti saan jo käsityksen siitä kuinka laadukas koru on. Silti en voi varmuudella todentaa materiaaliseoksia koruissani. Käytän aina korujen koukkuosissa jotka tulevat korvalehden läpi kotimaisen korukaupan osia ja heillä on todennettu tieto osissa käytetyistä materiaaleista.
I paint and pattern large pieces of leather, and once they are dry, I glue a second piece of leather to the back to reinforce the structure. I call these patterned leather pieces “jewelry hides” (koruvuota). I cut the shapes of the jewelry directly from these pieces, often without a pattern. Because of this, each piece of jewelry is completely unique, even if a matching pair looks identical to the naked eye.
I incorporate vintage jewelry components into my work, which I salvage by disassembling items like old necklaces. I always strive to source all my components from flea markets and recycling centers. While I am aware that I cannot 100% verify the exact materials of these reused components, I always do my best to examine them closely at the time of purchase. Visually, I can tell the difference between high-quality vintage jewelry and cheap costume jewelry. By carefully inspecting the plating and components, I can get a good sense of the quality, even though I cannot verify the exact metal alloys with absolute certainty. However, for the earring hooks that go through the earlobe, I always use components from a Finnish jewelry supplier who provides verified information about the materials used.
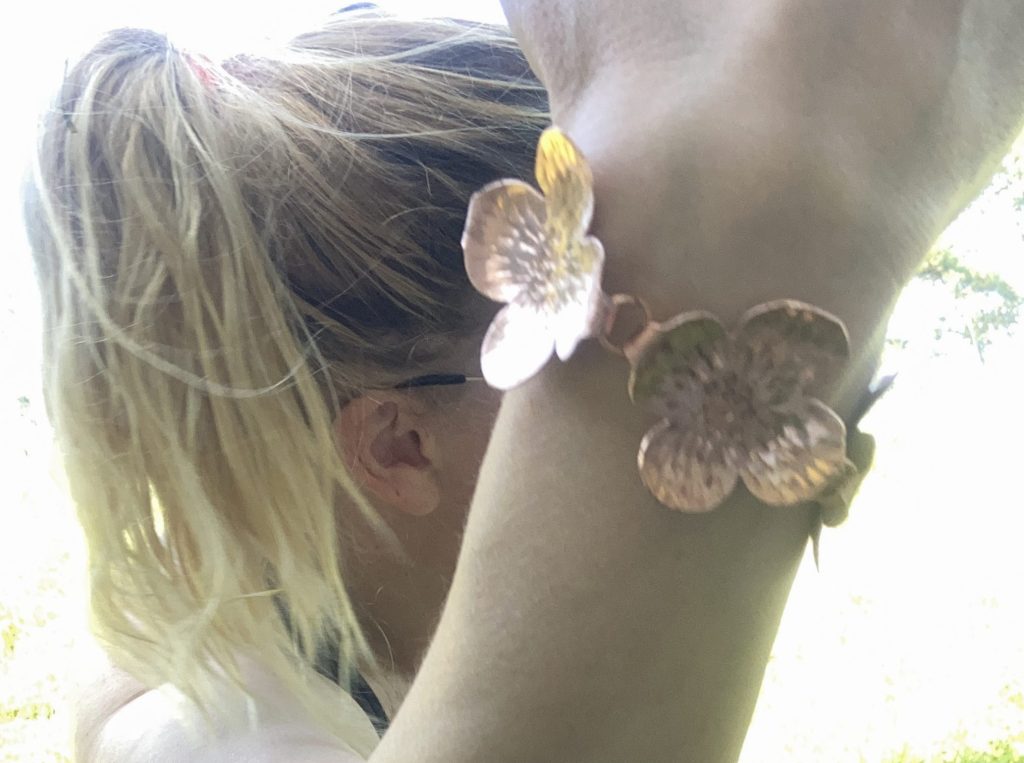
Metallisaksilla leikatut kuparikukkaset. Leikatessani kukat kuparista jätin kukkaan molemmille puolille terälehtien päihin pidemmän osion jonka pystyin taivuttamaan lenkiksi kukkien välille. Löin kukkiin kuvioita jotta pinta olisi elävämpi. Viilasin kaikki reunat ja kiillotin kukat lopuksi hiontatahnalla. Kukat tummuvat aina käytössä, kupari hapettuu ja reagoi myös ihon rasvojen kanssa. En anna sen häiritä, voin aina vähän puhdistaa kukkia hopenkiillotusliinalla. Mielestäni käyttö saa näkyä ja kukat saavat “kuihtua” käytössä.
Copper flowers cut with metal shears. When cutting the flowers from copper, I left a longer section on both sides at the tips of the petals, which I could bend into a loop between the flowers. I stamped patterns onto the flowers to make the surface more textured and alive. I filed all the edges and finally polished the flowers with a polishing compound. The flowers always darken with use, as copper oxidizes and also reacts with skin oils. I don’t let it bother me; I can always give the flowers a light rub with a silver polishing cloth. In my opinion, the wear and tear should show, and the flowers are allowed to “wither” over time.
Alla olevasta videosta voi nähdä ennen korun käyttöä kuinka kiiltävä kupari oli aluksi.
In the video below, you can see how shiny the copper was at first, before the jewelry was worn.
I started by sketching the flower design in chalk—sometimes I like to sketch out my ideas before a project begins.
Hahmottelin kukan mallia ensin liidulla, joskus saatan ennen projektin alkua piirtää ajatuksiani auki.
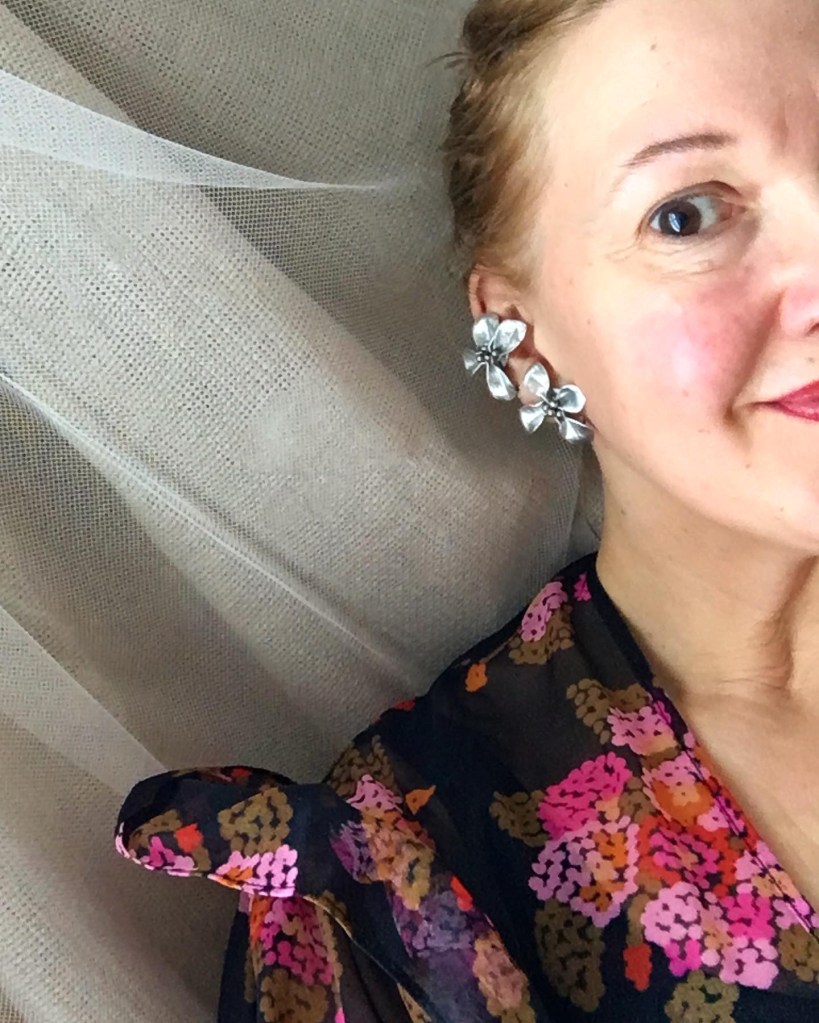
I hammered and folded aluminium to get the right flower shape. To the middle of the flower I glued few silver colored plastic beads. Overall look is really delicate and dreamy.
In this short video you see the parts I hammered for the flowers. Aluminium I used for the earrings is old and broken pieces from hanging decorative lighting.
So just go wild with materials and experiment with different ways to put jewelry together. I usually get inspired by something I see in the old fashion/interior magazines; such as old editorial fashion pics from 80s and 90s which are my favourite years in fashion because of the drama and colors. I do love all vintage, the more age the better.
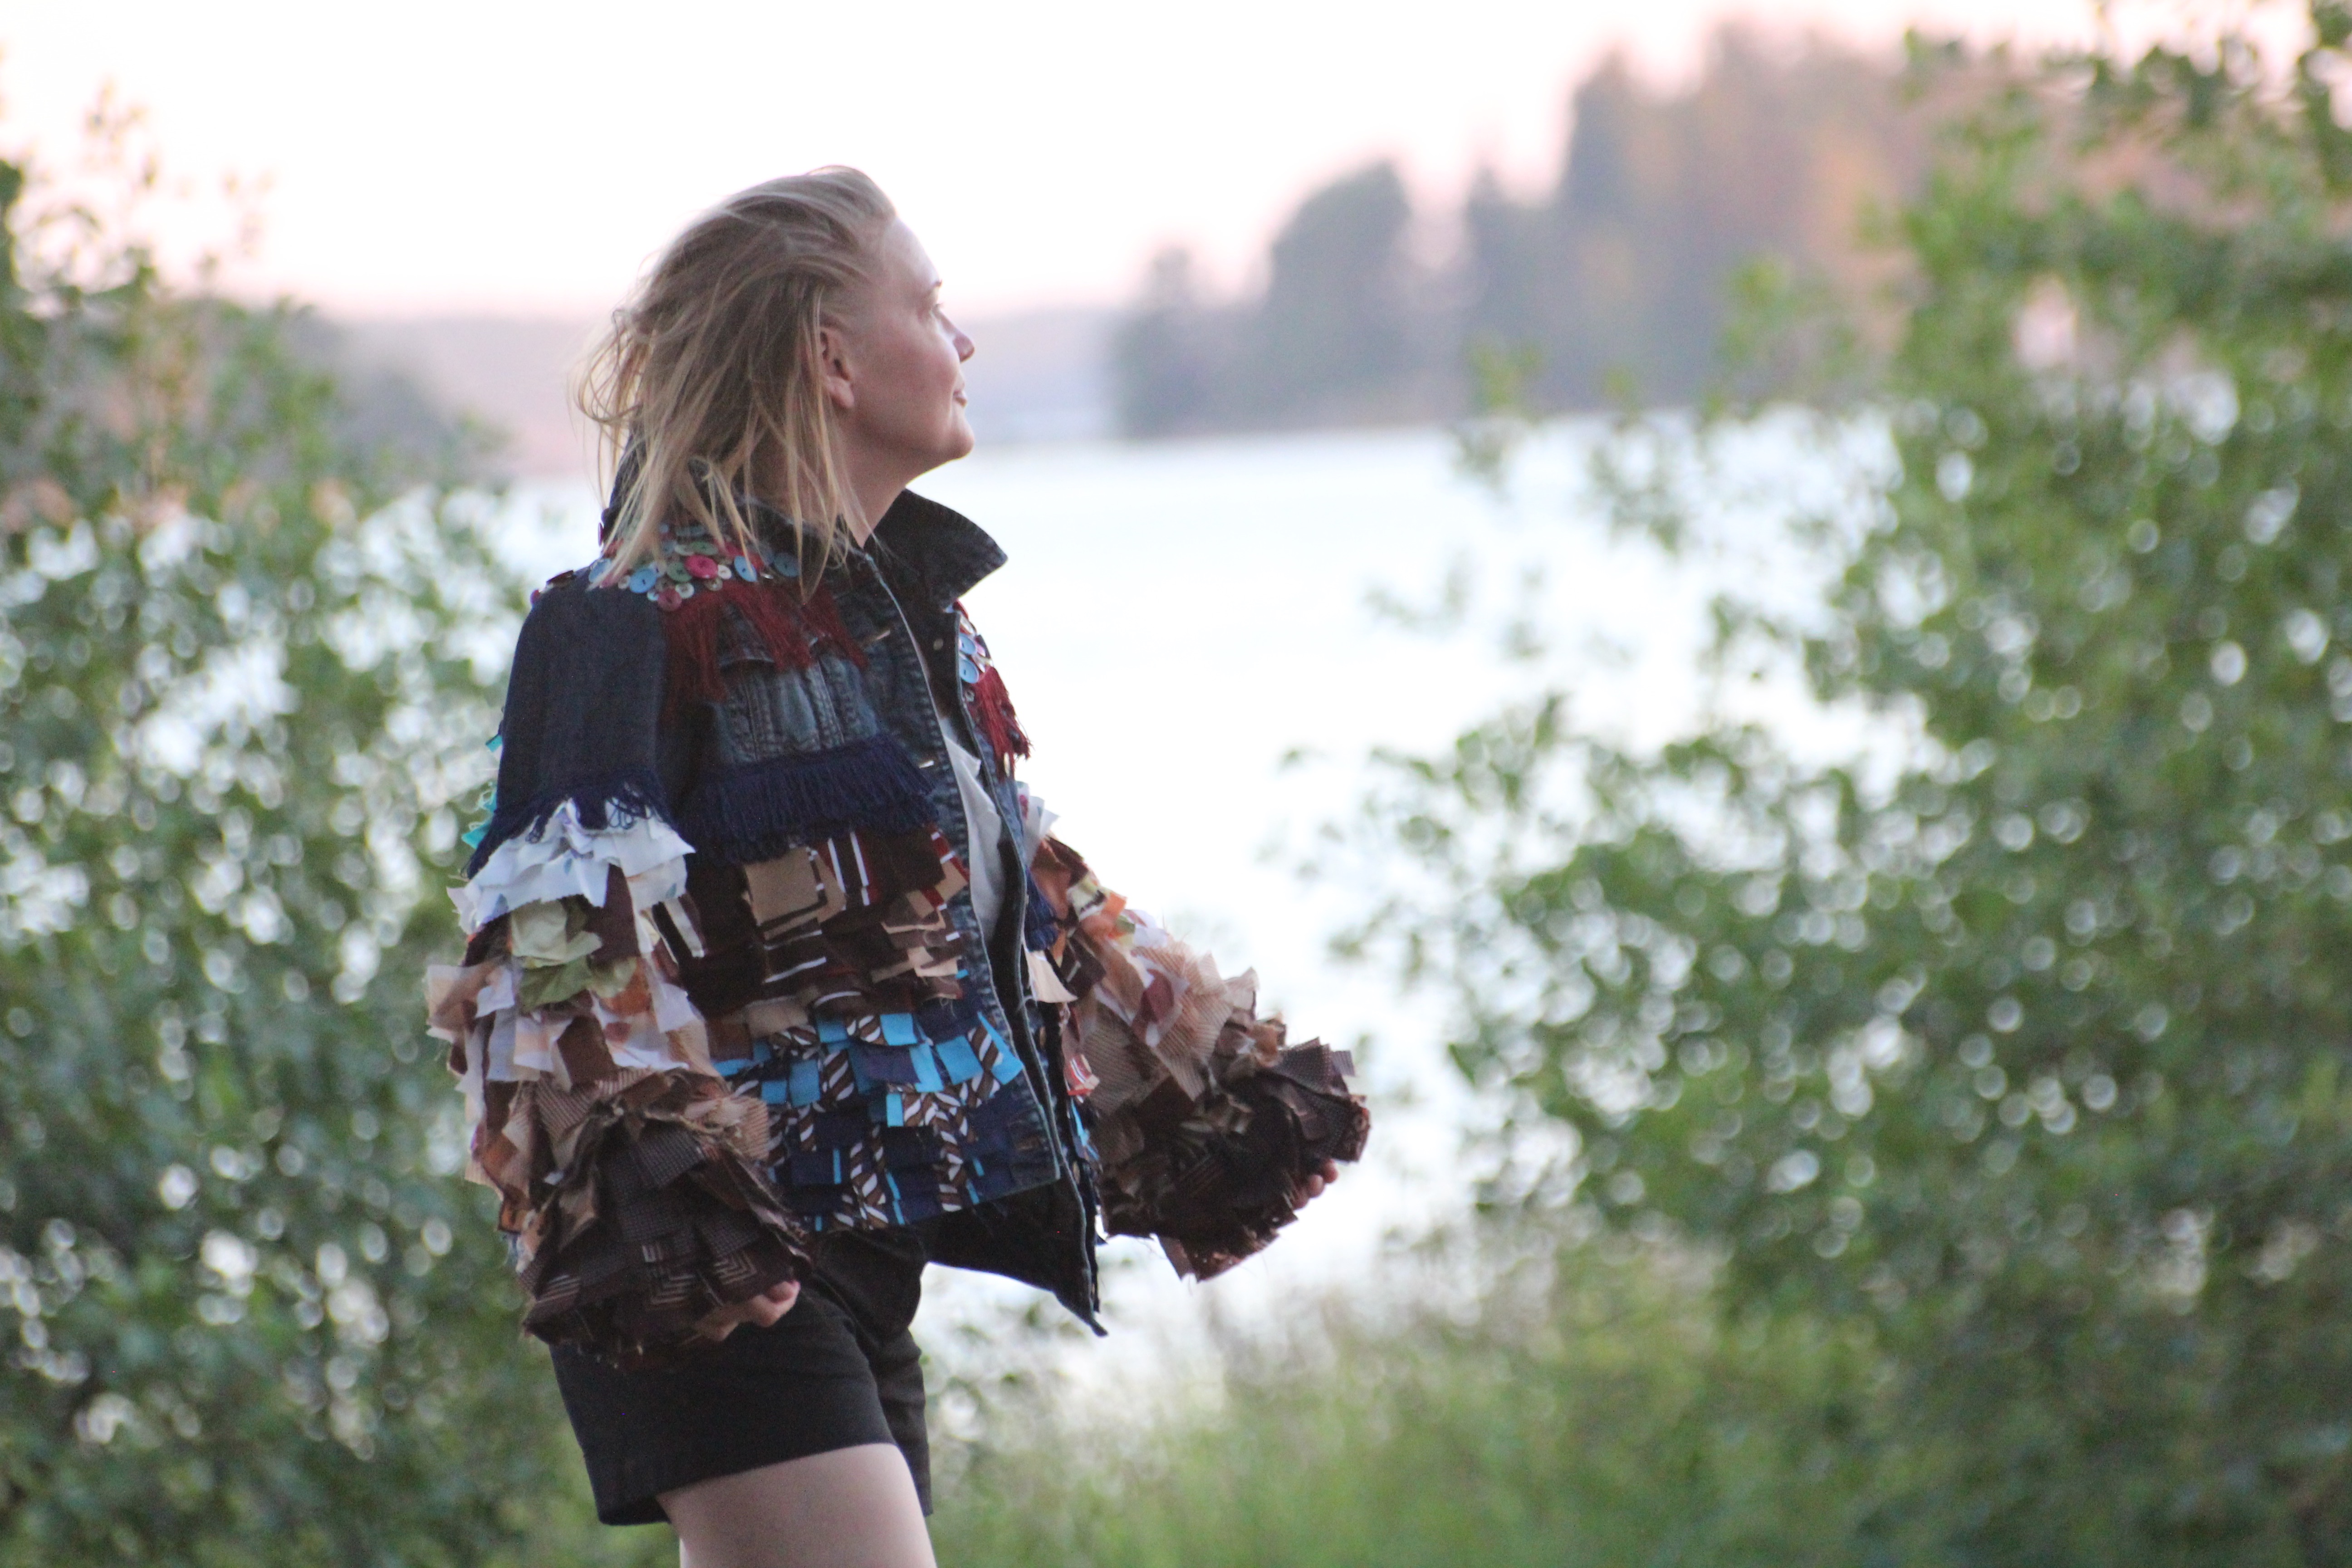
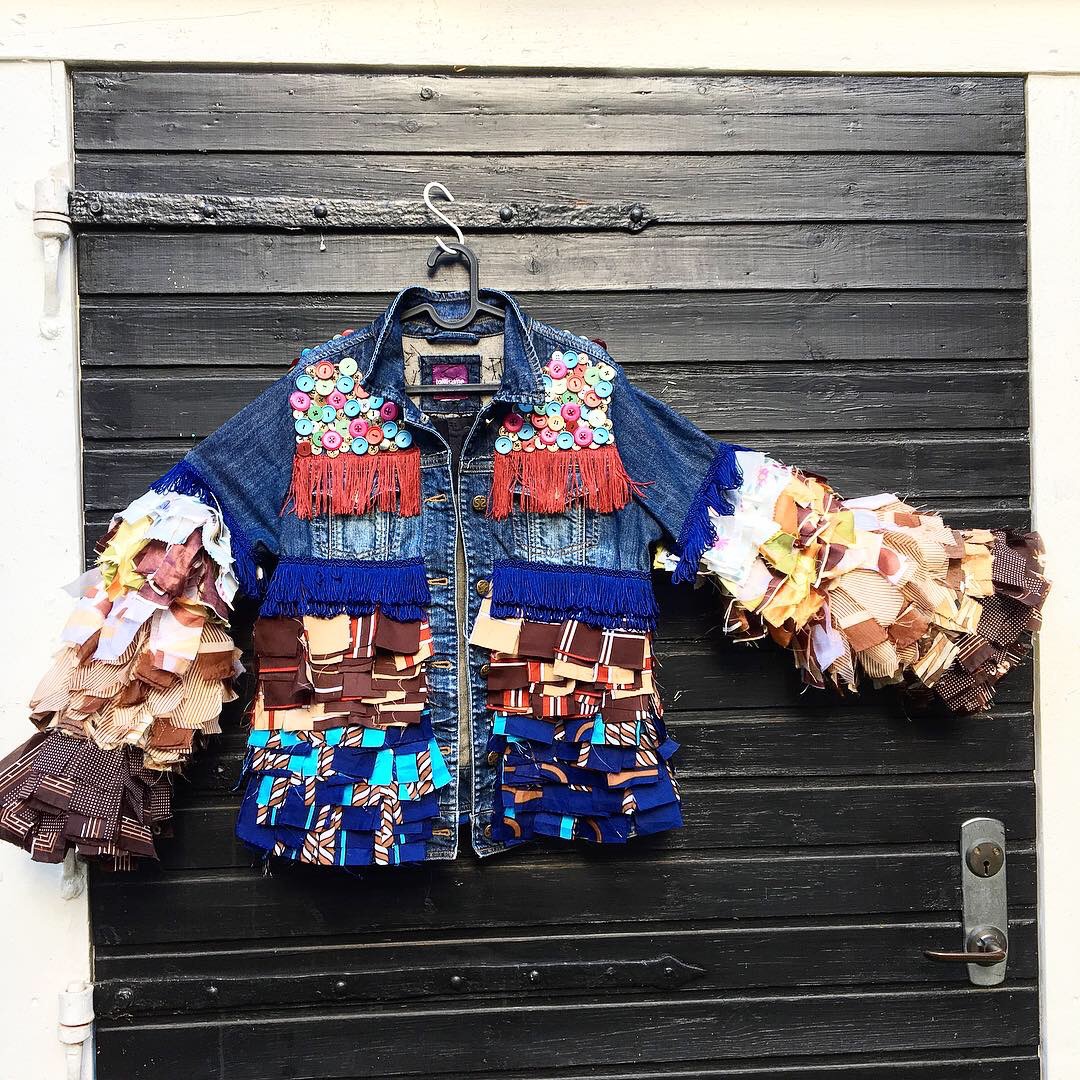
This oversized denim jacket I got from a friend to be used as material for my designed denim bags. Instead I felt like doing something extra bold with it; I decided to sew small pieces of vintage scarfs to make the jacket “float” and “puffy”.
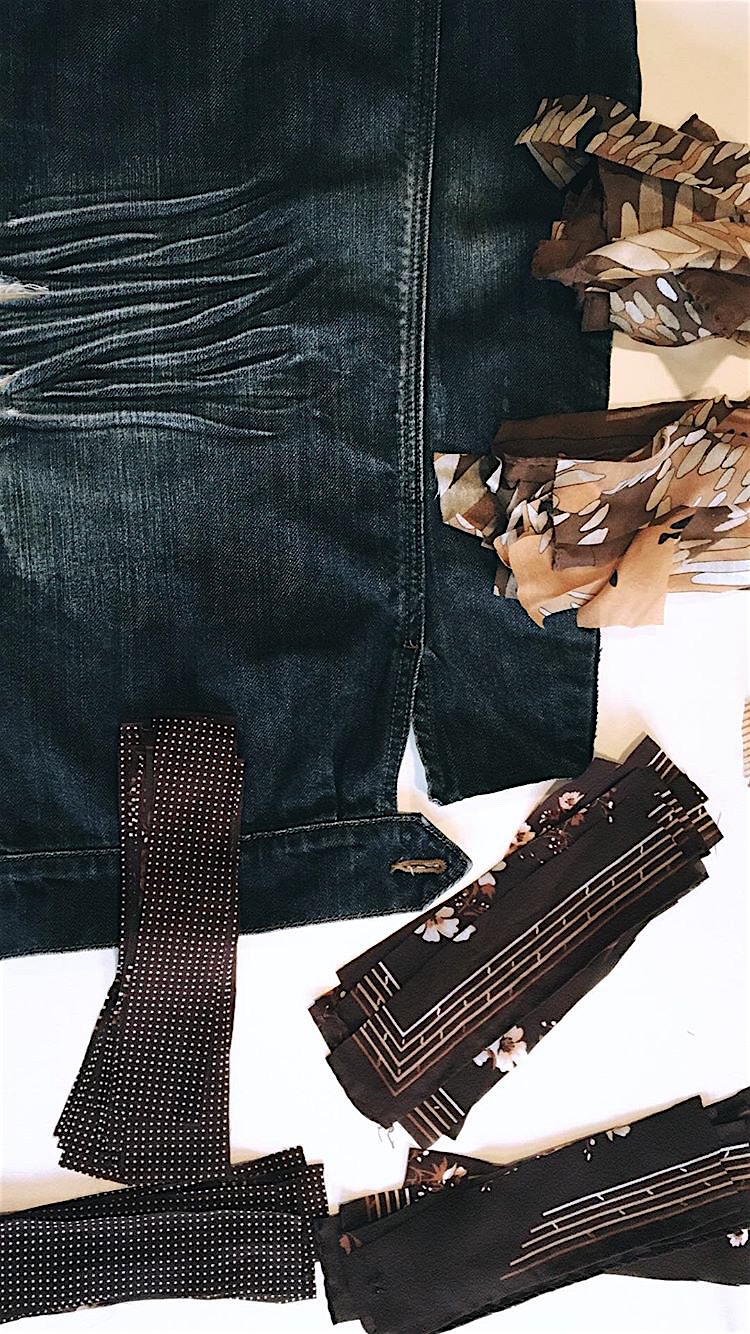
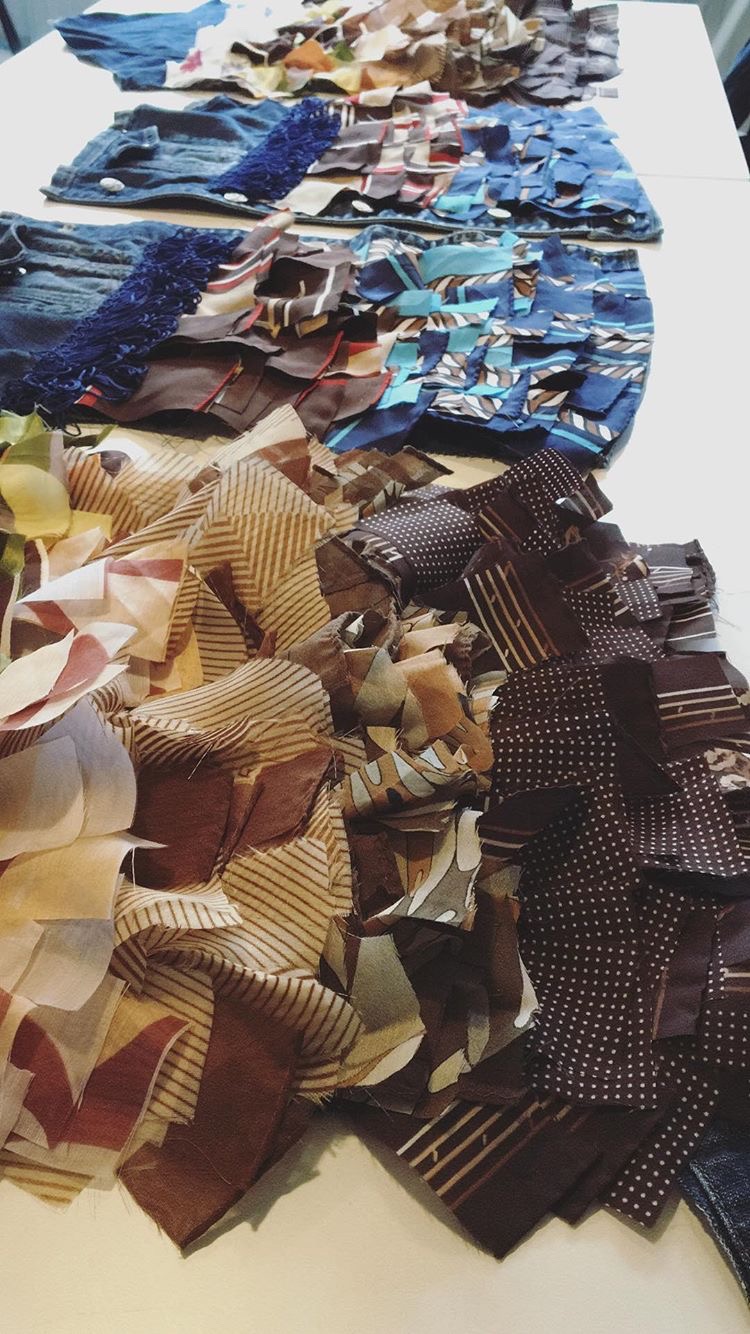
I used vintage scarfs that were a little bit damaged beyond repairing and cut same sized rectangular pieces which I then sew on the jacket. Sleeves I had to take apart otherwise I could not been able to fasten the scarfs.
By separating the colors and sewing matching ones side by side the surface is more interesting and lively. And the number of vintage scarf pieces I used to this jacket… 583 pieces.
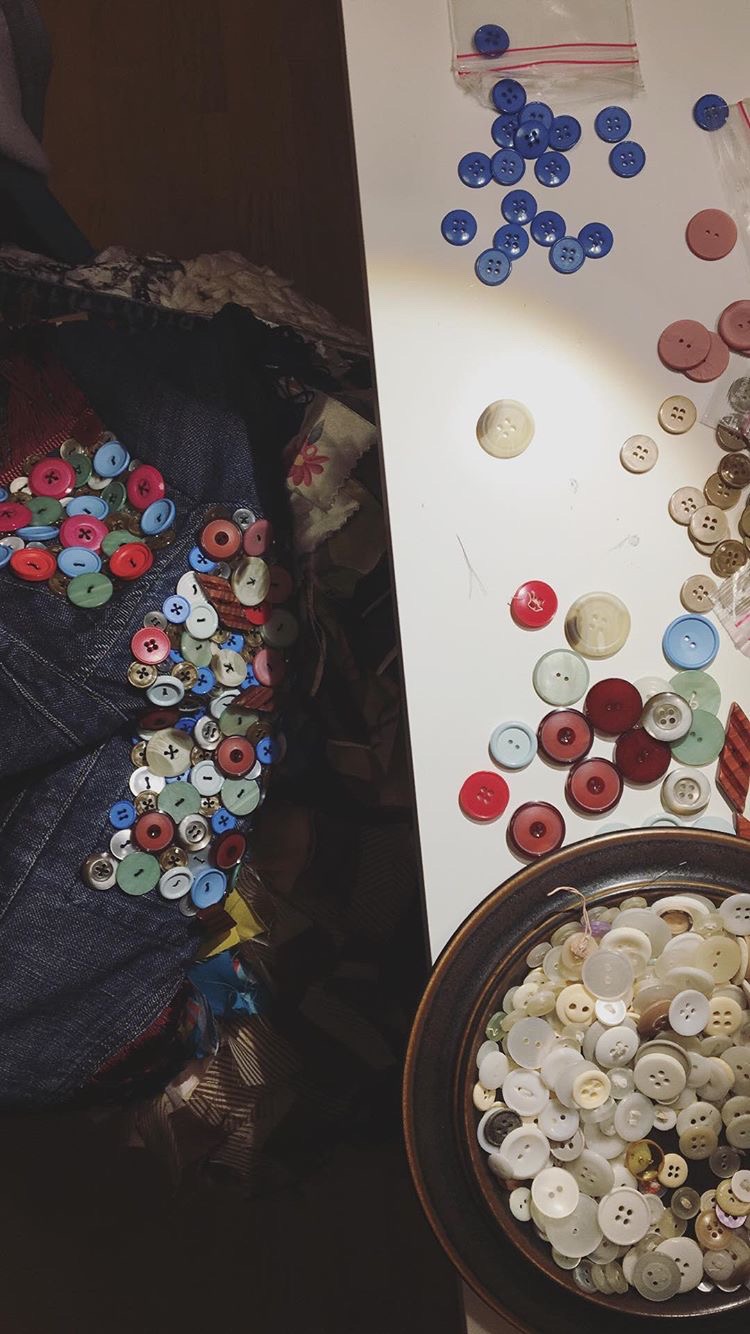
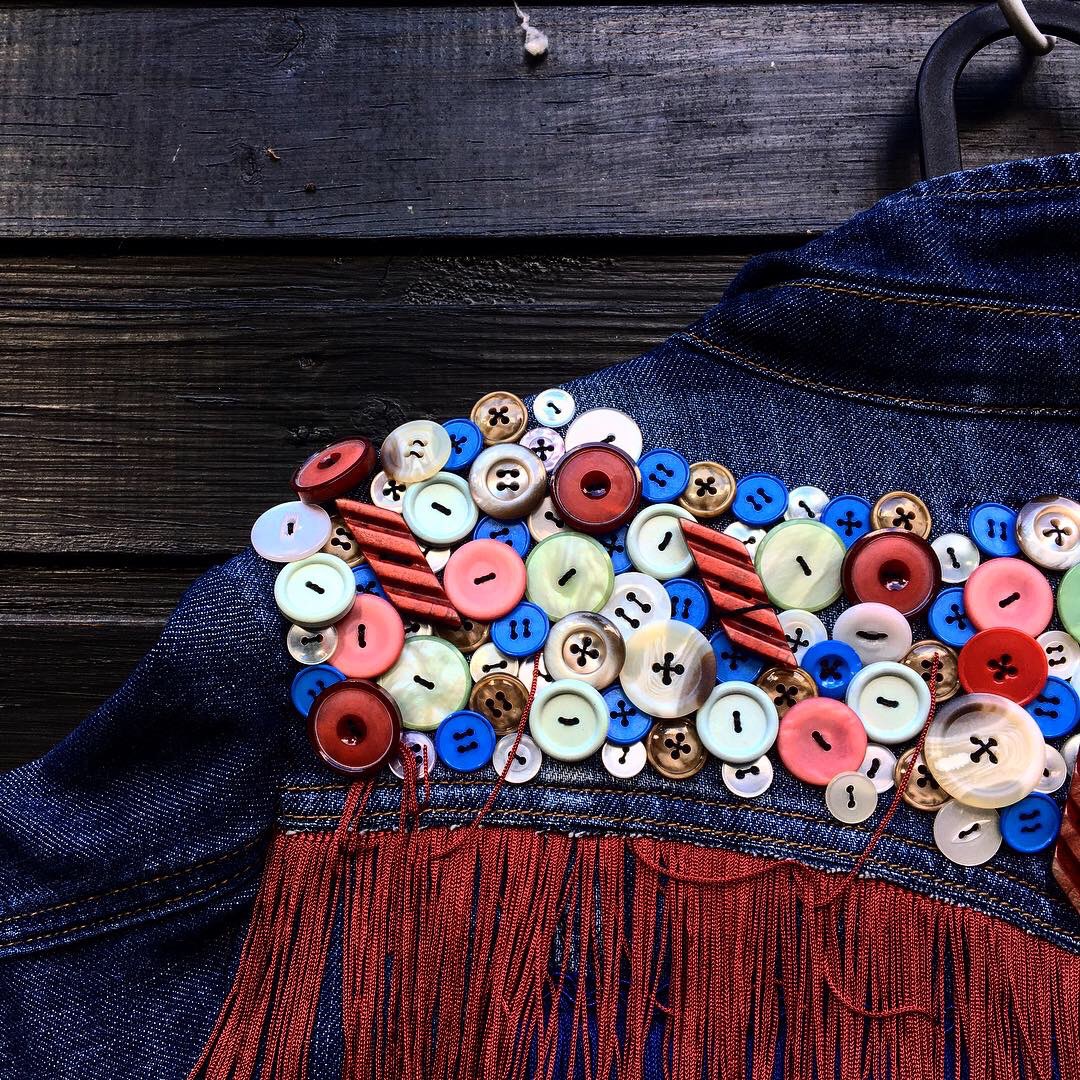
Buttons I attached by hand and each one is carefully placed so the colors again flows easily and makes interesting surface.
I adore old men shirts. Usually cause the materials are quality cotton and used shirts have been washed again and again making the material soft. When I visit second hand or charity stores I always go through the mens section just for these shirts. Now i had an idea stuck in my head to combine shirts with different cuttings and pleats.
I chose to my design piece one old pink colored made in Finland shirt and striped US POLO shirt. I started to think about the lines, how the cut should be done in the front to make the most use of the buttons.
When I figured out the way how to make the front look like I cut out the pieces. I usually do not plan that much in advance, just let the flow determine my design.
In the pic above shirt is finished from the front, back is still without pink part. At this point I also started to think about the sleeves, something with pleats and volume.
Sleeves ready, pink panel in the middle of the sleeve with some volume on the shoulder.
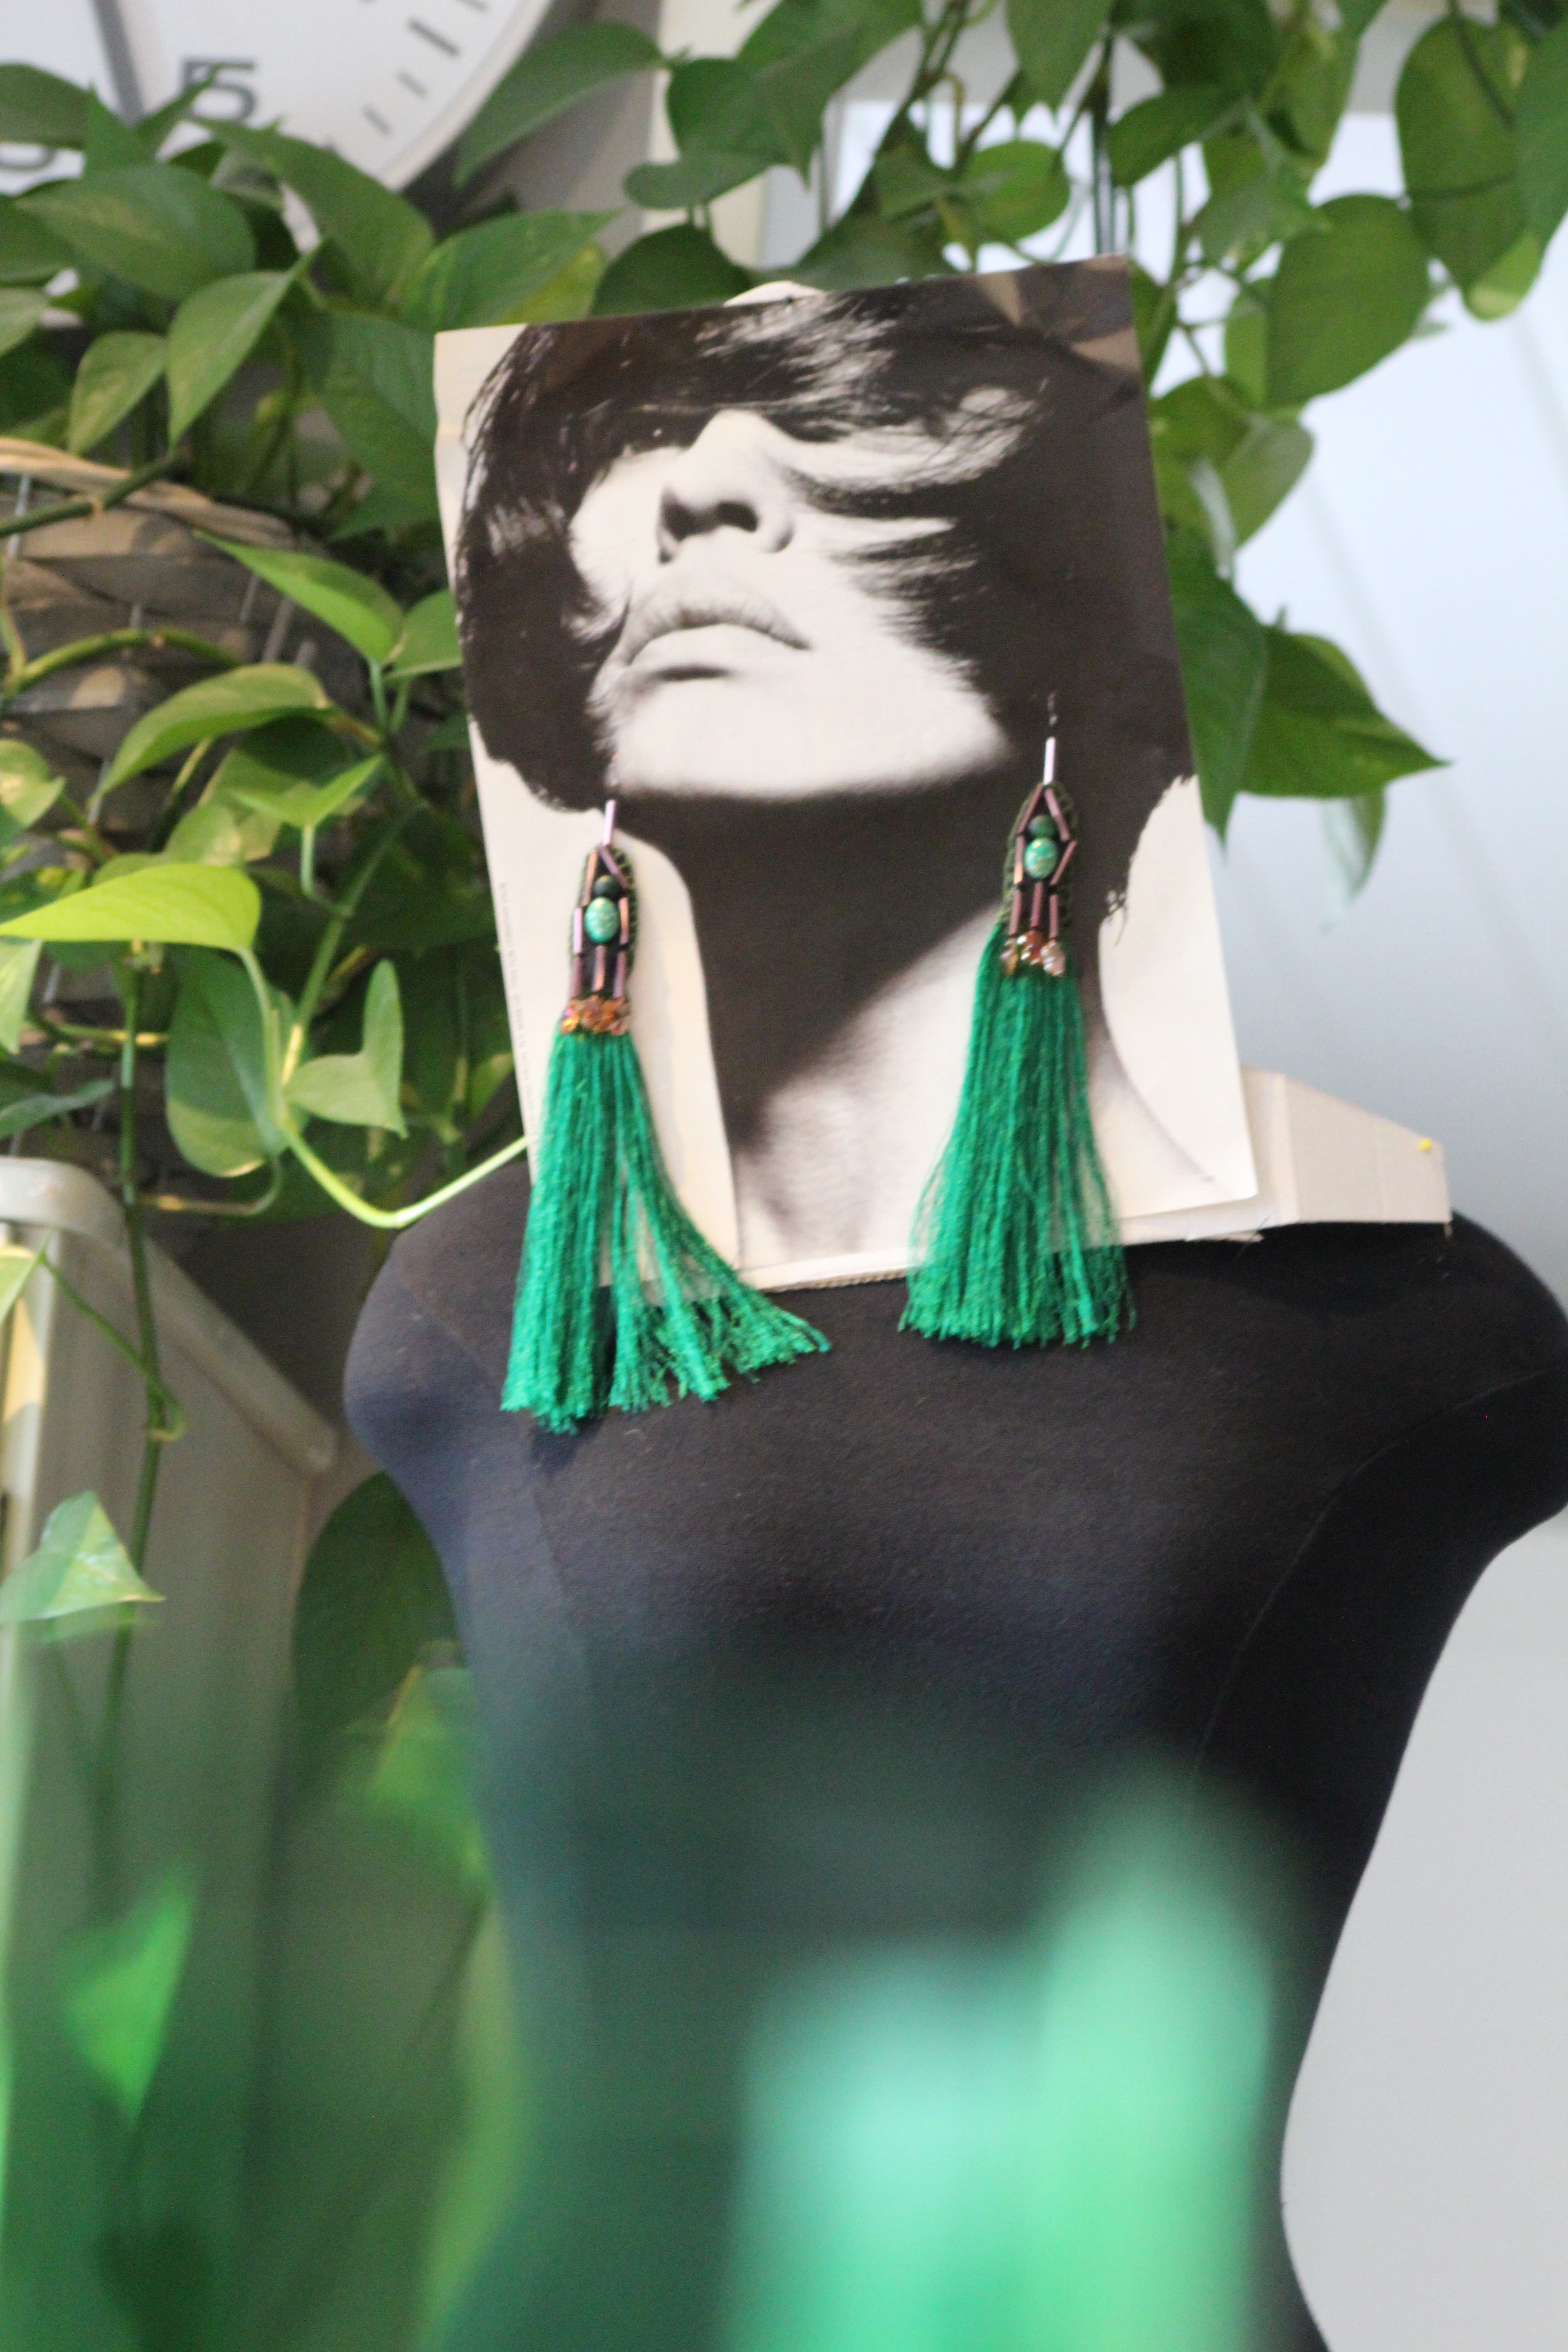
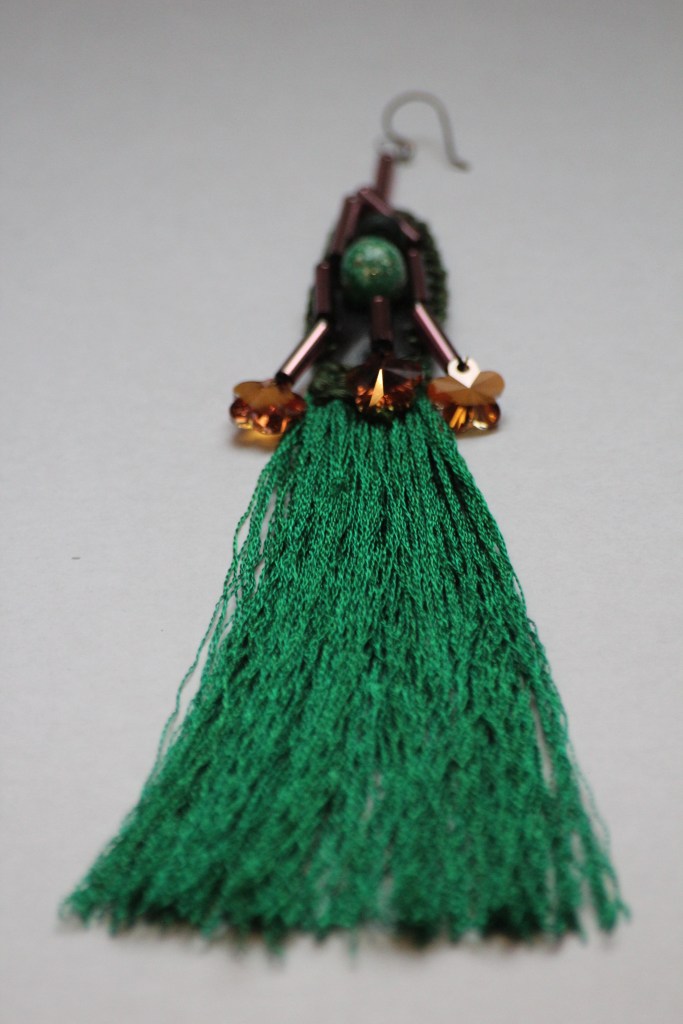
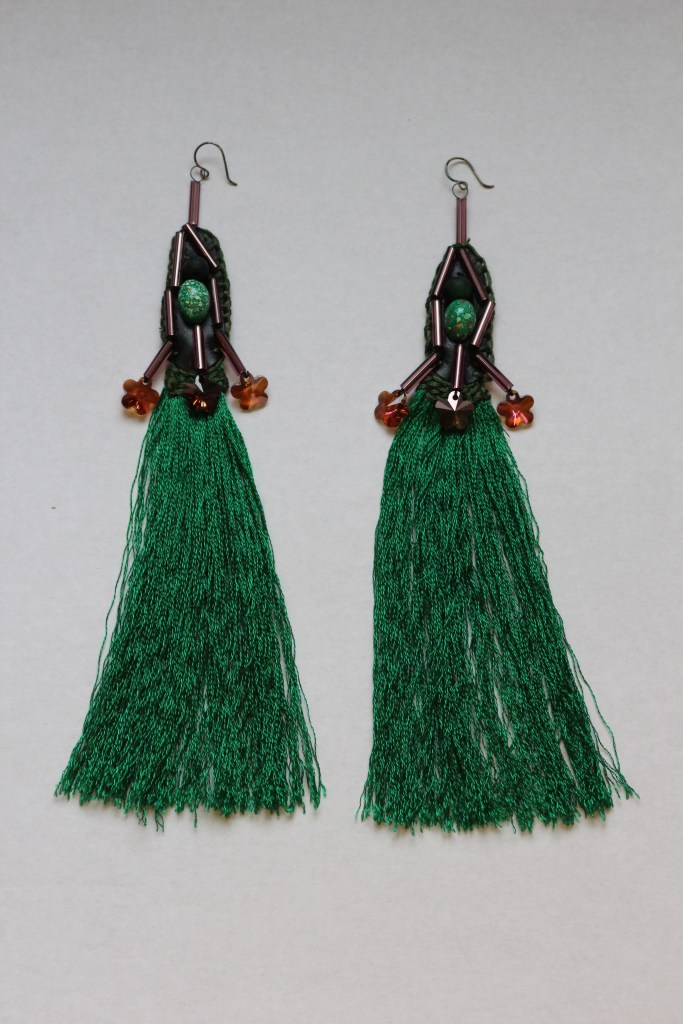
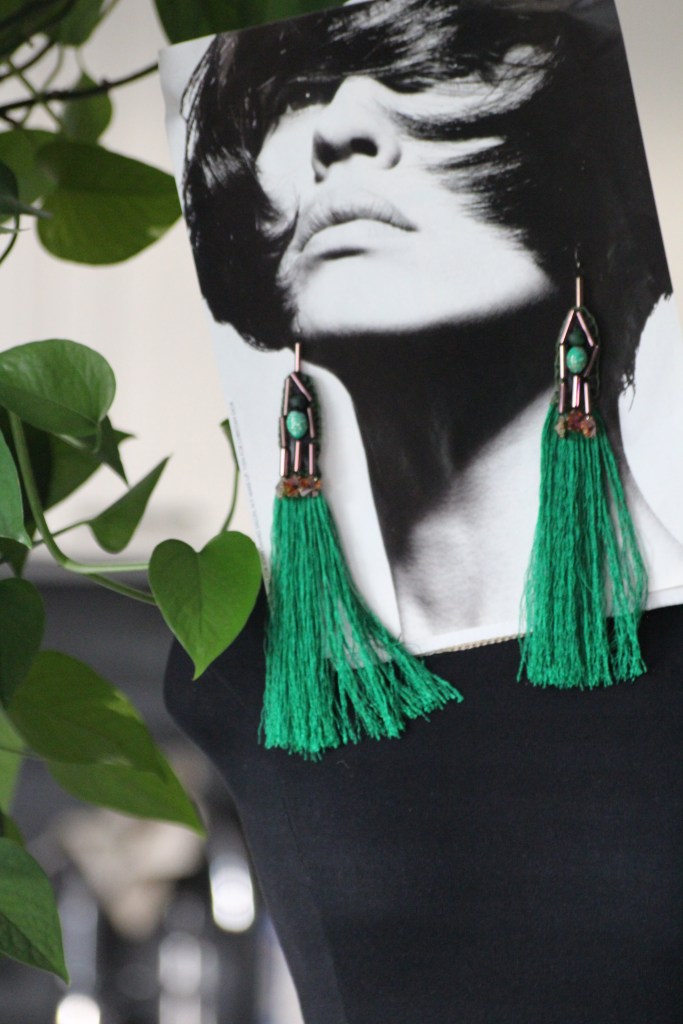
Few years ago I found green silk yarn from nearby charity shop. As I was going through my material boxes, looking for a pair of shoulder pads to another project I came across this hidden green silk gem. I imagined a summer party, soft warm evening air, long chiffon dress, barefoot and these earrings with long green silk tassels.
Silk yarn was in tight bundles and curled so I needed to first soak the yarn in water and let air dry to get it straight.
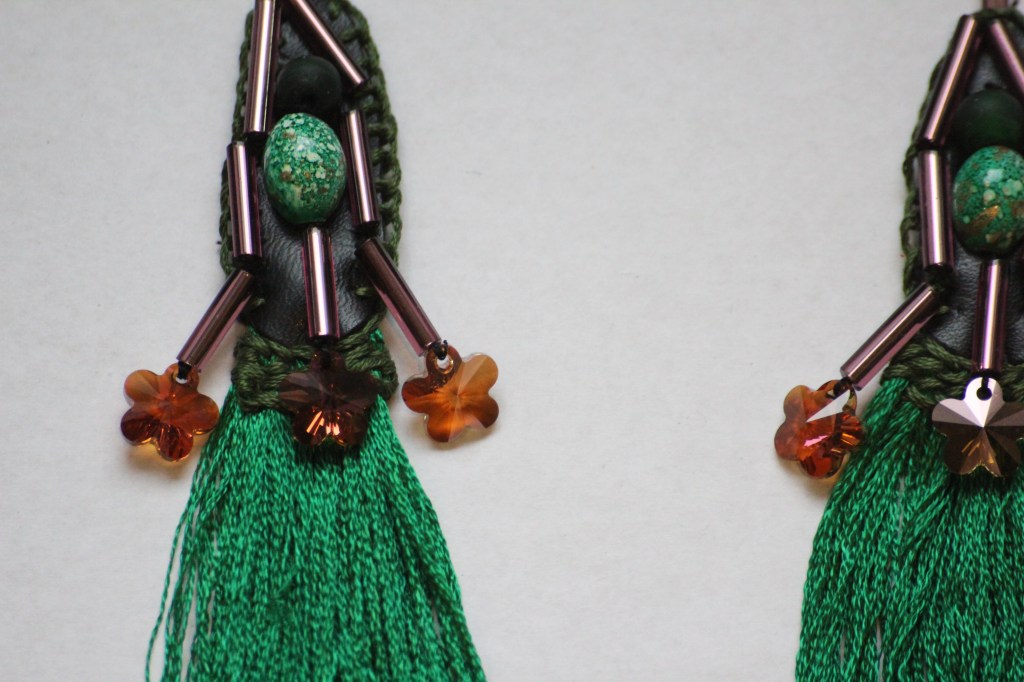
My work flow when creating my earrings is unpredictable, I cannot say directly when my earrings are ready. Sometimes I leave the whole design process for weeks on my table and pick it up again when I feel like it. Here on these “green garden party” tassels I was not able to decide how the top part of the earrings would look like, first I let them to be quite minimalistic but later on decided to add more beads and some nude colored swarovski flower shaped crystals. Minimalistic was not the right feeling for these silk tassels, they needed to shine and catch every glimpse of sunlight.
I love the boldness, the movement of the silk yarn and the touch of raw arts and crafts feeling.
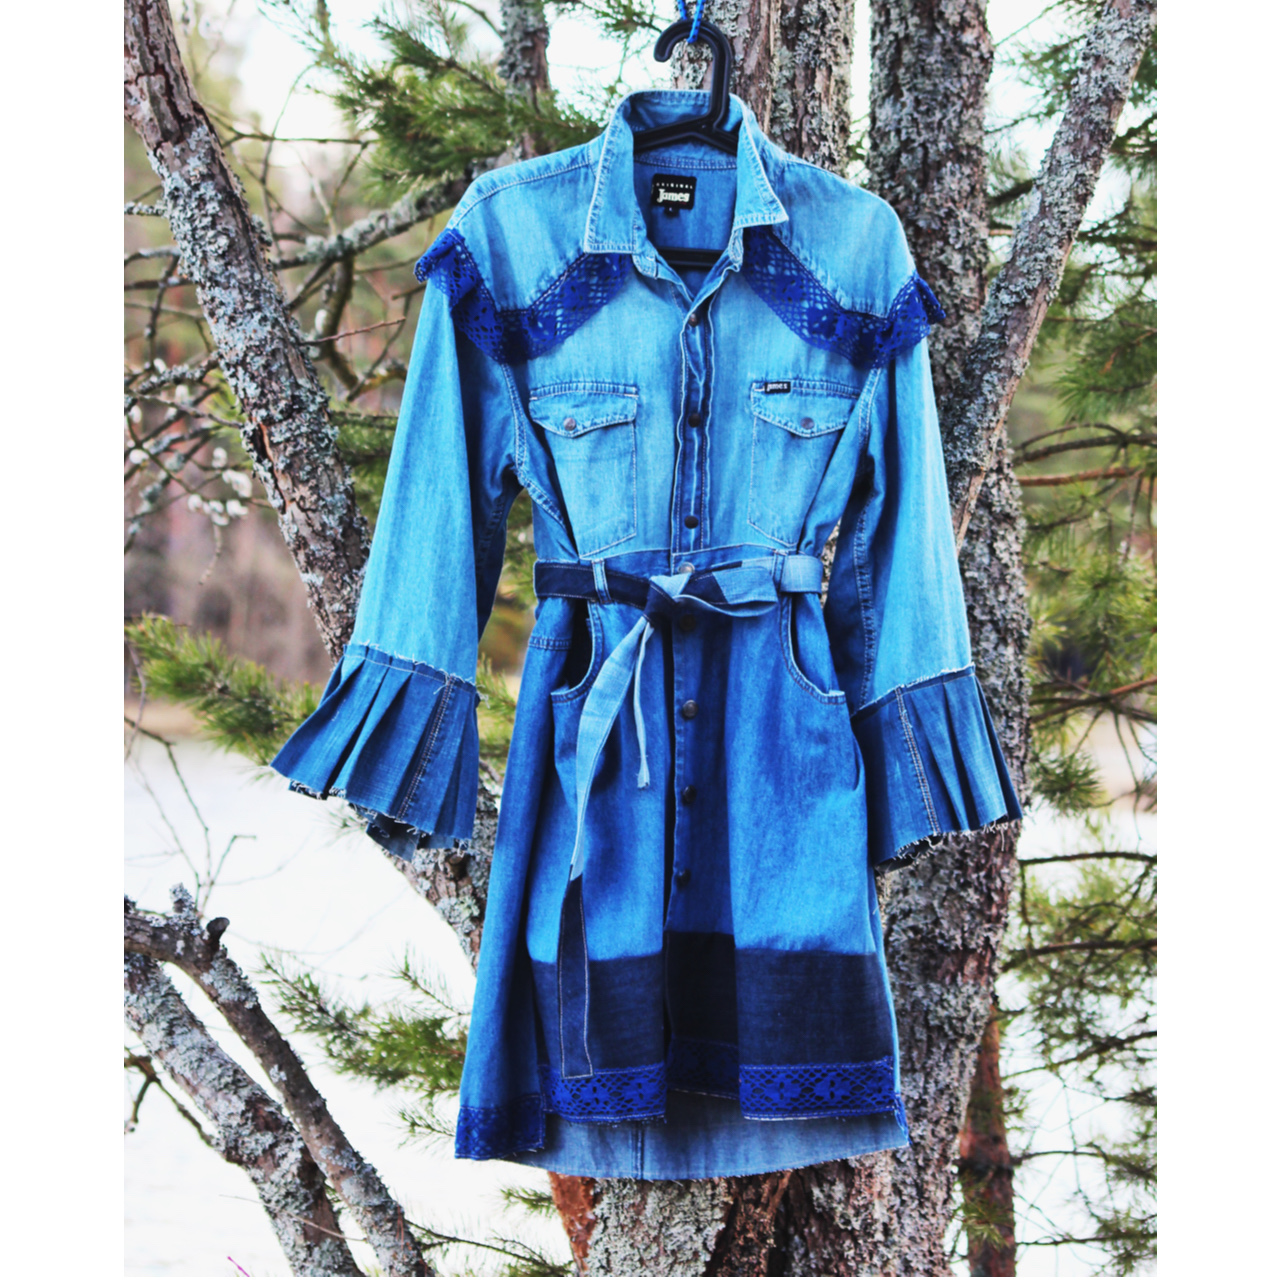
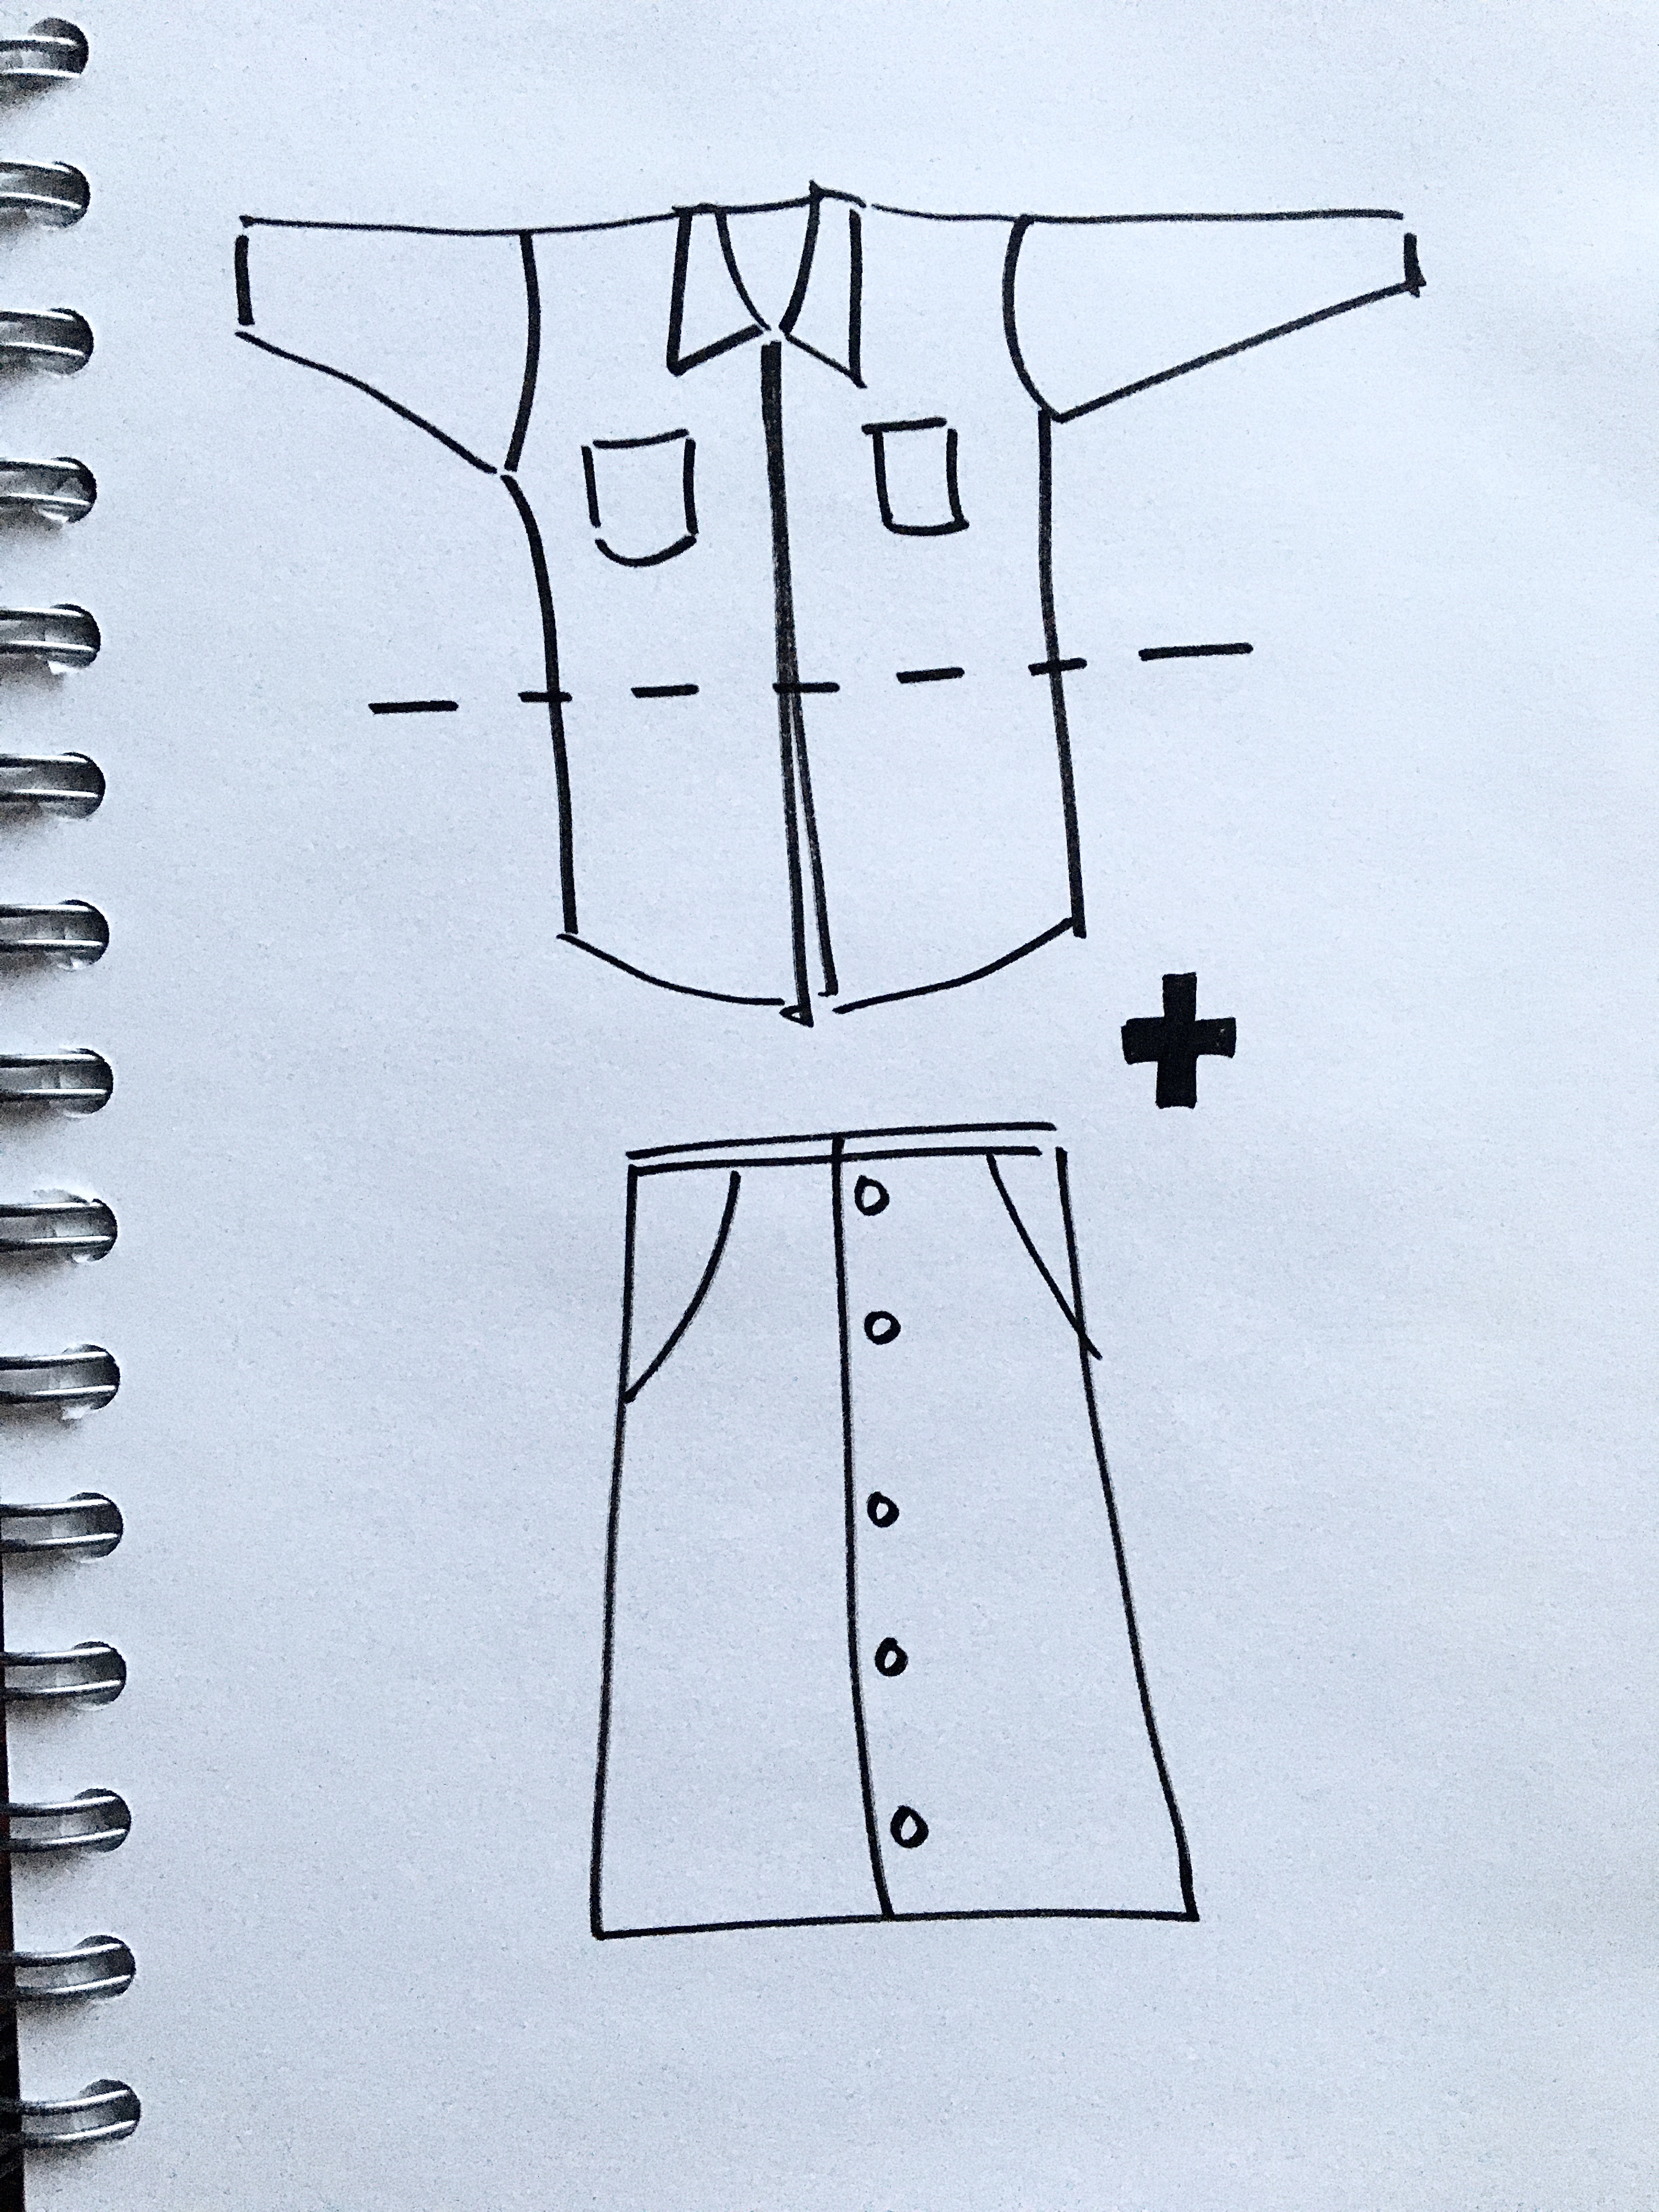
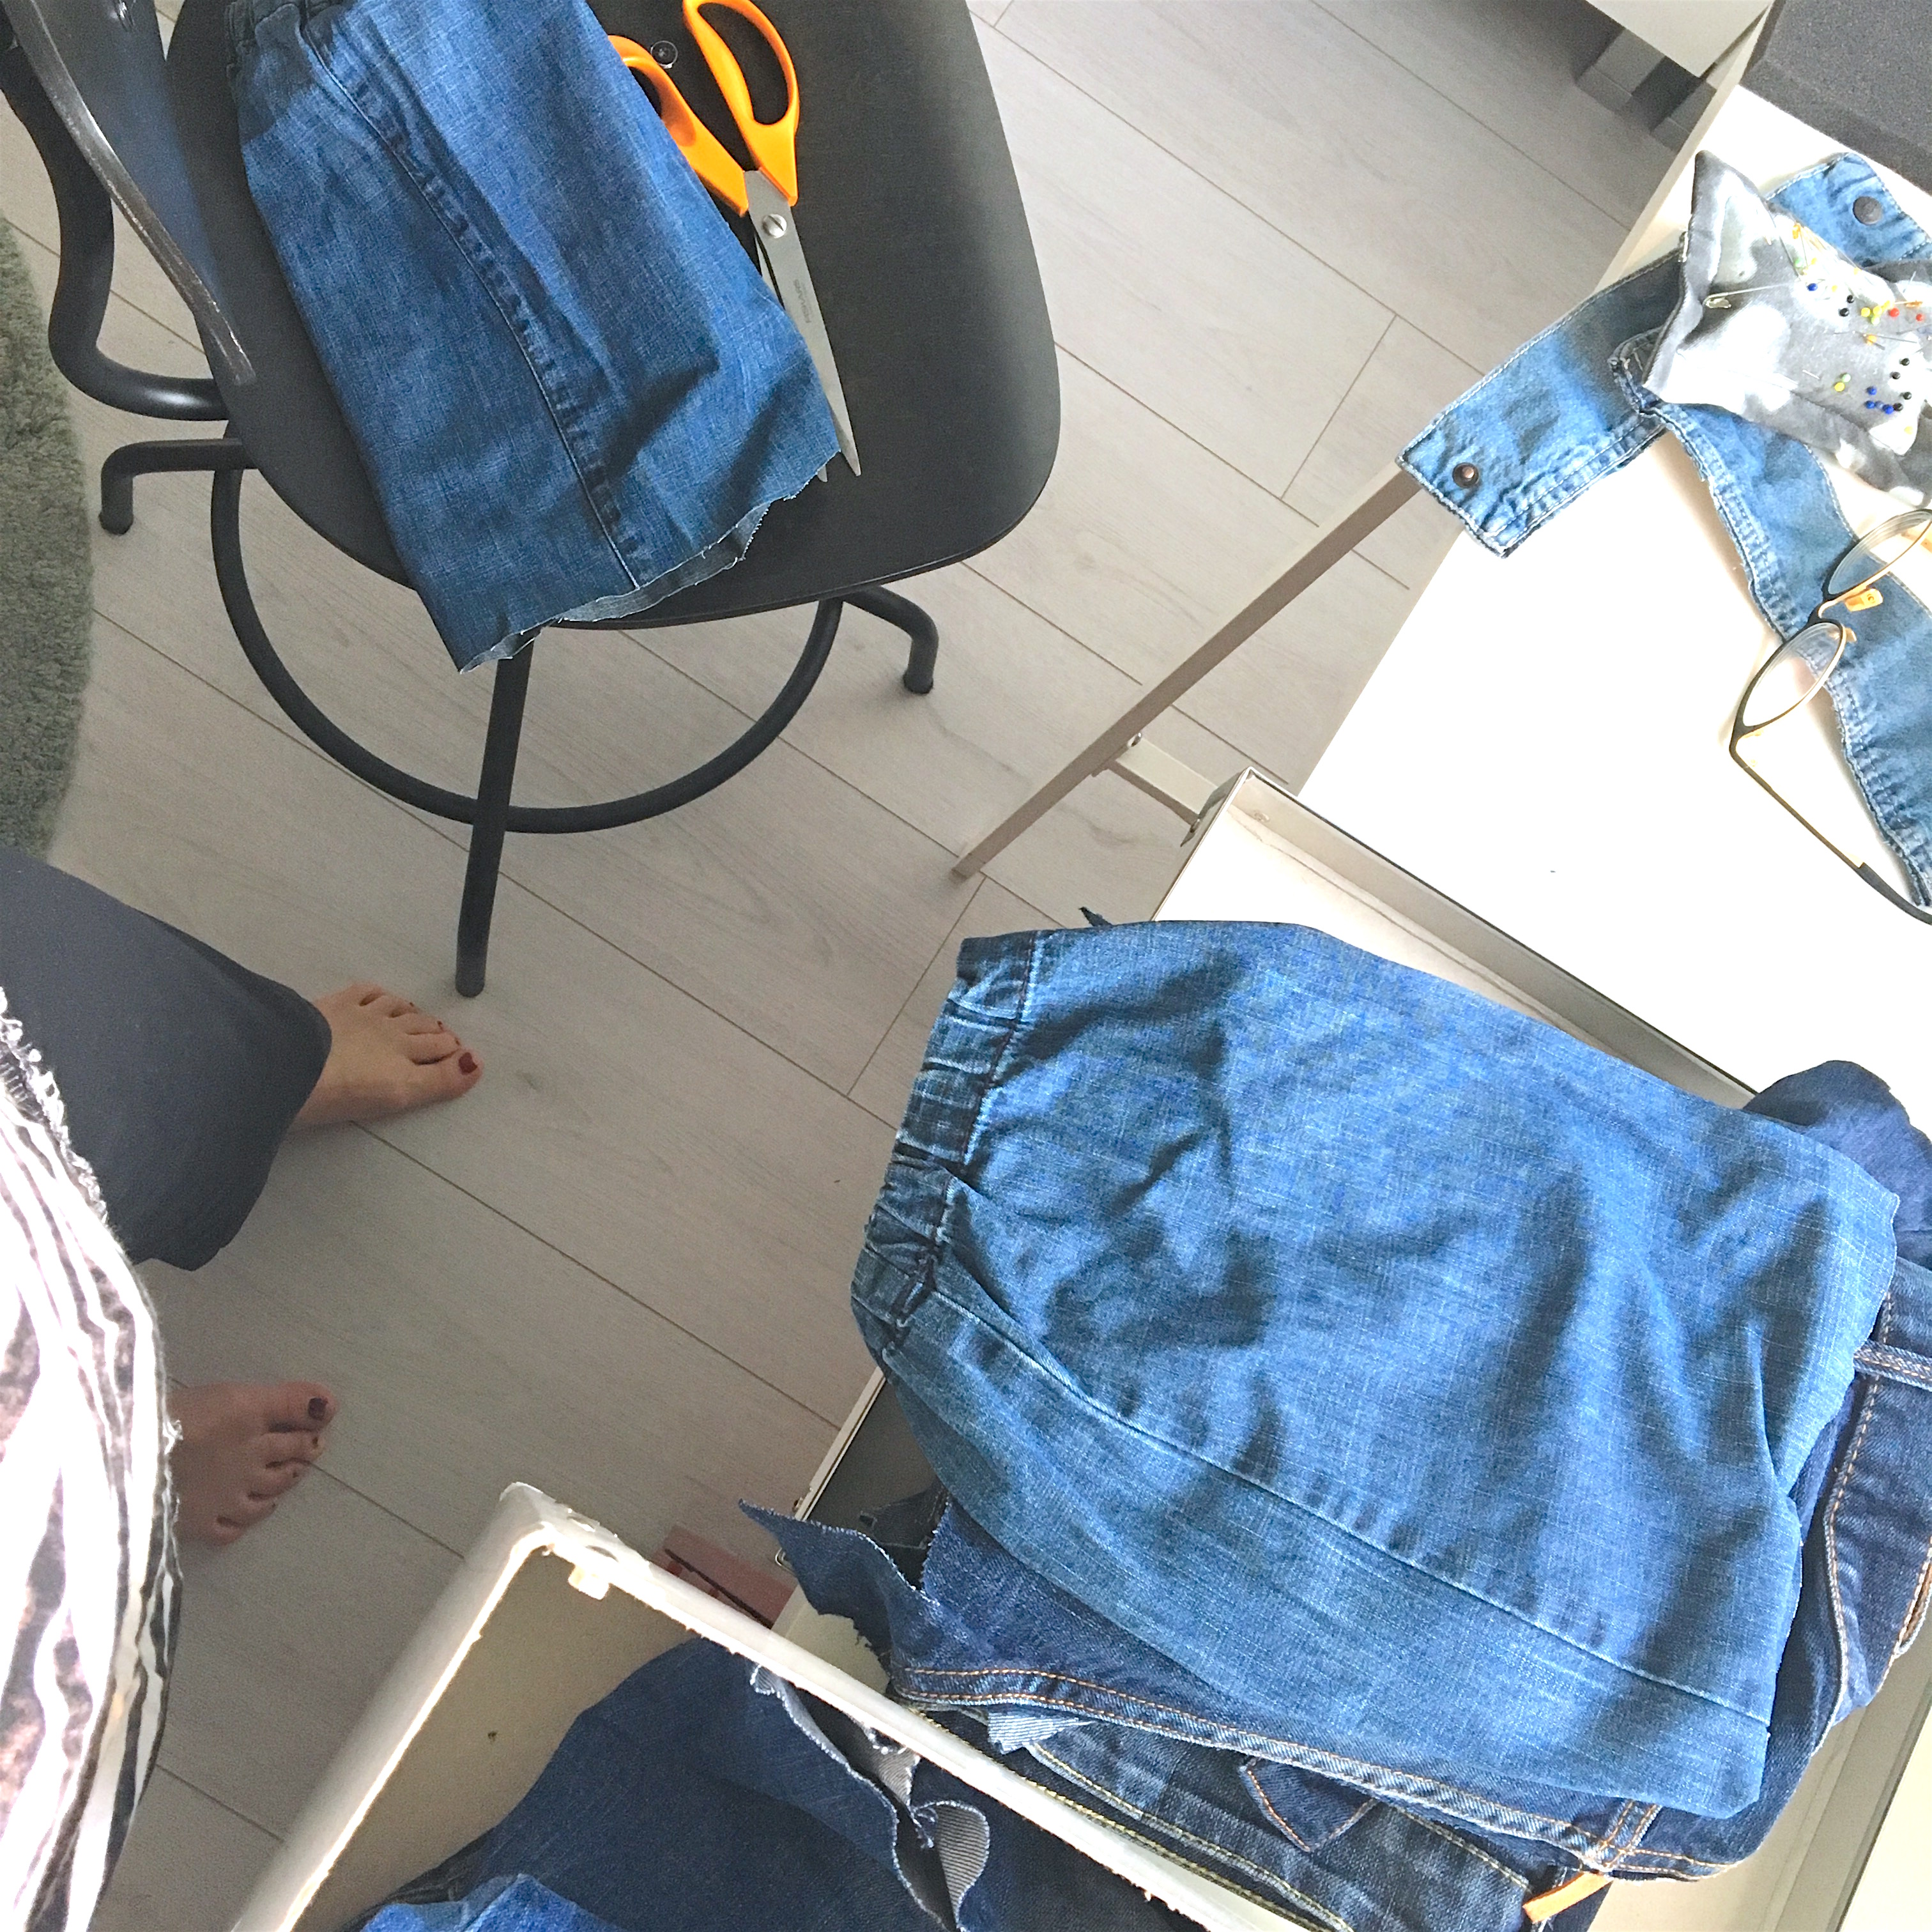
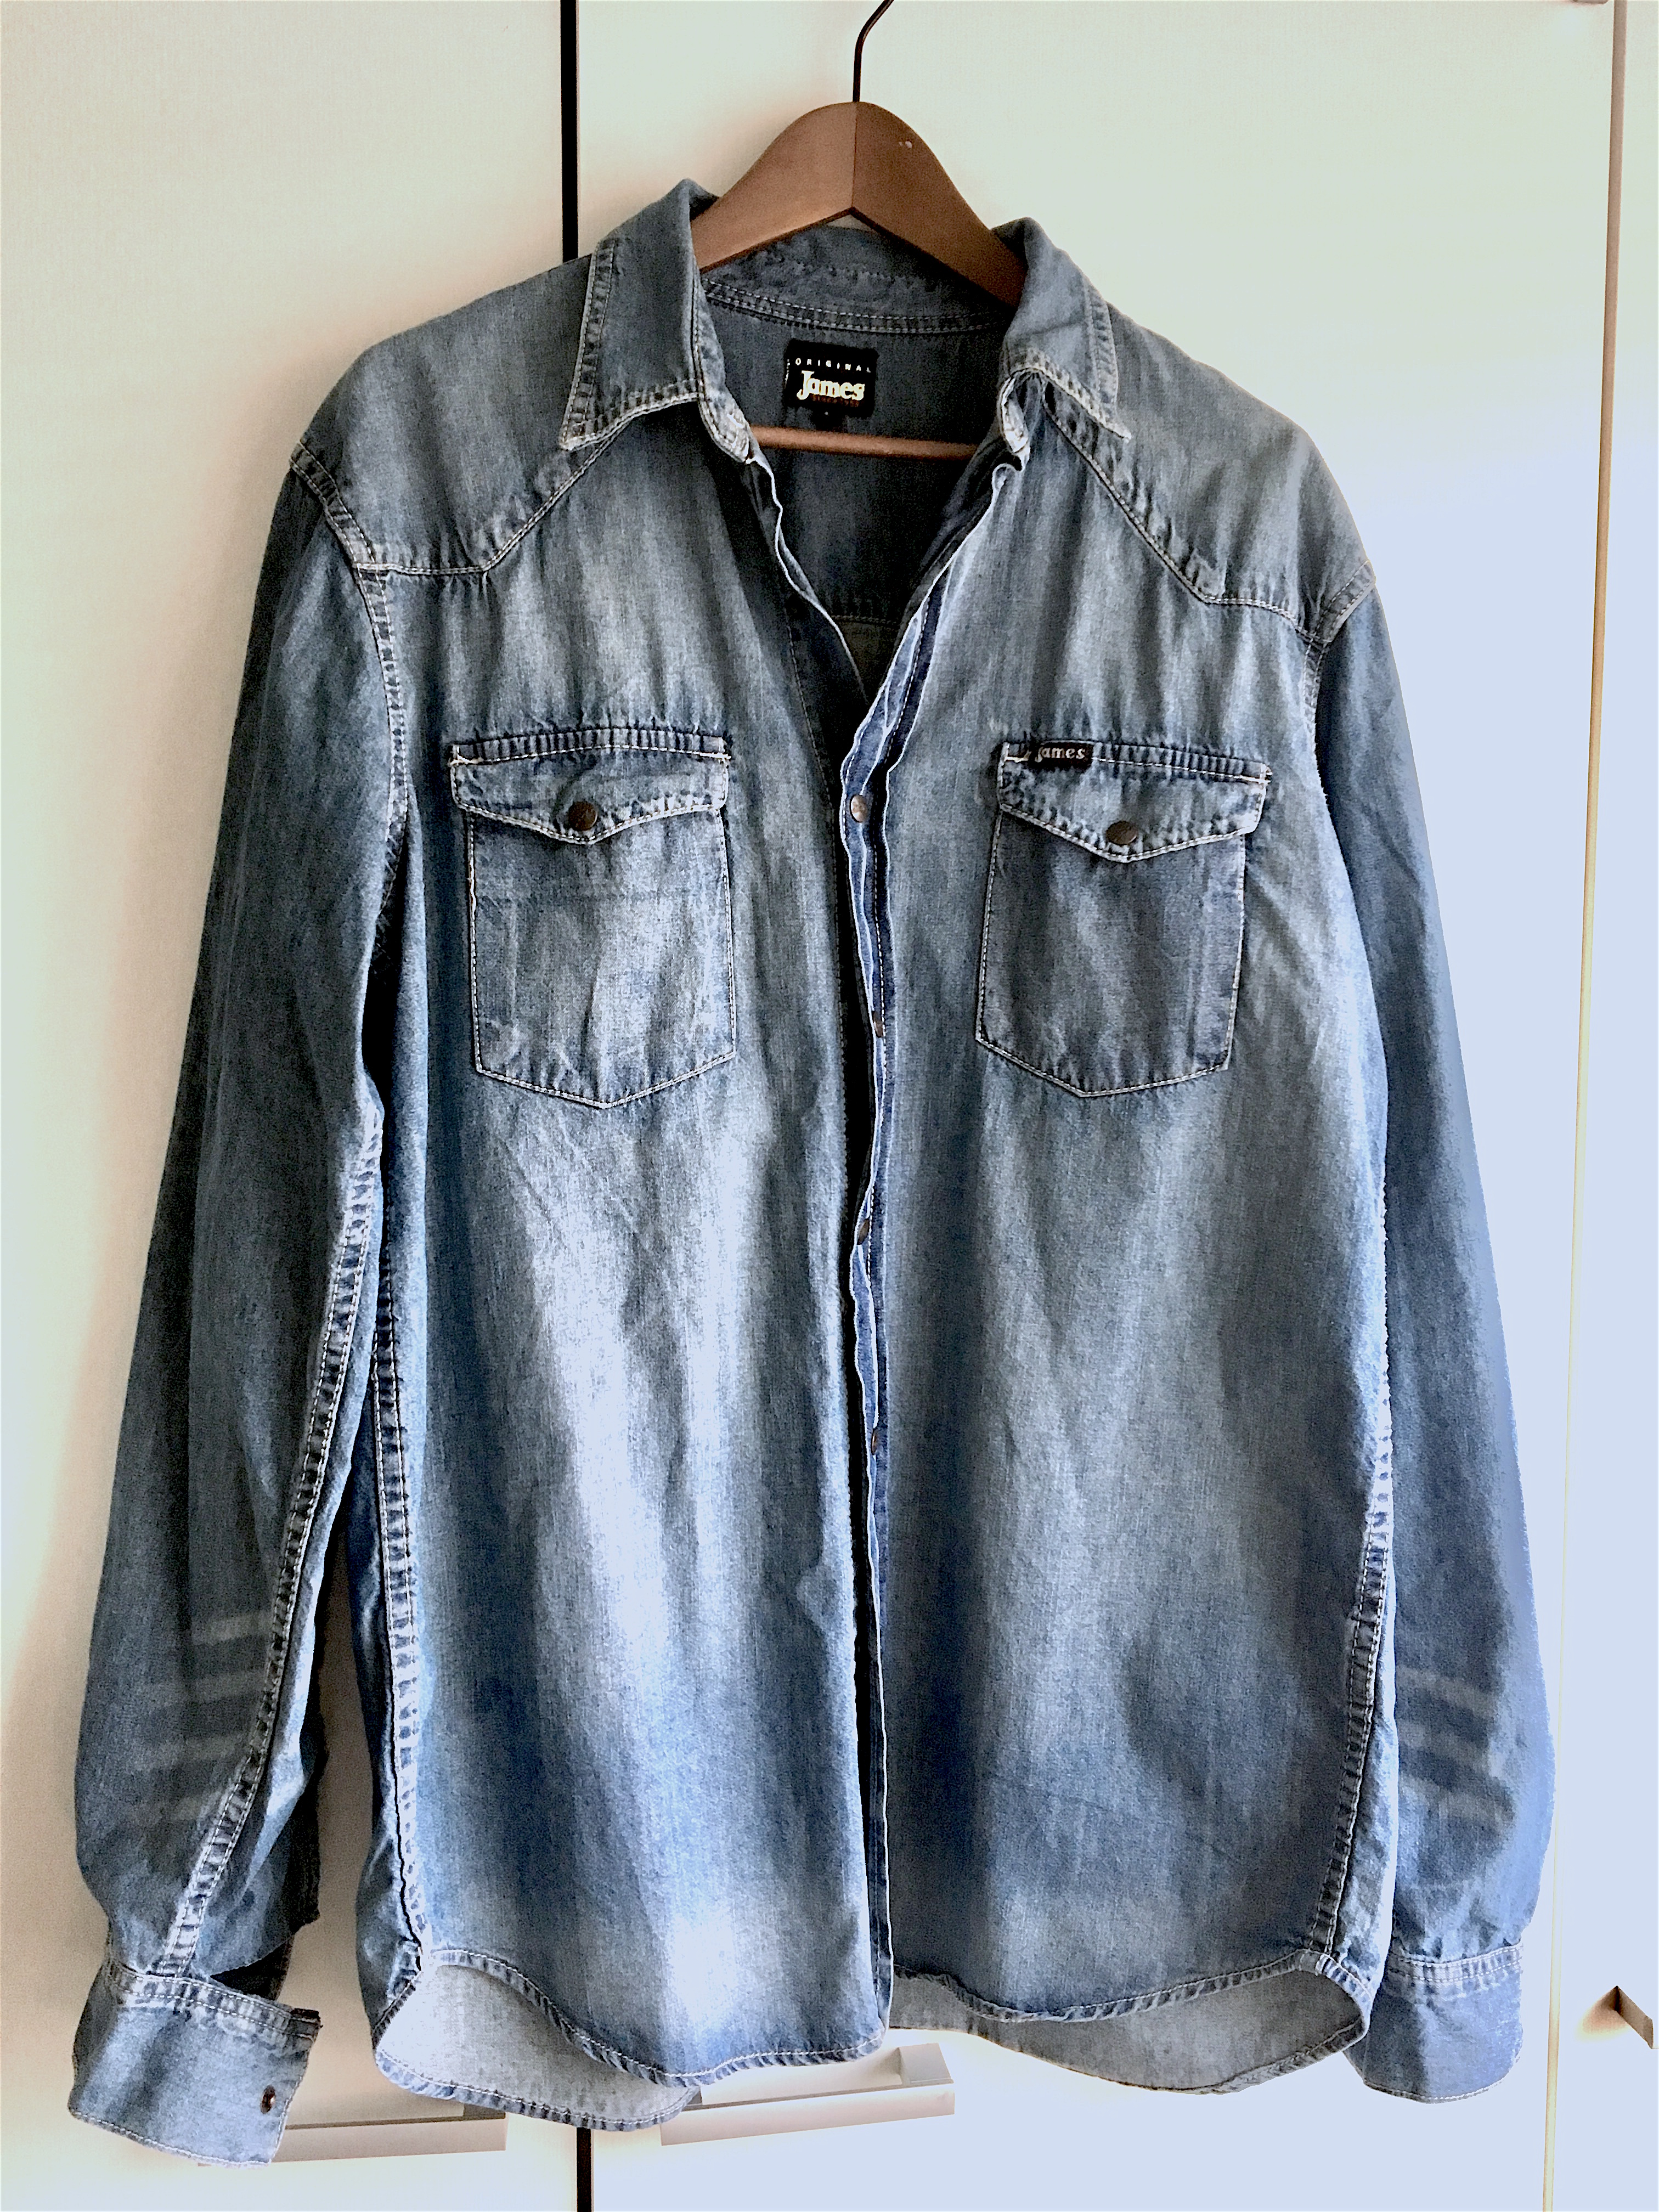
For this denim jacket refashioning I used one old mens denim shirt (labeled James) and one worn out denim skirt. Shirt I used was size L so I was able to play with the size by gathering some of the excess fabric to the back.
How I did it
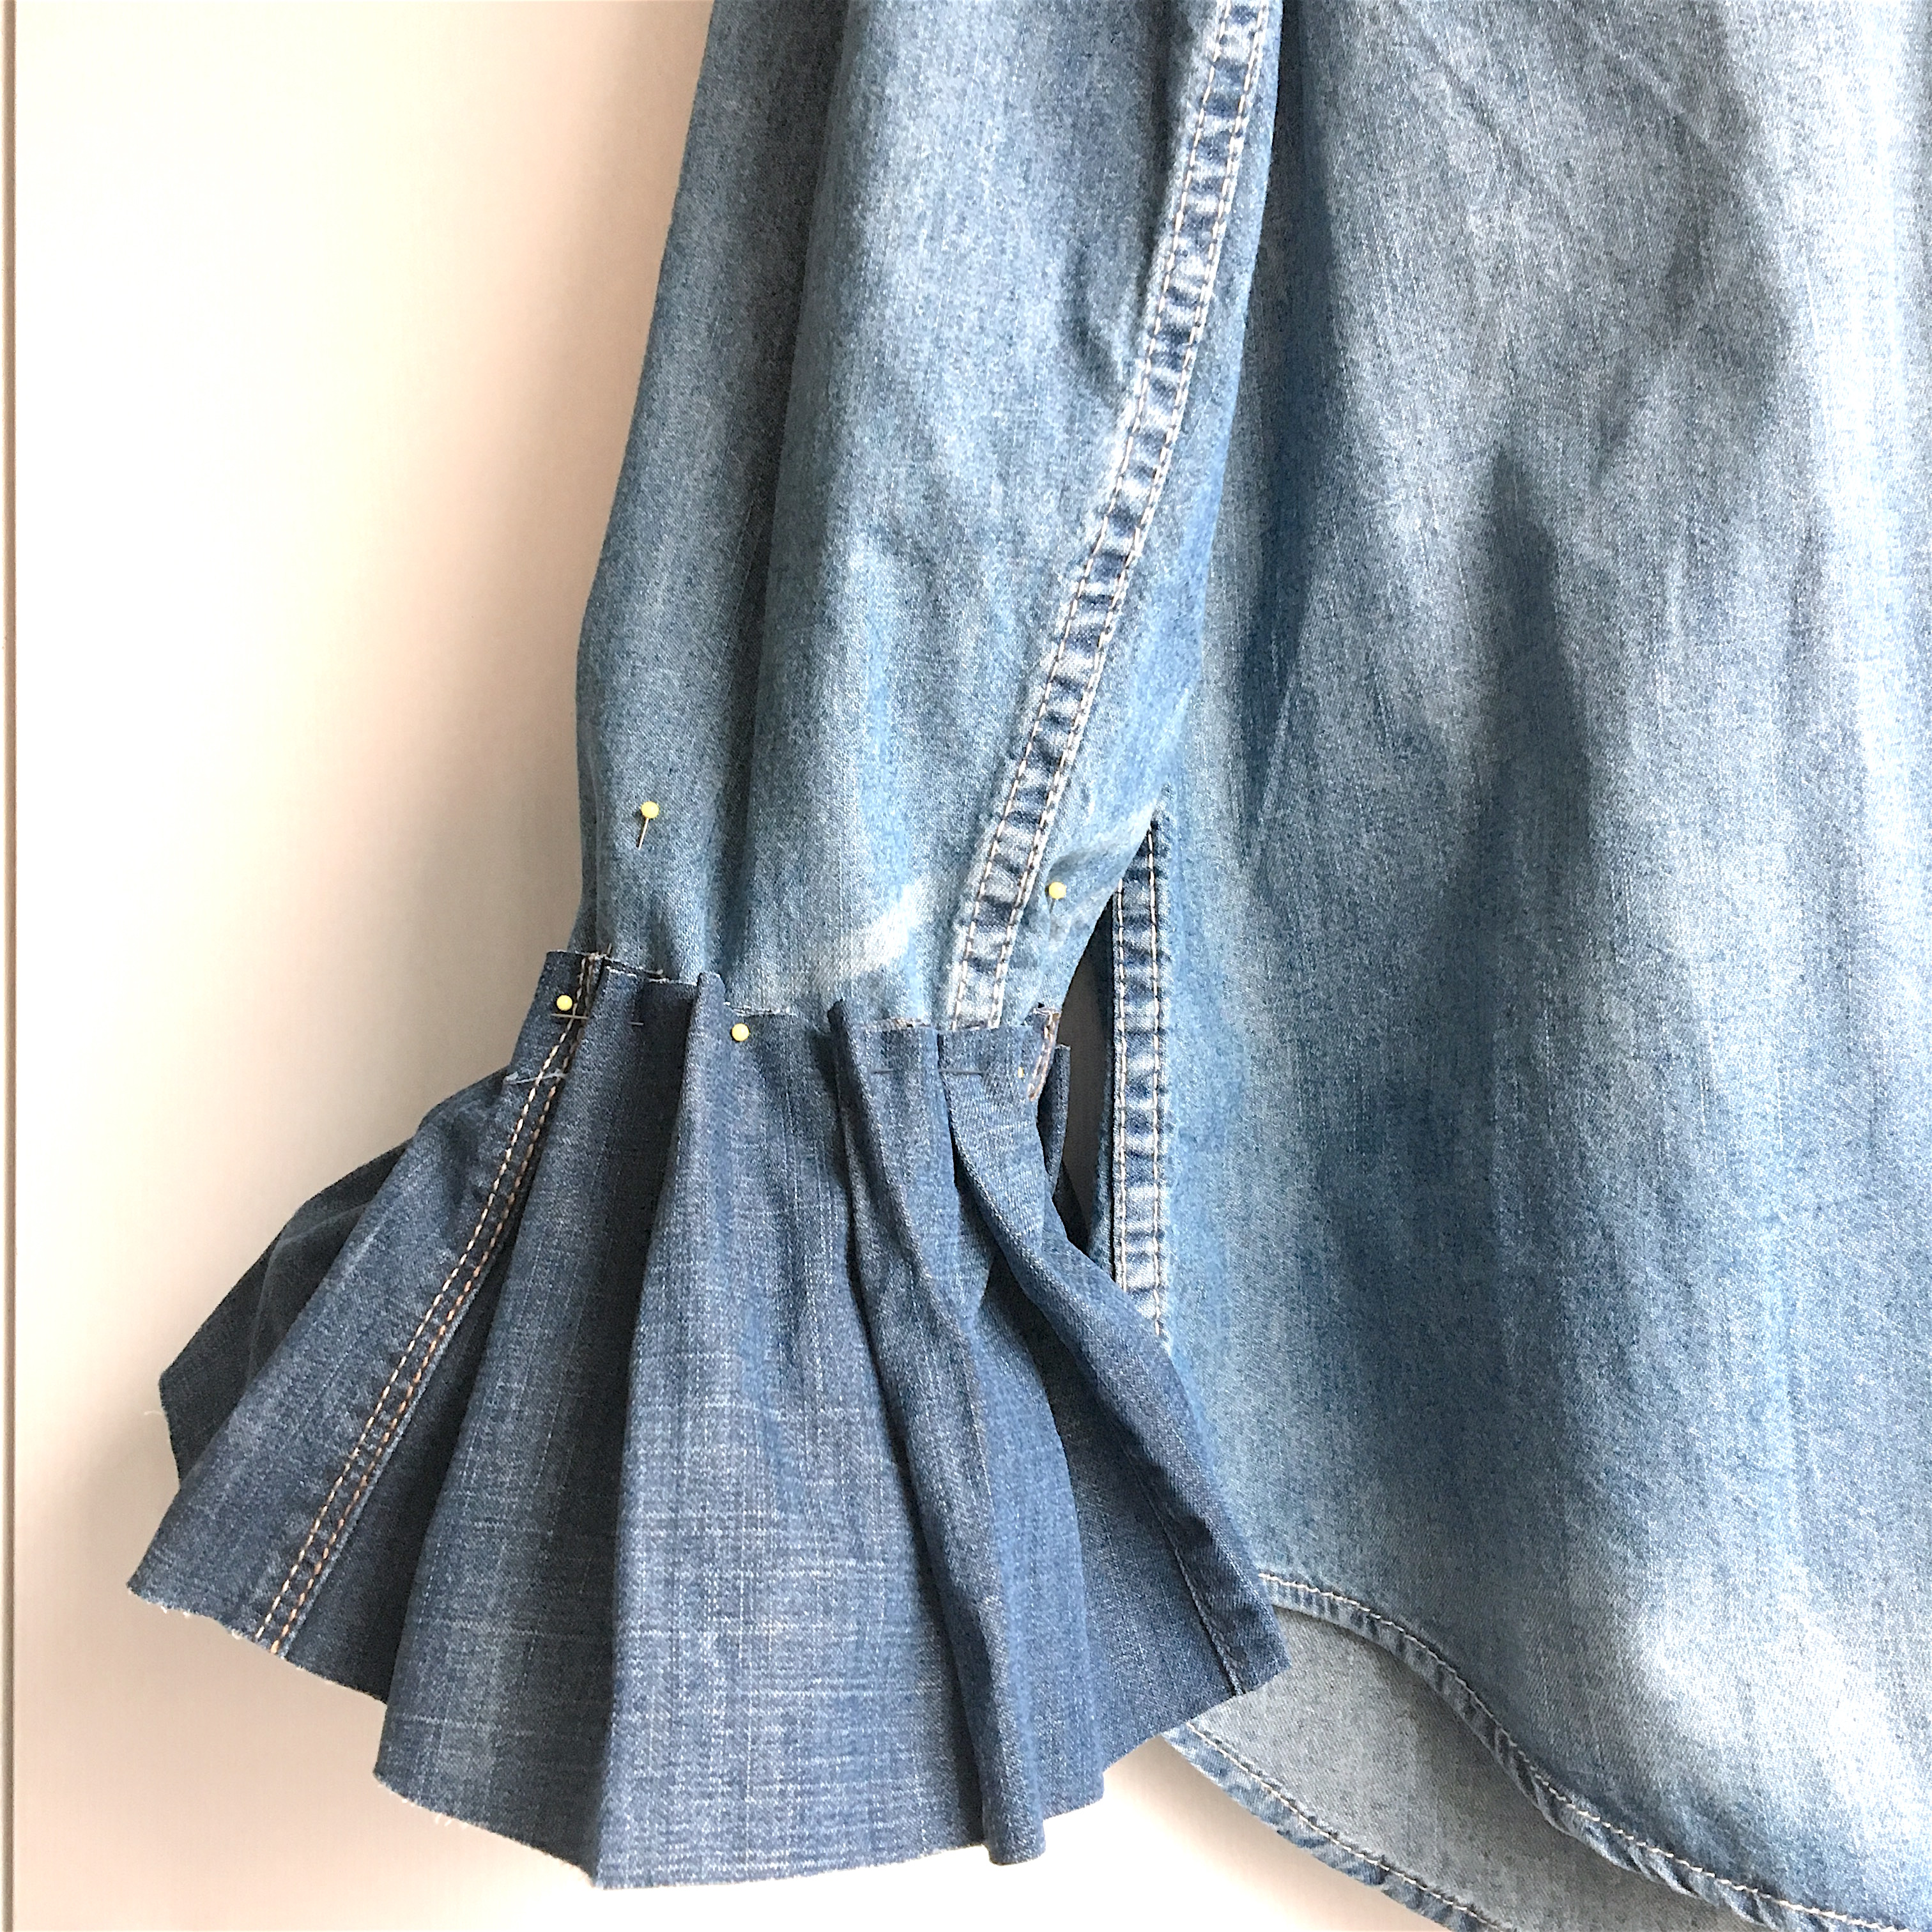
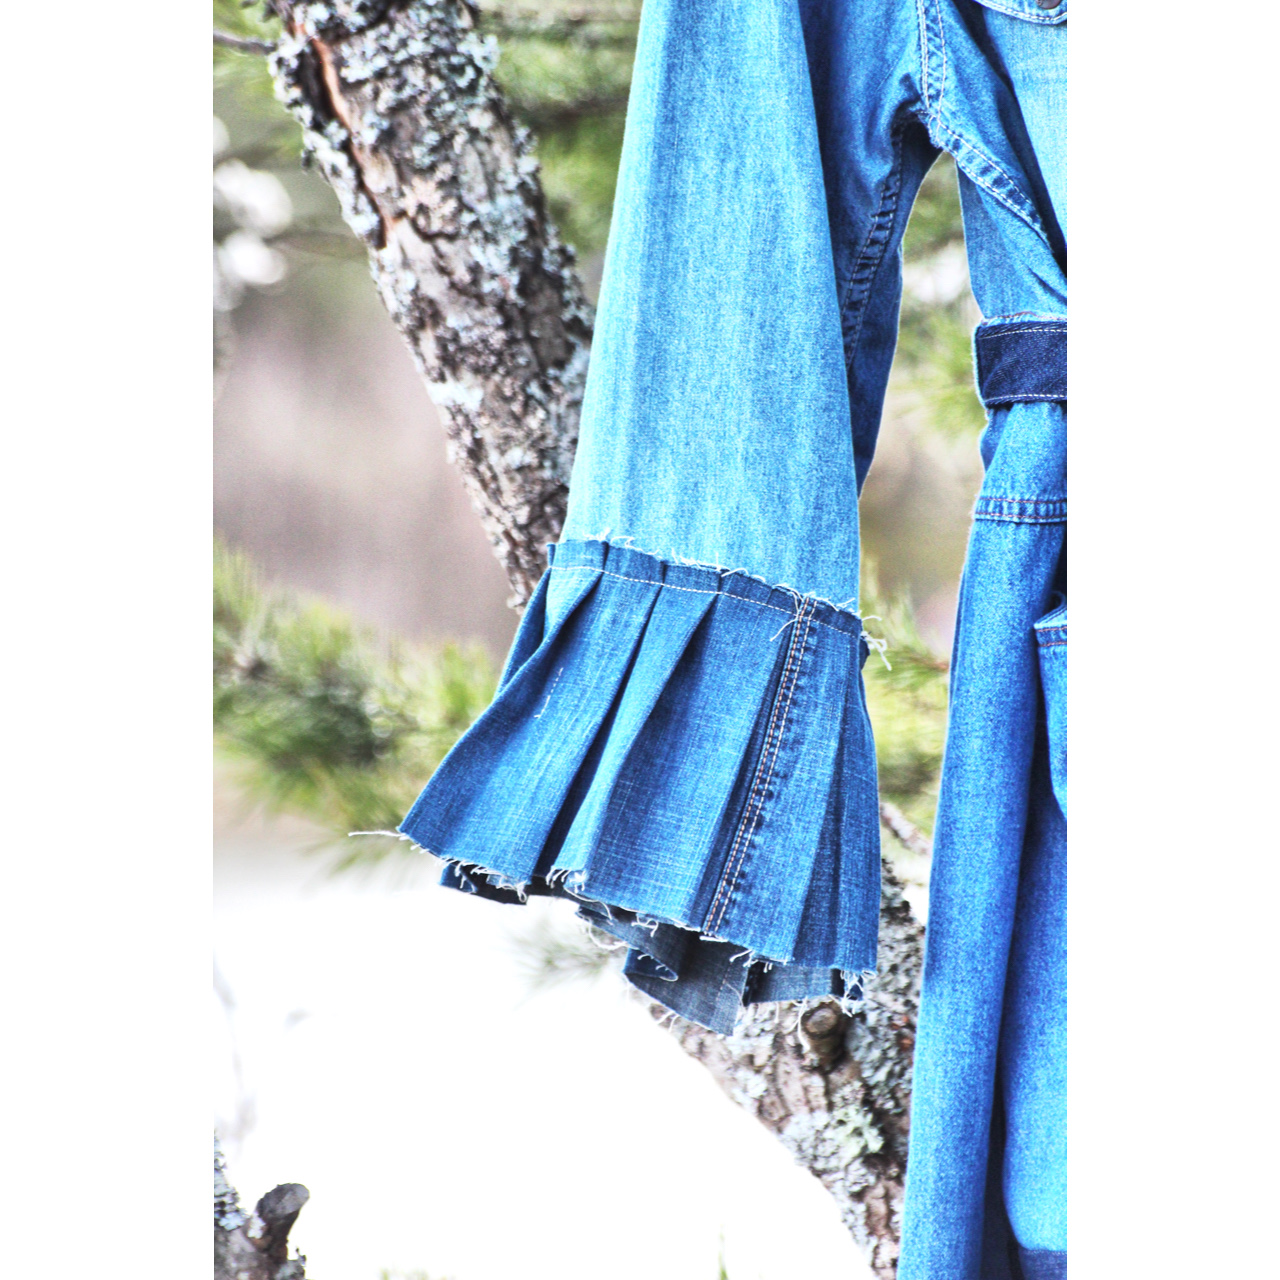
Original sleeve cuffs I cut off and attached denim pleats instead.
attaching pleats
planning pleats
As usual when I am into these refashioning pieces I do not follow any plans. My way is to go step by step, feeling the fabric and trying the piece on often between different stages just to see how it acts when on you.
my work flow
original shirt
Adding the belt done with light/dark colored denim pieces gives the jacket more feminine figure. Cotton lace was a last minute fix to hide the masculine front piece.
I am super satisfied how this denim refashioning piece turned out; modest flamboyant with contemporary twist.
White shirt, blouse or dress is just an open invitation to me for refashioning or otherwise creating something else interesting out of the “boring” white garment. In this case it was an old, used mens shirt made from top quality cotton. As usual I did not have any plans, just went with the flow. Started by painting the shoulder parts free hand just a little bit over the shoulder seam so it would look like a mistake :)
I took away the buttons and painted half circles starting from small size and painting the circle bigger as I went towards the hem. The collar I cut away cause it was too formal and stiff for the style. I just left the seam like it is so that it would seem that the collar ripped off. It will be interesting to see what washing does to the seam, better or worse. Well I deal with it then.
By cutting off the sleeve cuffs the shirt became more feminine and light. The sleeves I scrunched by folding some parts here and there and sewing the layers together. Same technique I used also to the front of the shirt. By doing this I achieved more eased look for the whole shirt, taking it away from the old formal and stiff appearance.
Gold colored circles on the sleeve unites the look with the front part.
Call it a fanny pack, a bum bag, a belt bag—the list goes on. Unlike the 90s iteration, however, this season’s hip-hugging bag is more chic than the fanny packs you’ll find on your average tourist. Through the lens of pure practicality, the fanny pack does no wrong. It’s easily accessible and hands-free.
First I was planning to sew a black belt bag but when I was searching for the right black leather from my stash I came across this red piece of faux leather and thought why not? The bag needed to be a stand out piece (not minimalistic) so I added some decoration from red suede to the bottom and to the flap. And still it looked quite unfinished…until I added studs and tassels from the same red suede. I call the bag little miss Red Dragon.
Styling the red belt bag with vintage Adidas t-shirt and vintage silk skirt makes it look more contemporary and interesting.
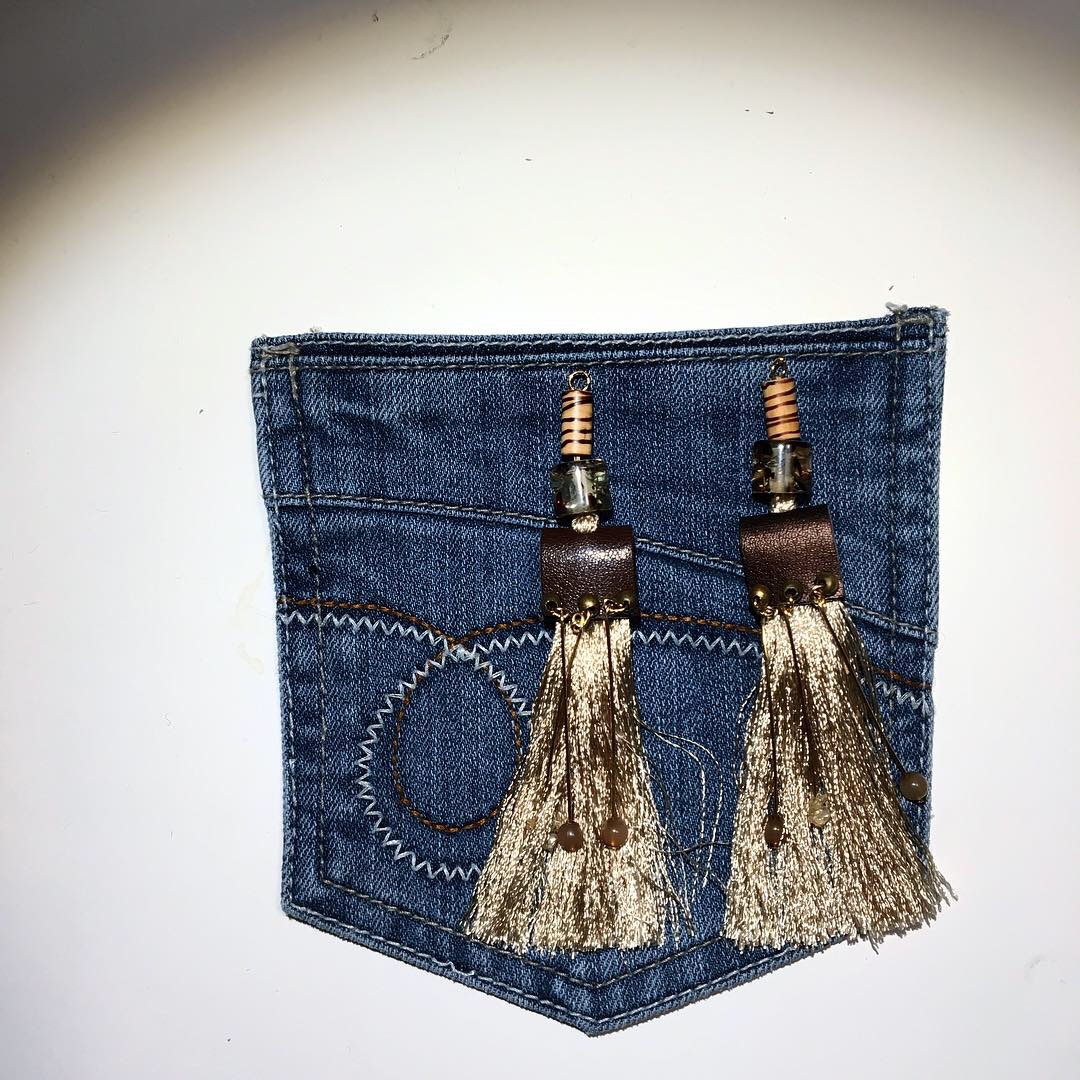
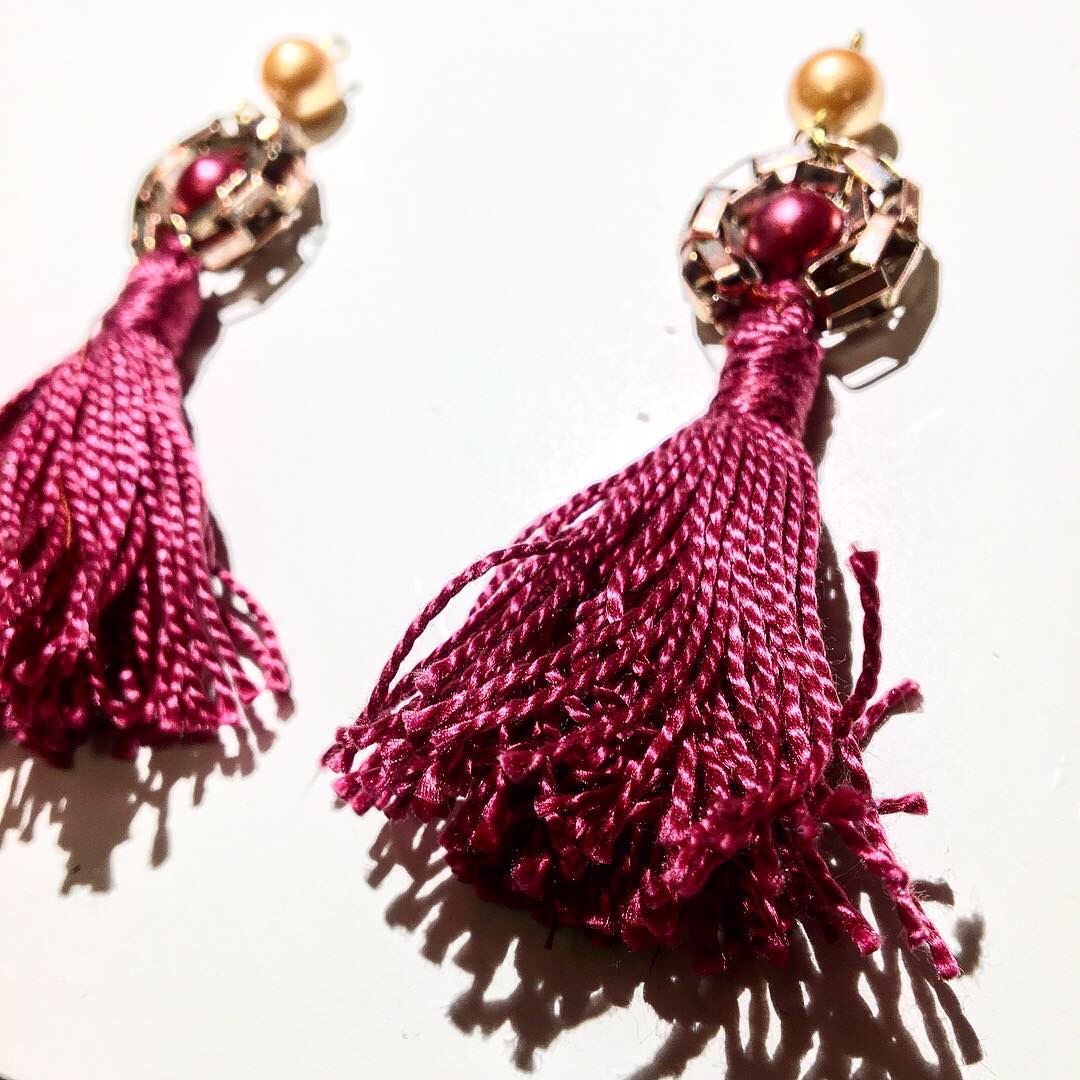
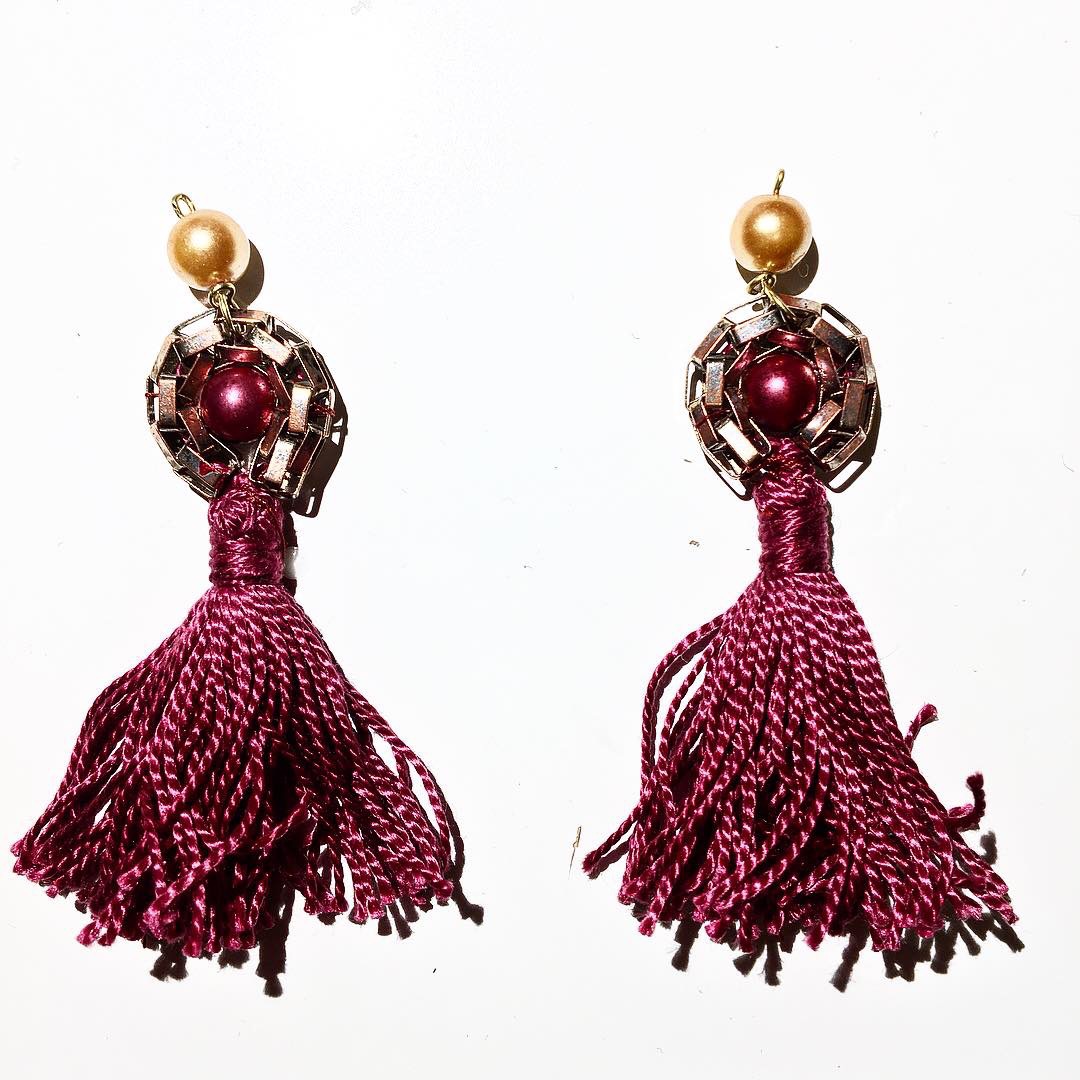
These two pairs of tassel earrings I made out of quality yarns that I always buy second hand from charity/flea markets. Here I combined other elements with the tassel earrings such as old jewelry parts and fake leather from one old belt.
I love old clip earrings and some of my handmade earrings I design in a way that it is easy to slide it into the clip earring. In this way you can change the look of the pair of earrings easily.
The red tassel earrings metal part is from old metal bracelet which I formed into a circle to fit a red bead in.
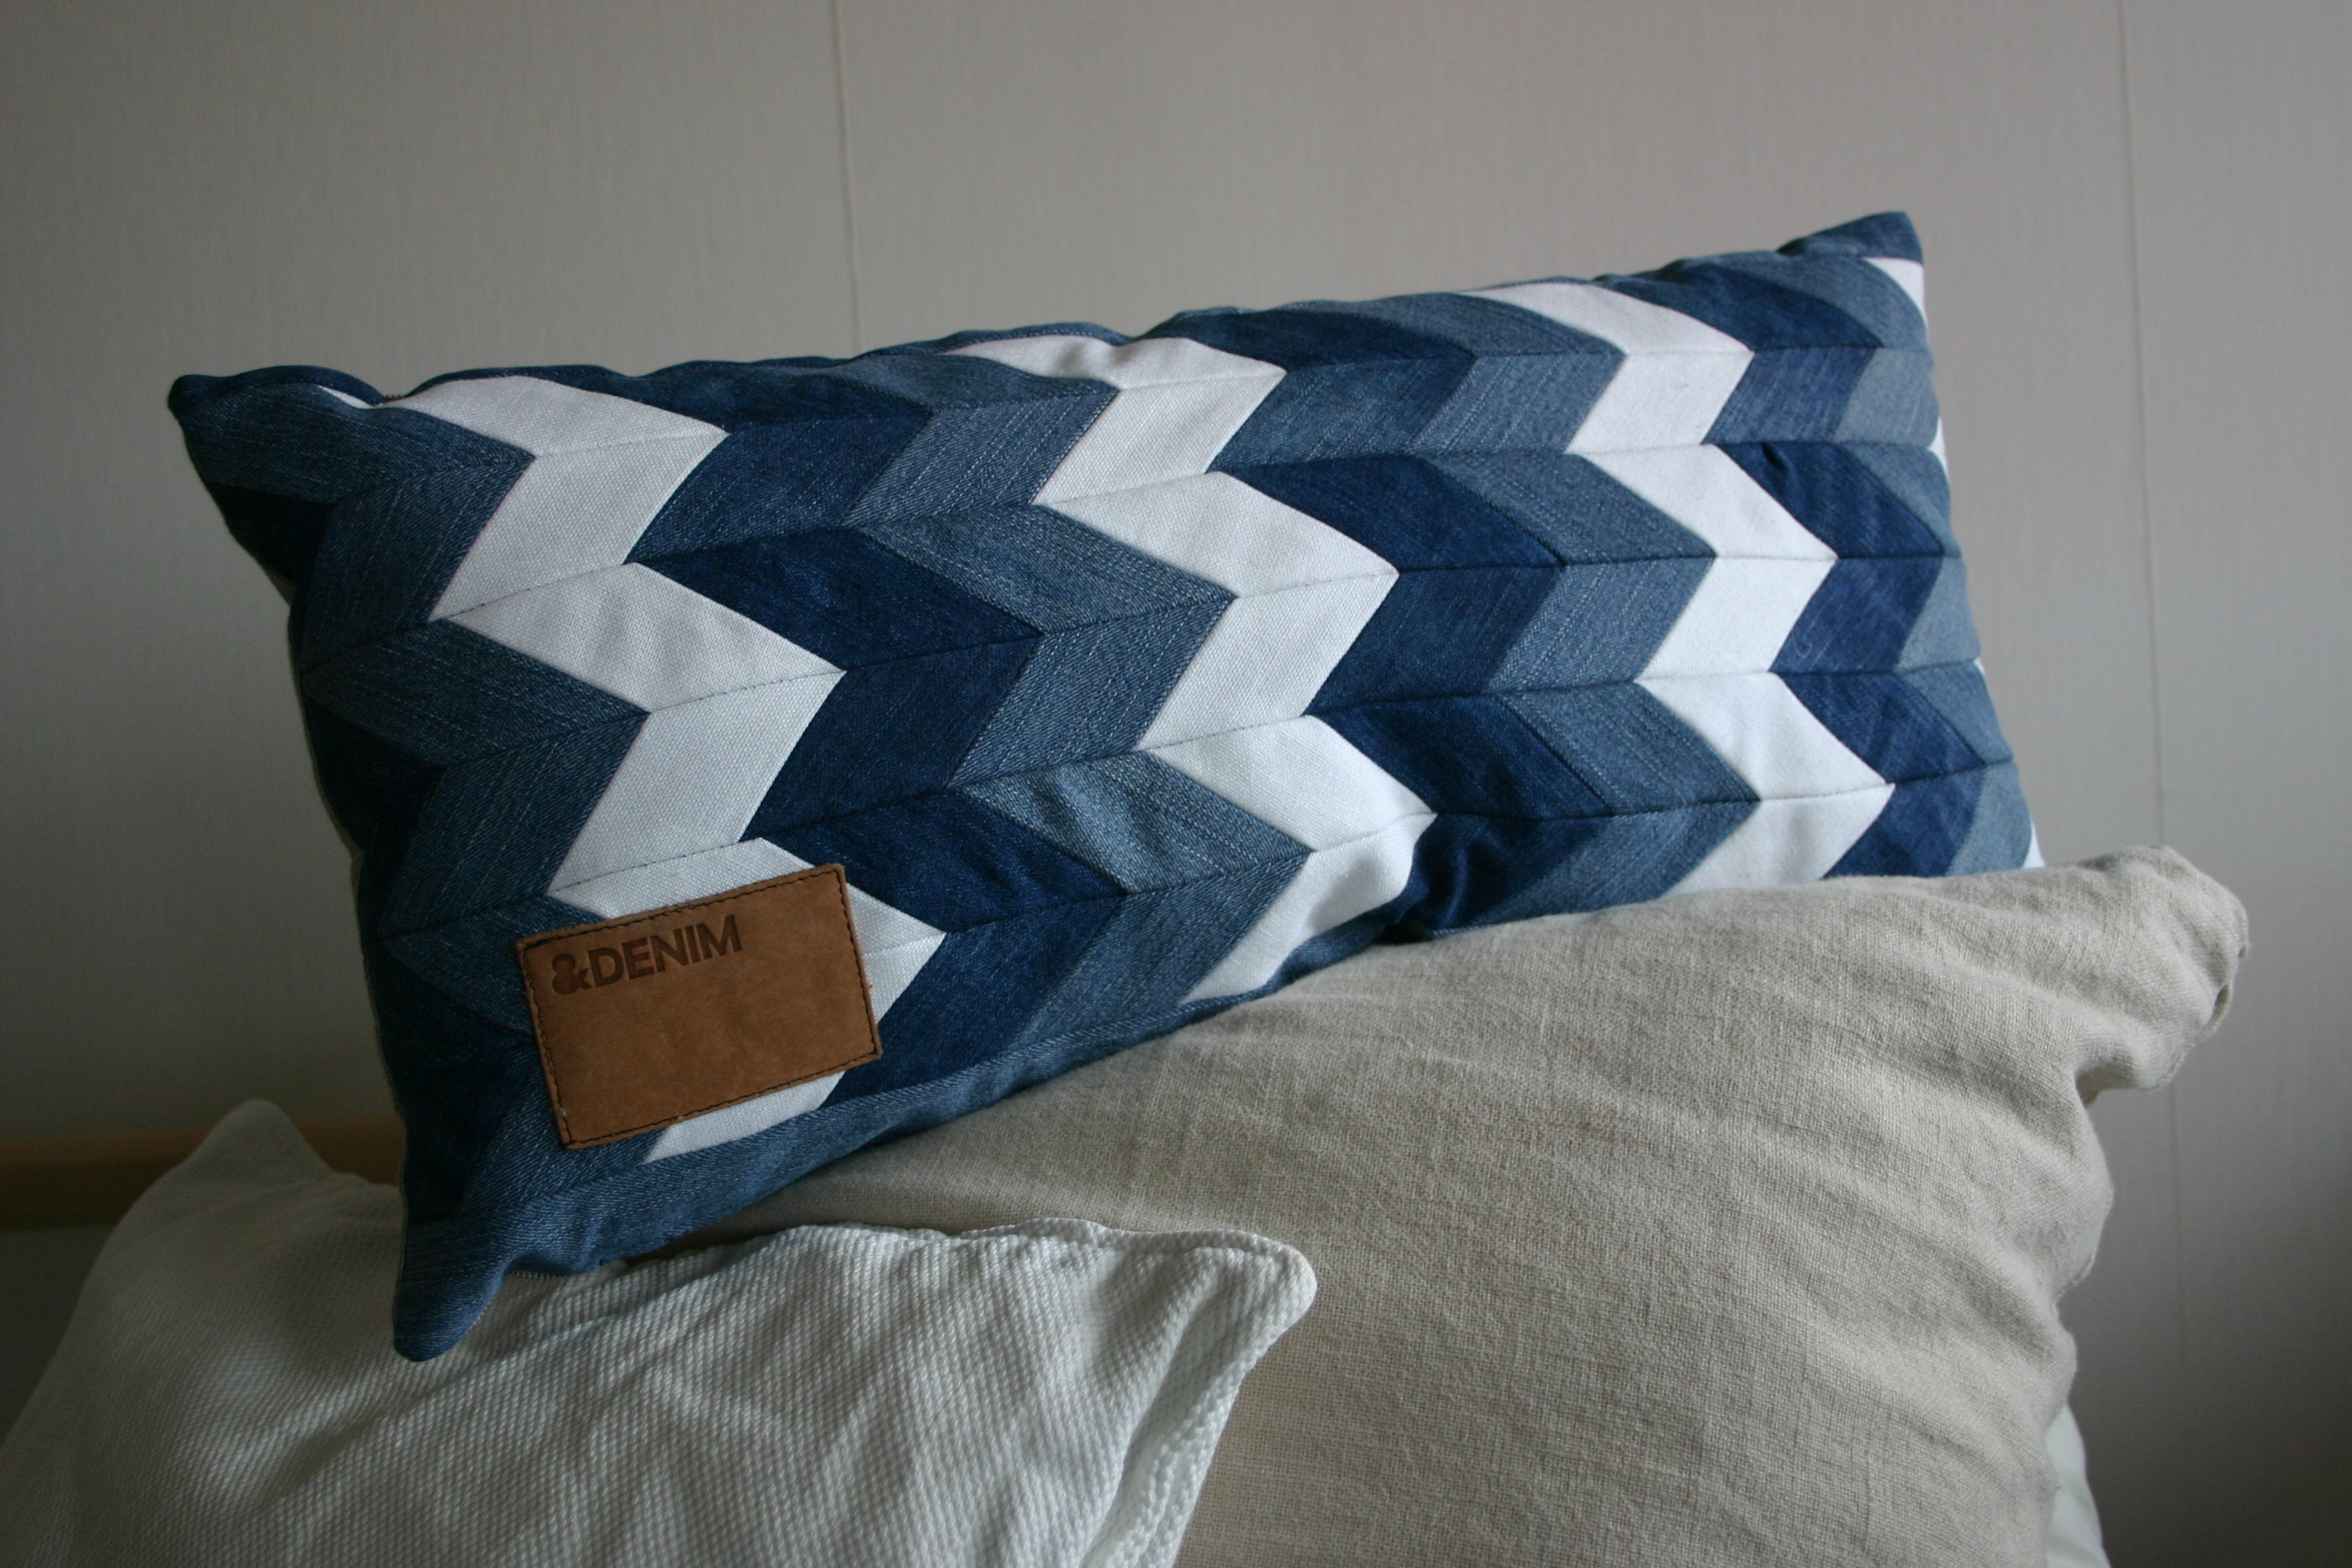
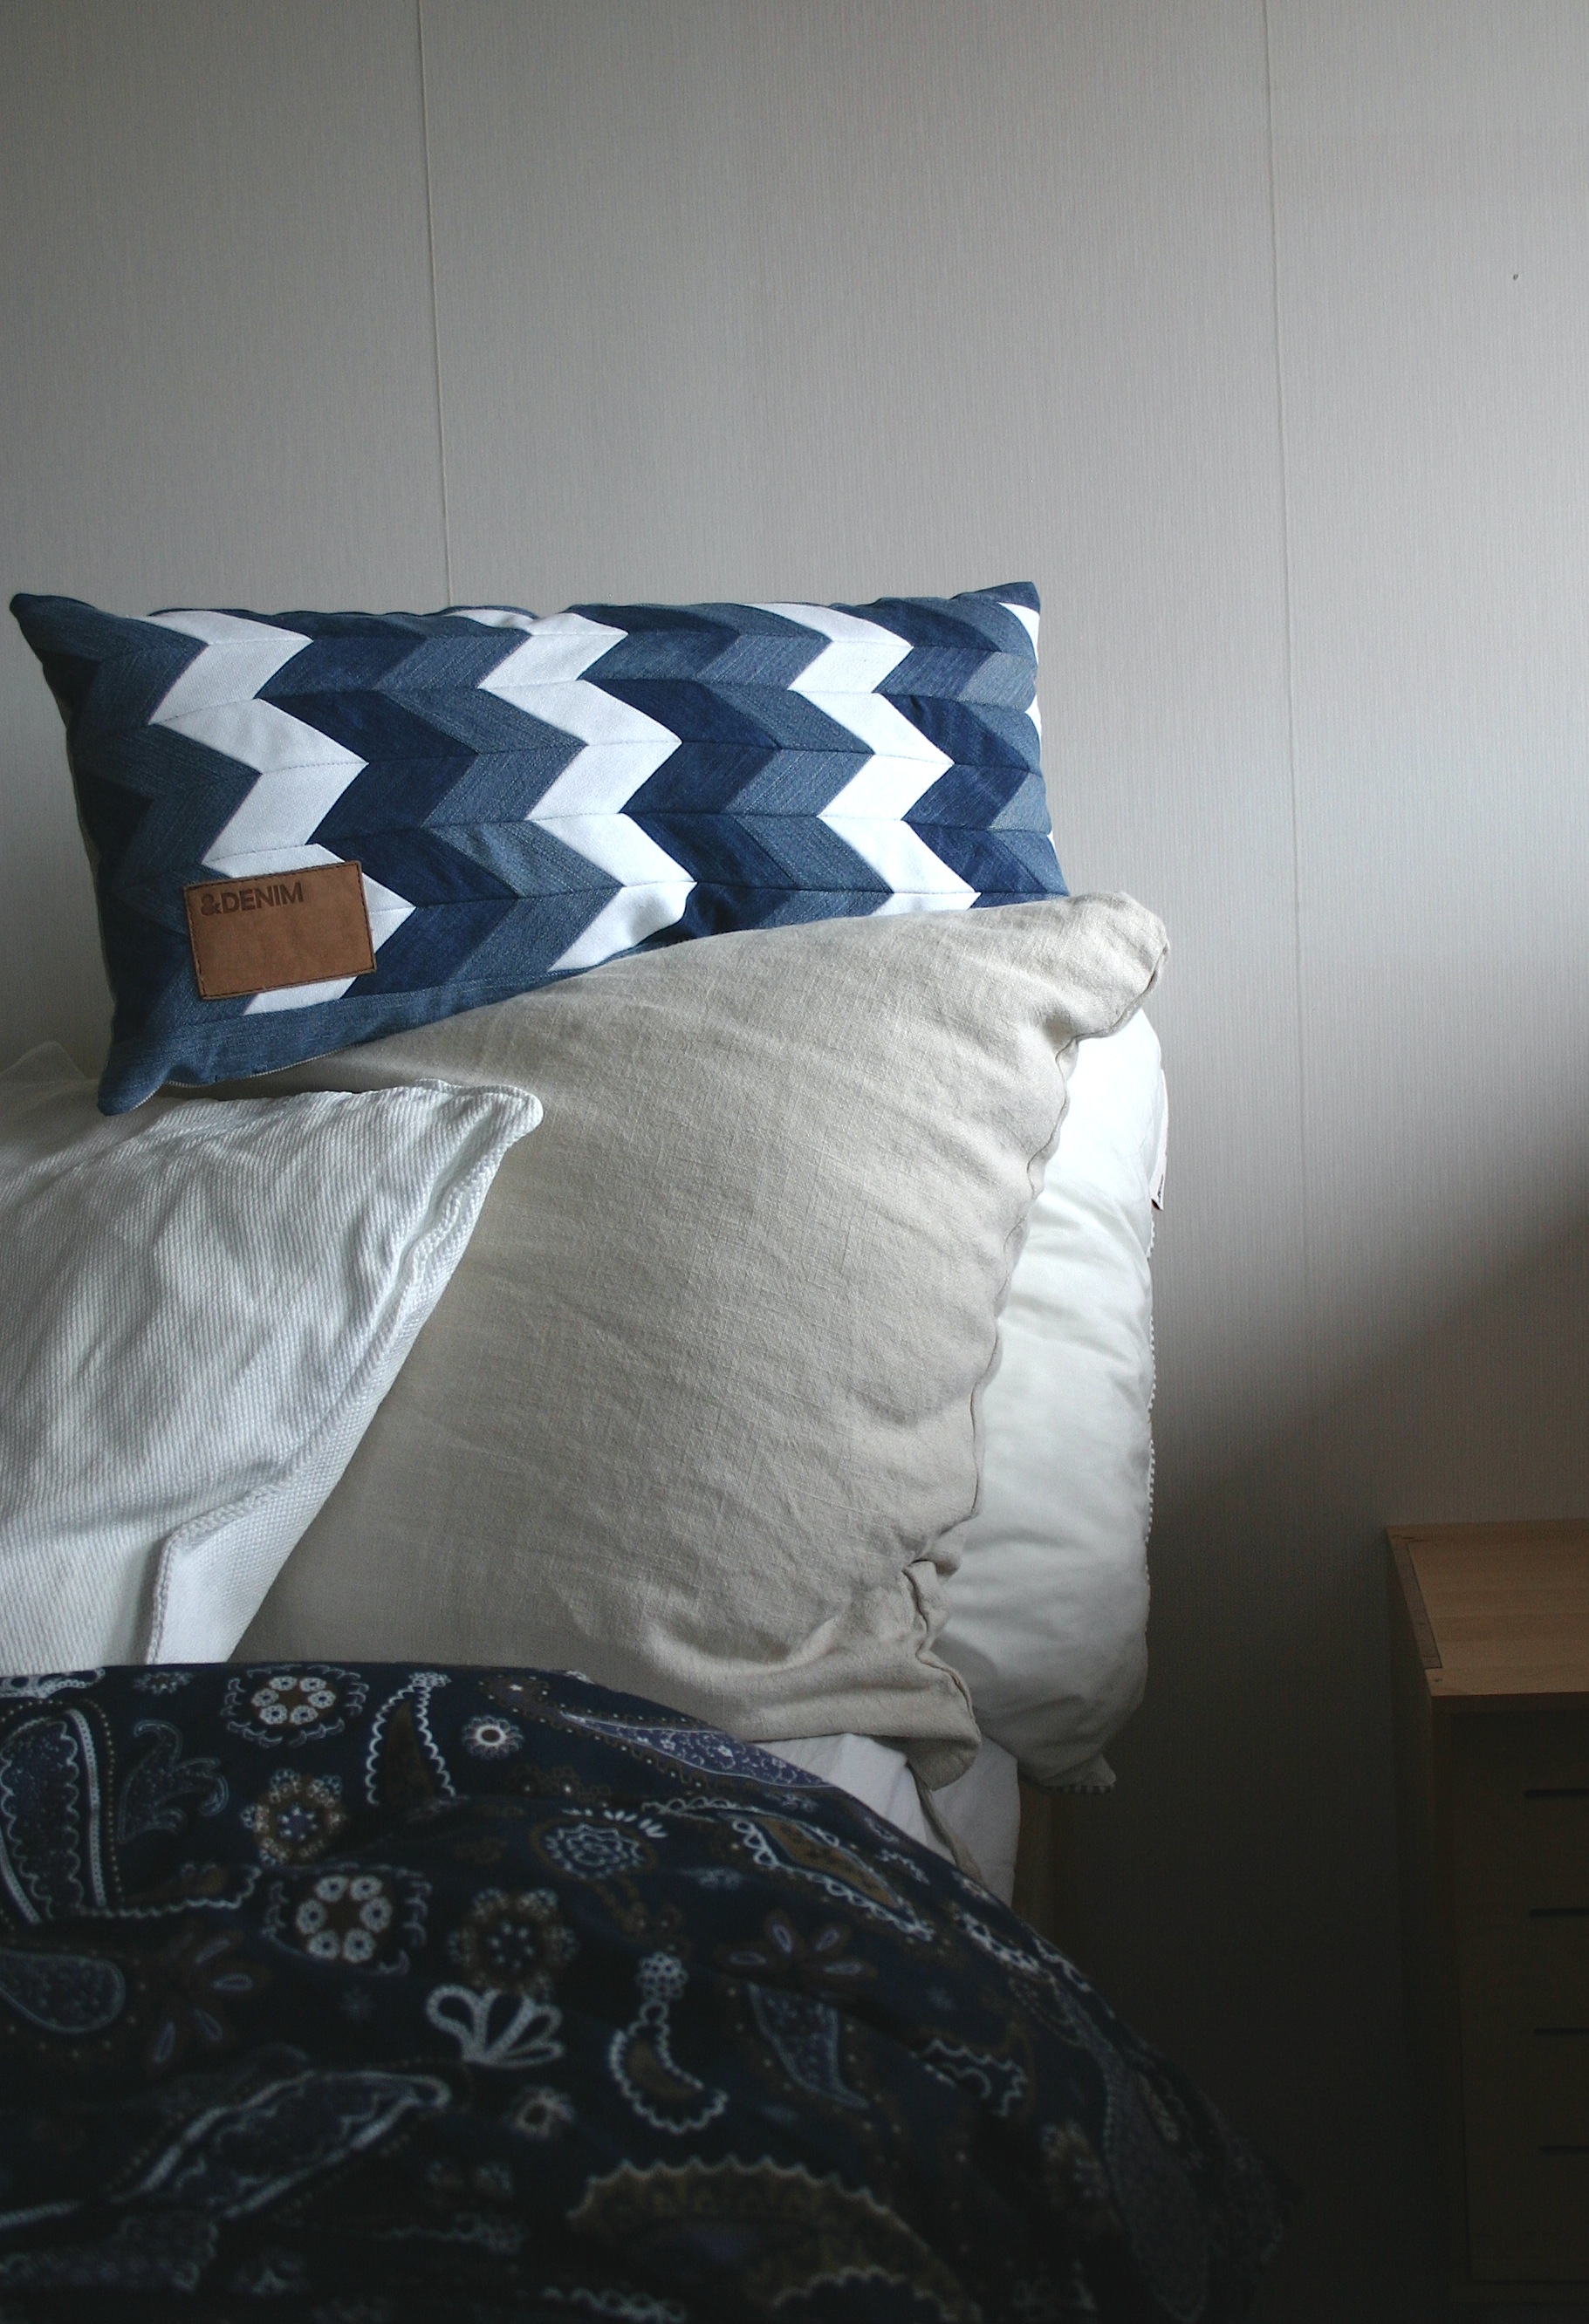
Sewing something different from recycled denim. This pattern called chevron needed some time and accurate measurements but the end result is worth all thinking and calculating. I came across this print in Pinterest and used this blogpost as my guide. I was a bit surprised how seamless and floating the pattern is with my three colors, denim fabric is out of old jeans and the white fabric is linen.
For a final touch to give the cushion “a stamp” that it is totally recycled I attached the label from jeans I used as fabric. Pillow has a zipper and reverse side is rigid cotton fabric.
This black leather bag with modest shine is actually a gift so the size of the bag and as well the color combinations are carefully thought trough. Inside the bag needs to fit a smart phone, wallet and home/car keys and the person who is going to to get this likes shades of black and grey…and of course silver color. For easy carrying cross body the strap is longer and a flap with magnetic clasp safeguards carried important items inside the bag.
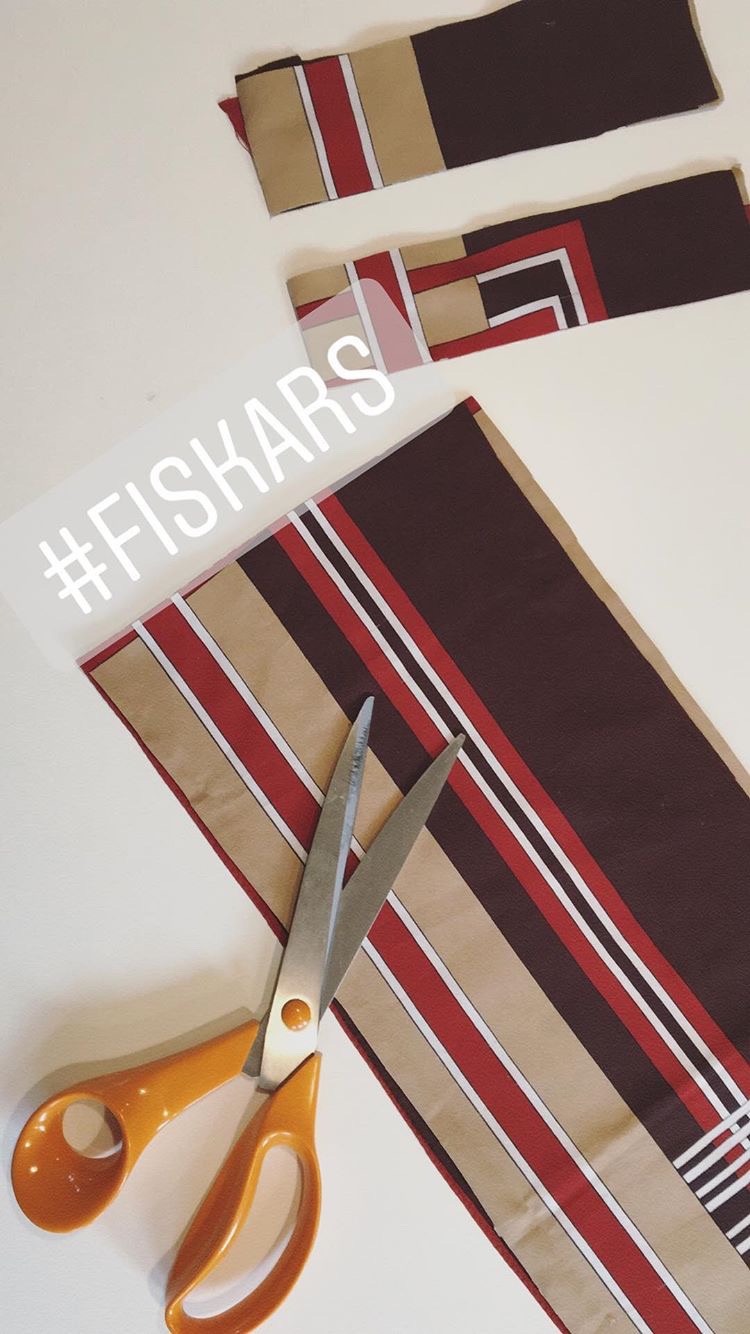
I took apart my latest second hand bargain, long black leather jacket and cut the parts for the bag from the back and the sleeves of the jacket. Adding silver colored leather stripe decorations (cut out with my Fiskars zig zag scissors) enhances the shape and personalizes the whole bag. I used the same zig zag pattern in strap fastenings and in the lining.
Green stands for balance, nature, spring, and rebirth. It’s the symbol of prosperity, freshness, and progress. In Japanese culture, green is associated with eternal life and in the highlands of Scotland, people used to wear green as a mark of honor. Green is the color of love associated with both Venus, the Roman goddess and Aphrodite, the Greek goddess.
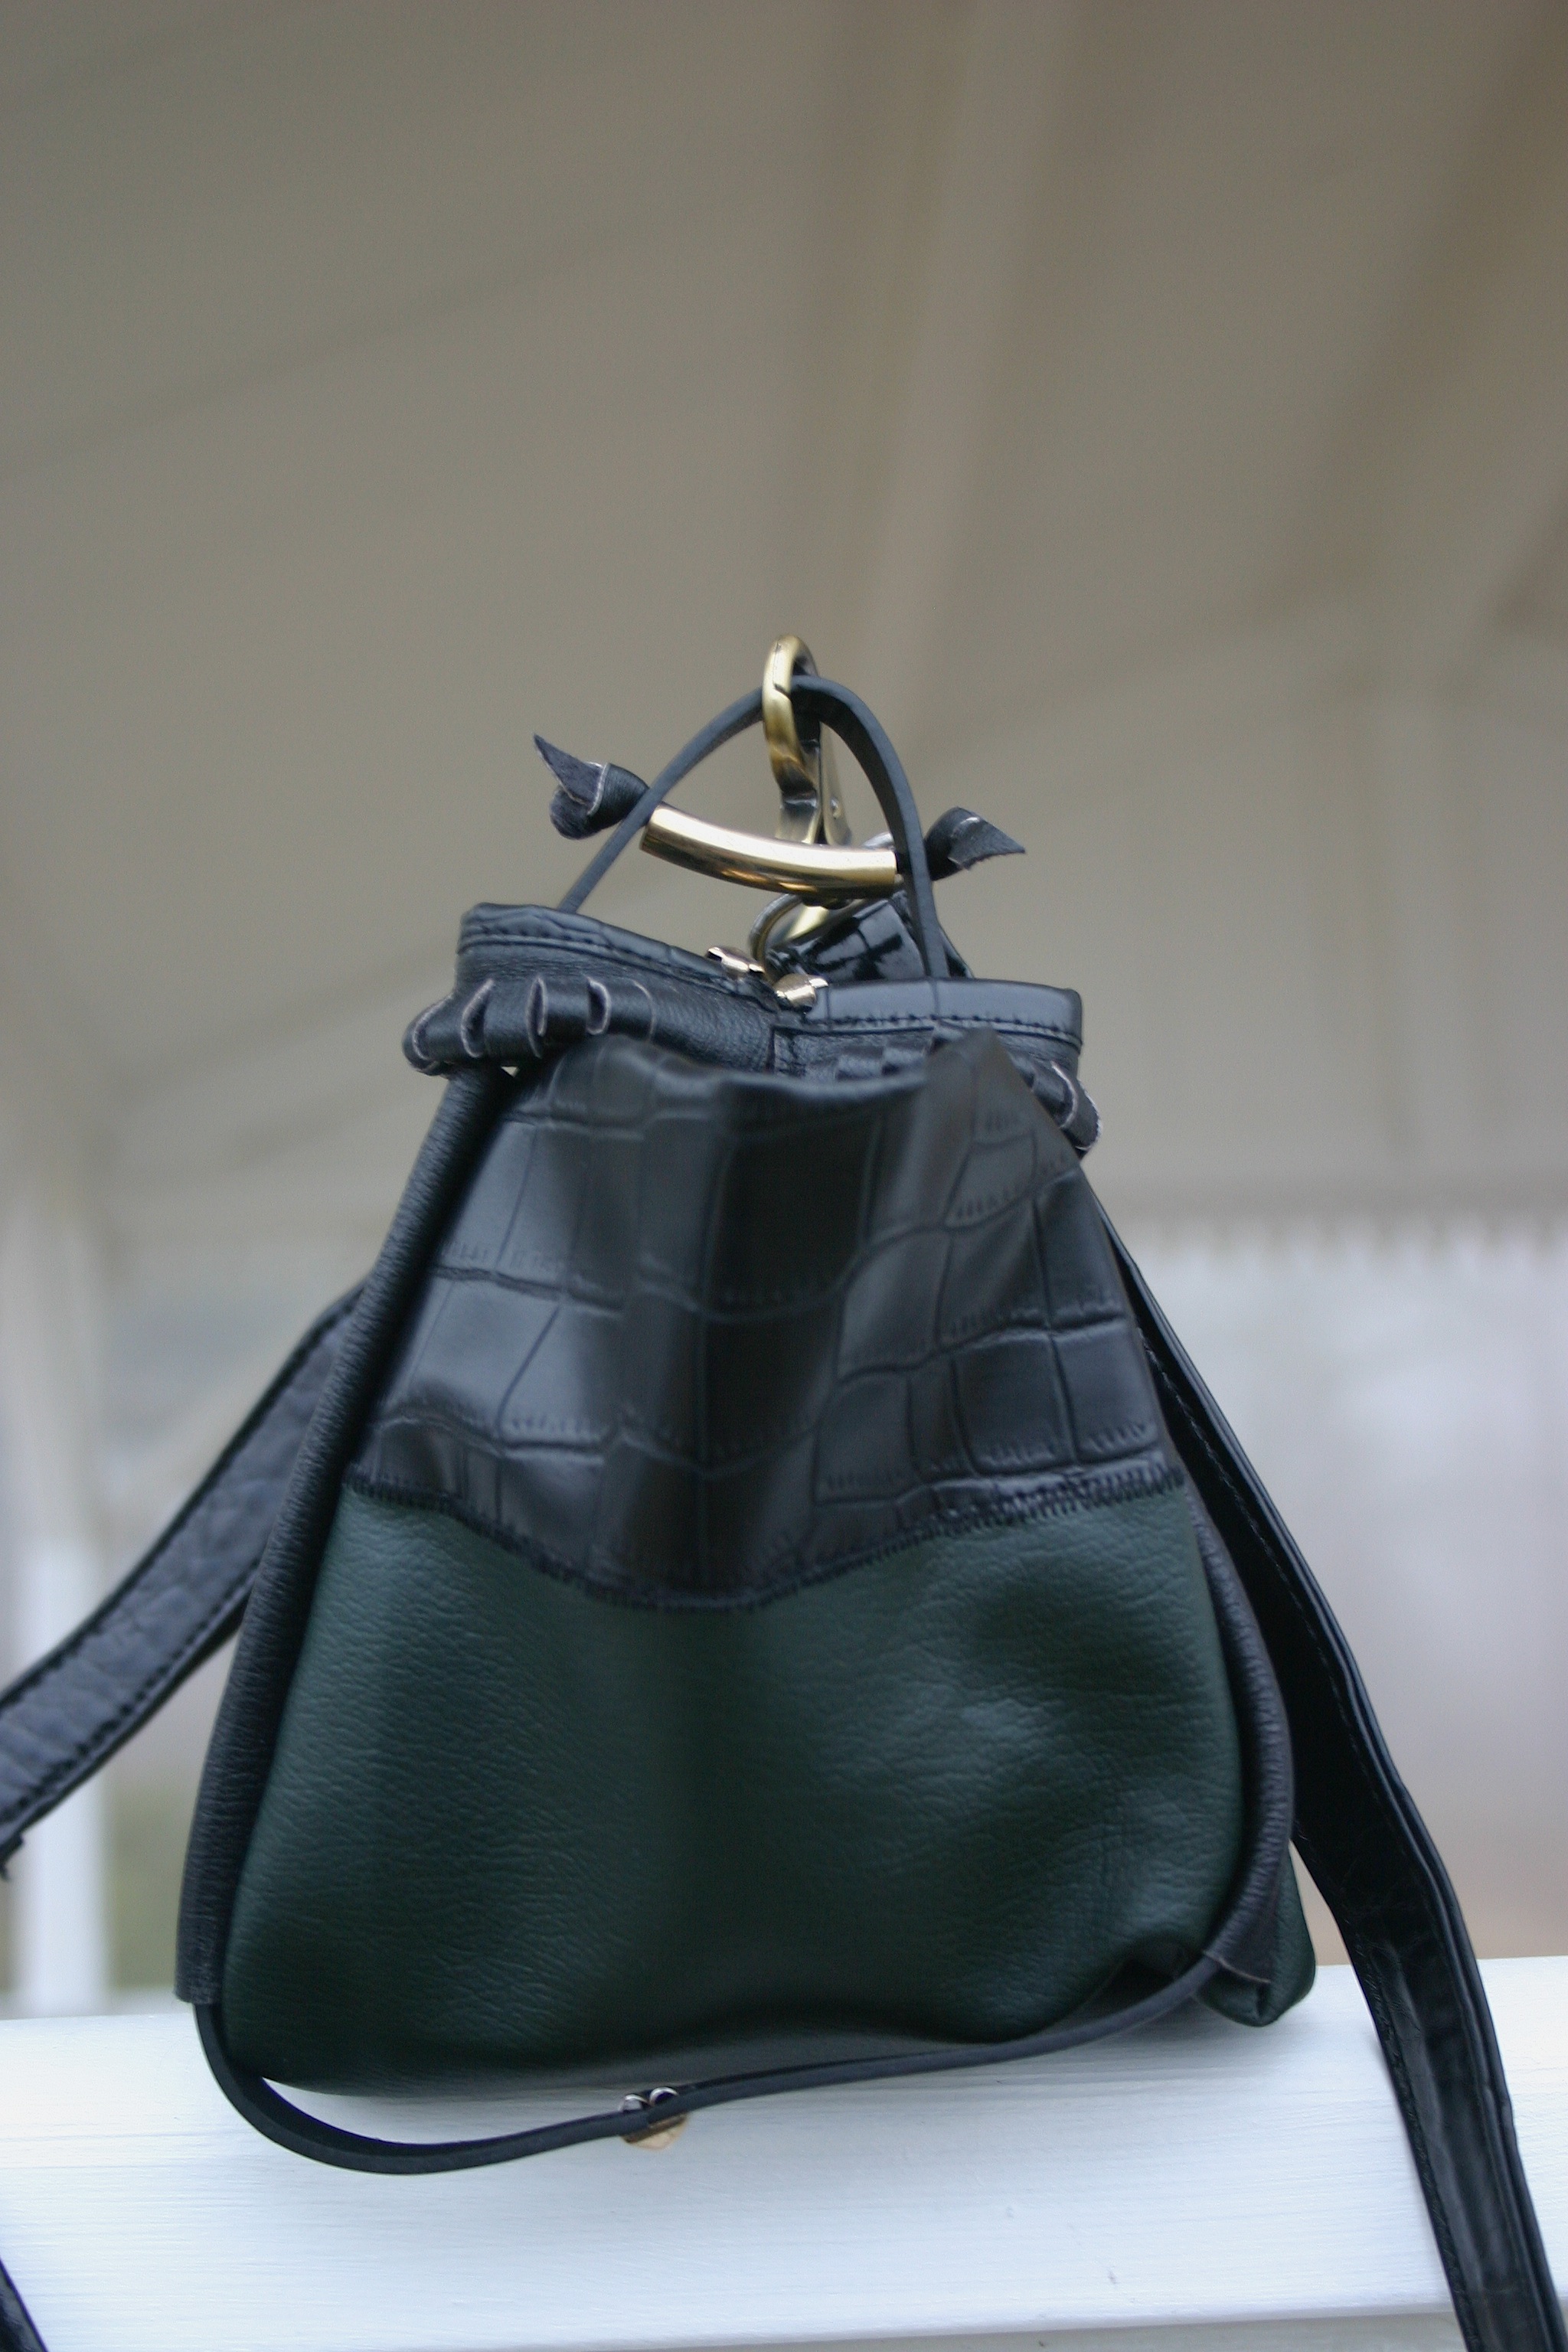
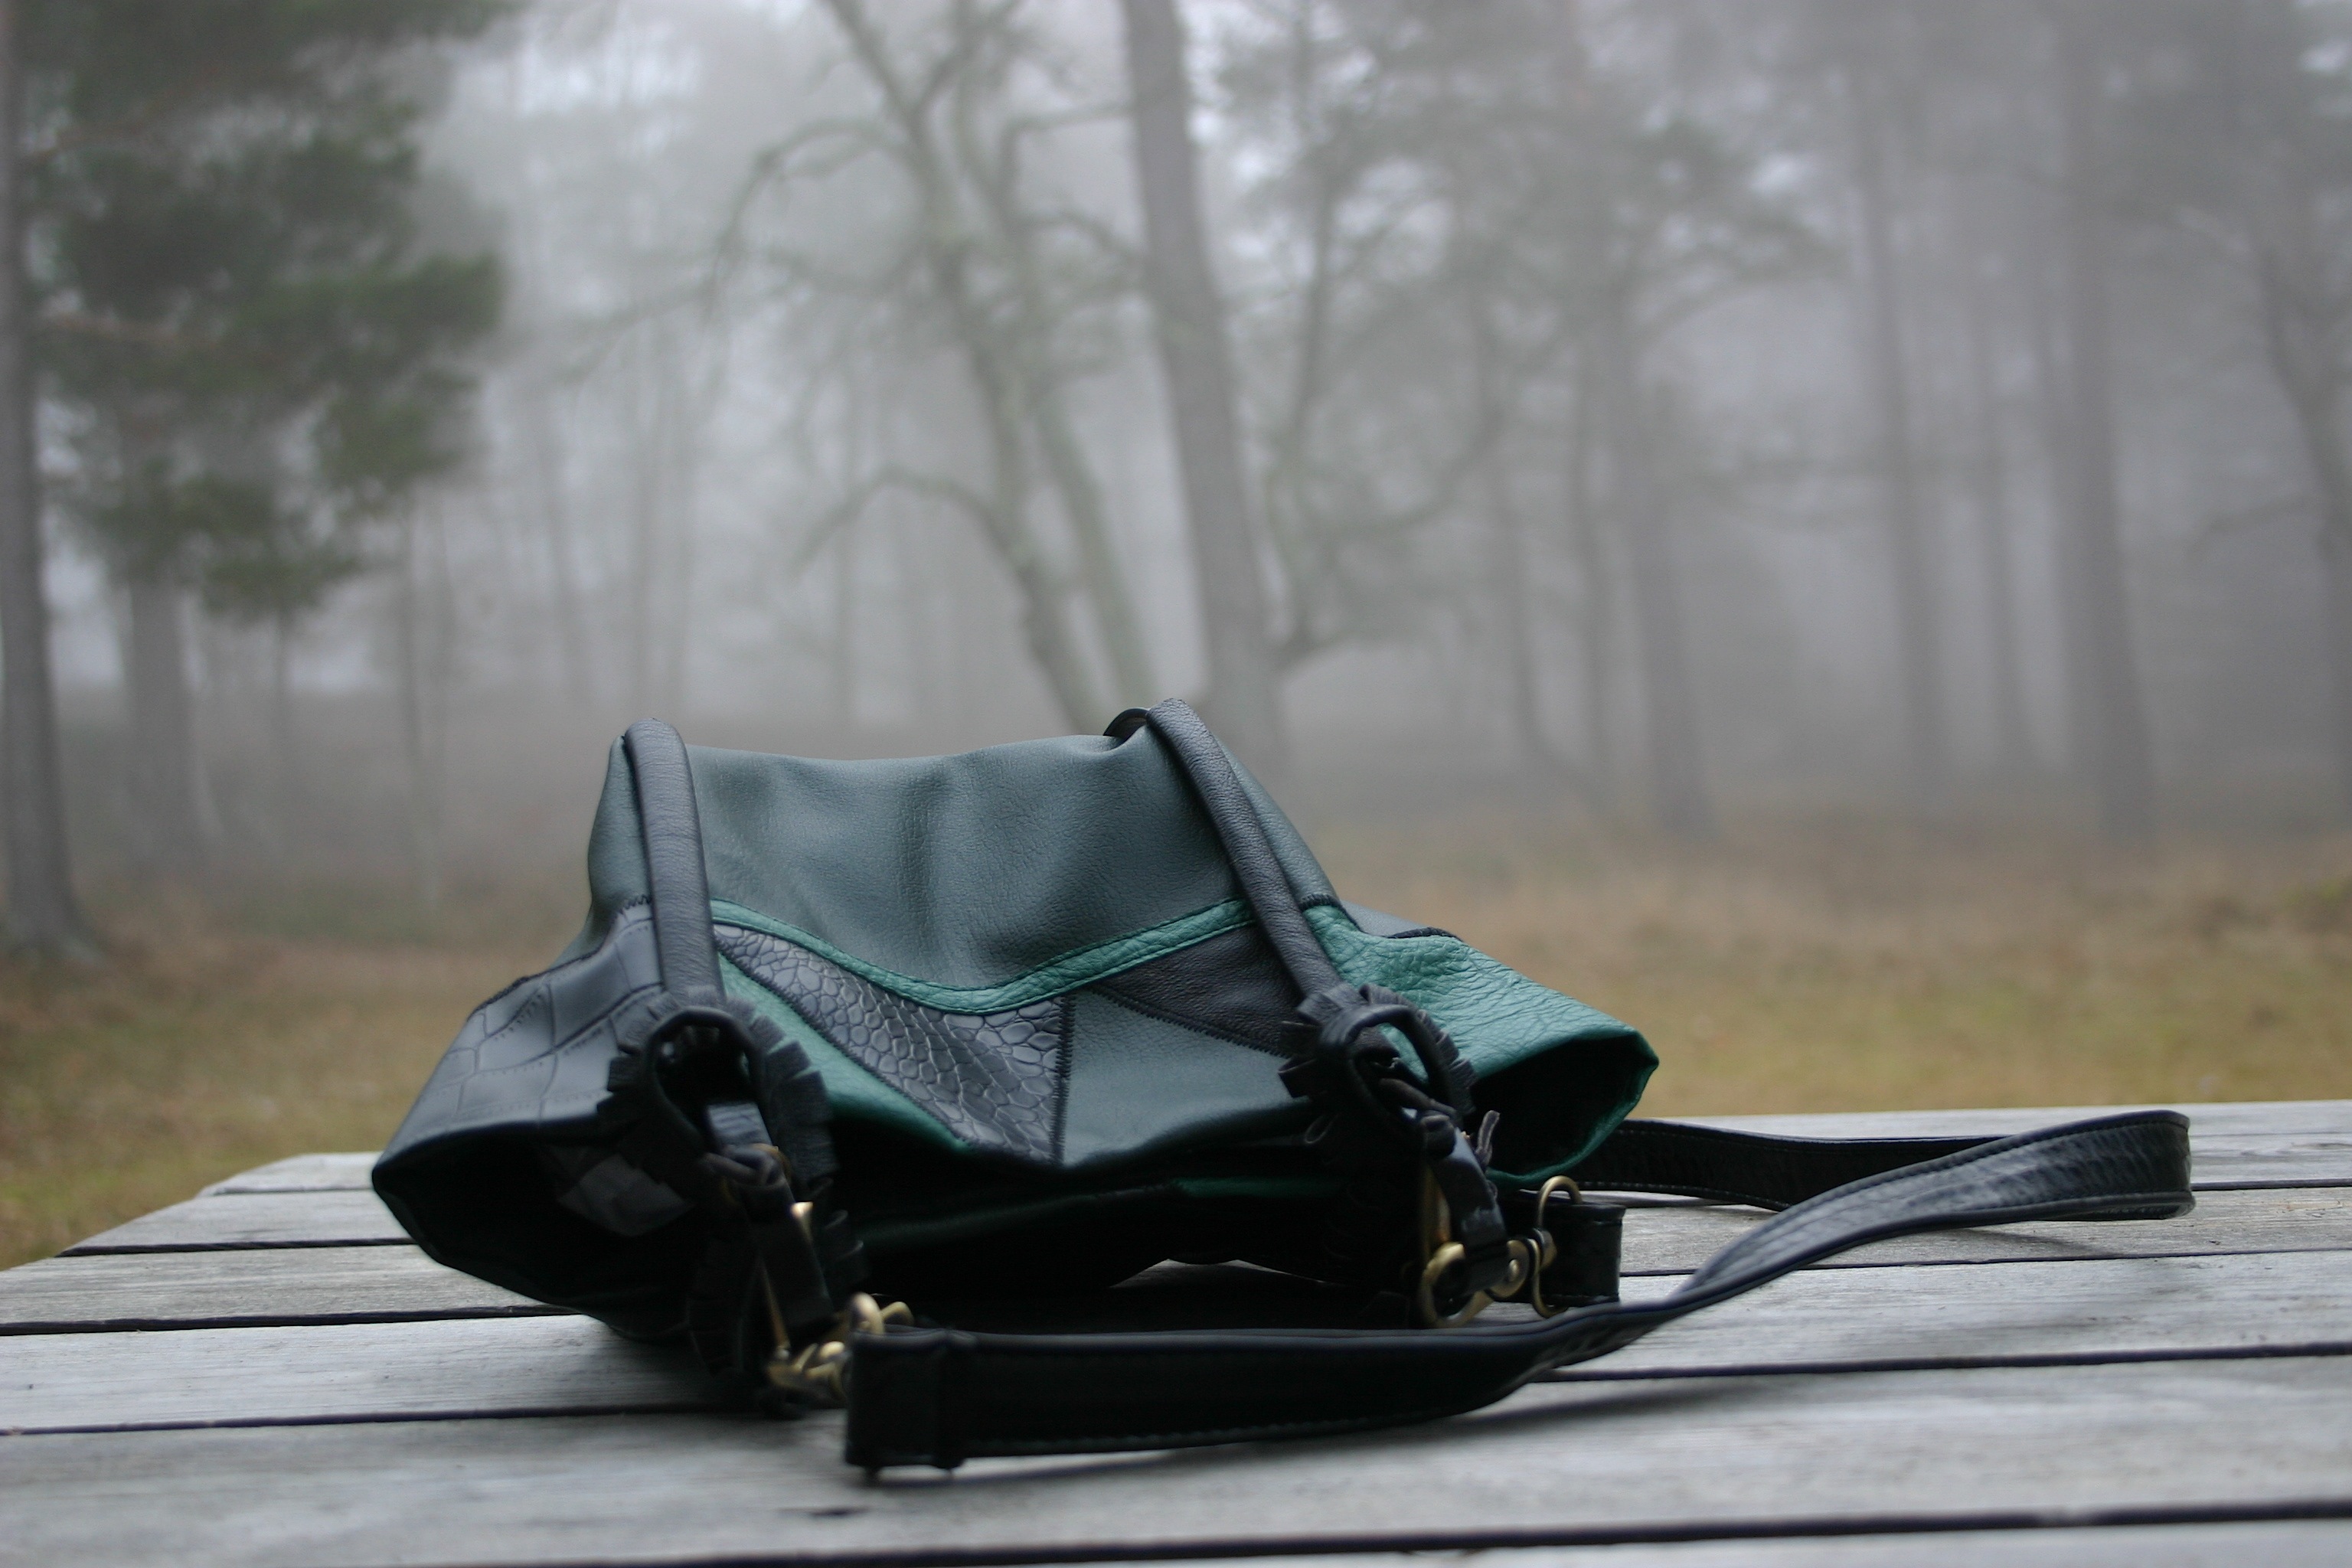
And green hues are also the base in my artsy small bag, together with black patterned leather and gold colored metallic parts. My wardrobe were one green bag short, that I could notice when I was choosing my outfit one day and the last detail was missing: the green bag. In this design I joined triangle shapes out of different structured leather and fabrics together with zig zag seam. As usual I started up not really knowing how to fix the handles but in the end it all came together part by part. It is totally 100% recycled materials, made out of thrifted bags and belts.
I am experimenting different ways to do leather decorations.
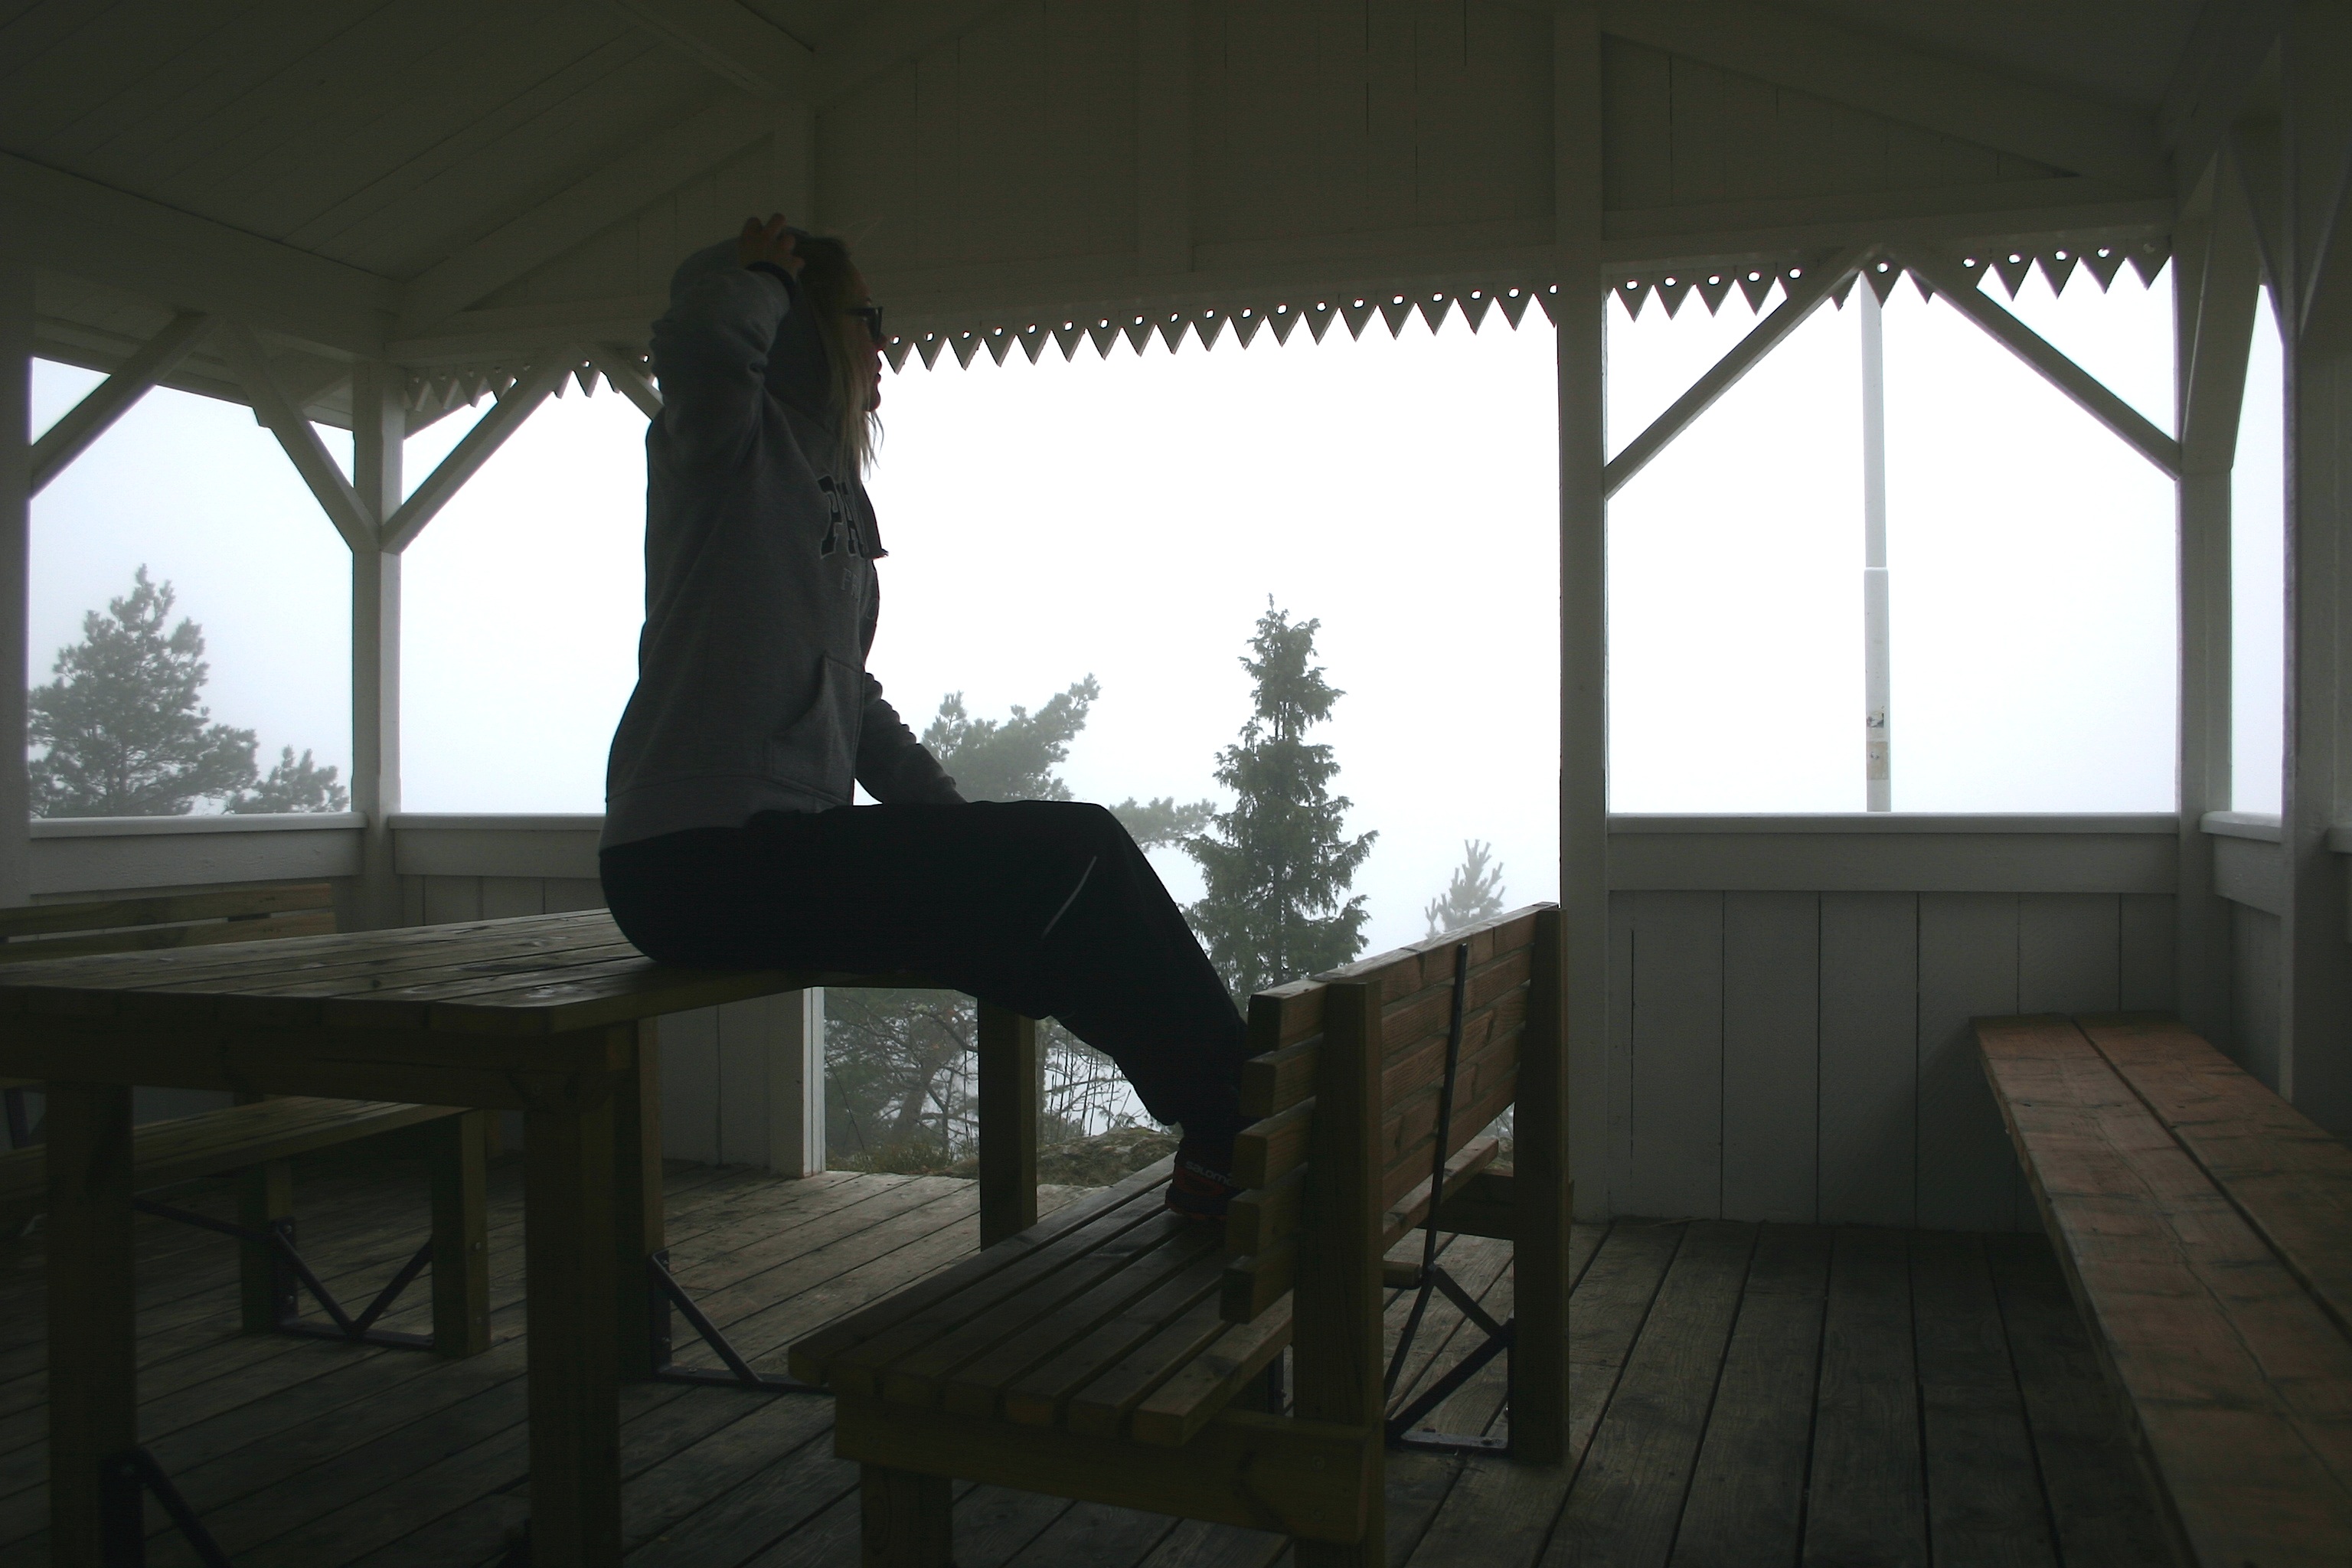
I love to take photographs of my designs, usually I take my back bag carrying my Canon and the design plus a variety of stuff you might need when taking photos outside (clamps, tape, silk paper etc.) This photoshoot took place one misty morning upon a hill here in Gränna. The weather was just perfect, mysterious shapes and blurred colors everywhere. Enjoy the pictures, I do for sure!
Little bit of staging does wonders.
Taking a moment of reflection.
I could not refuse the temptation to take a selfie.
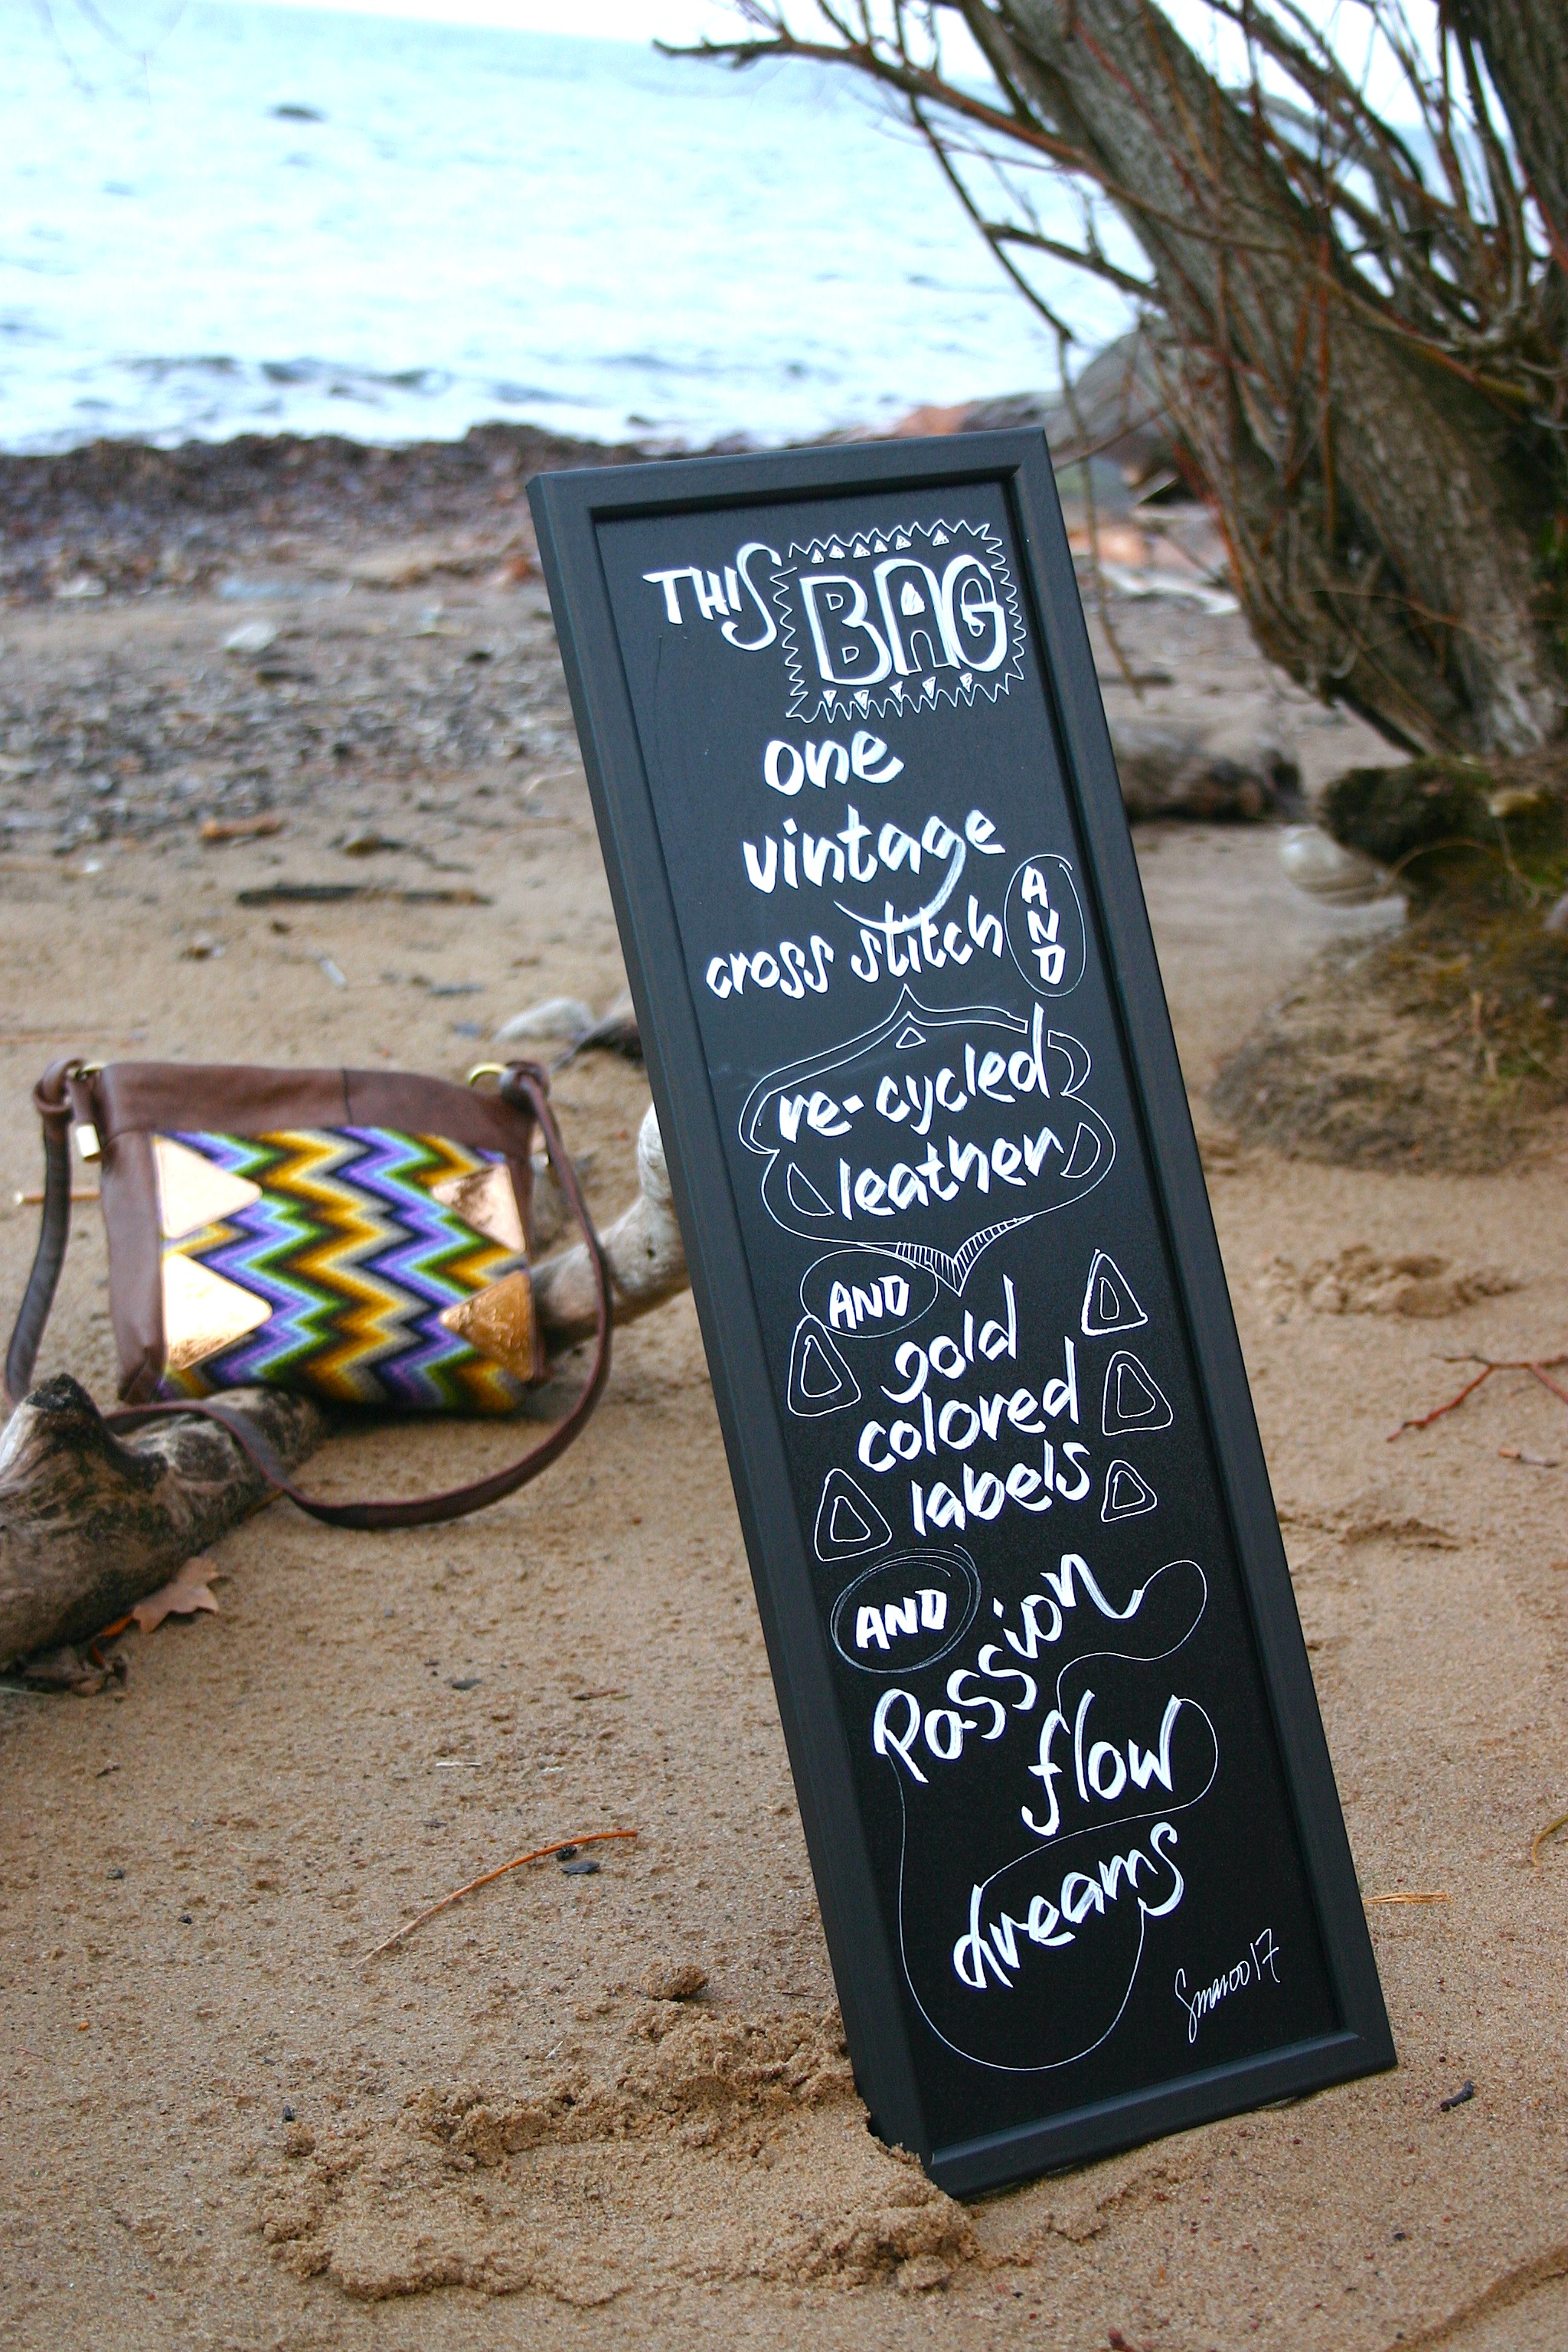
Cross stitching crazyness! Really how can people give/throw away these beautiful and extra nicely stitched piece of art works? I believe there will be a time when these vintage cross stitch handcrafts will be worth gold.
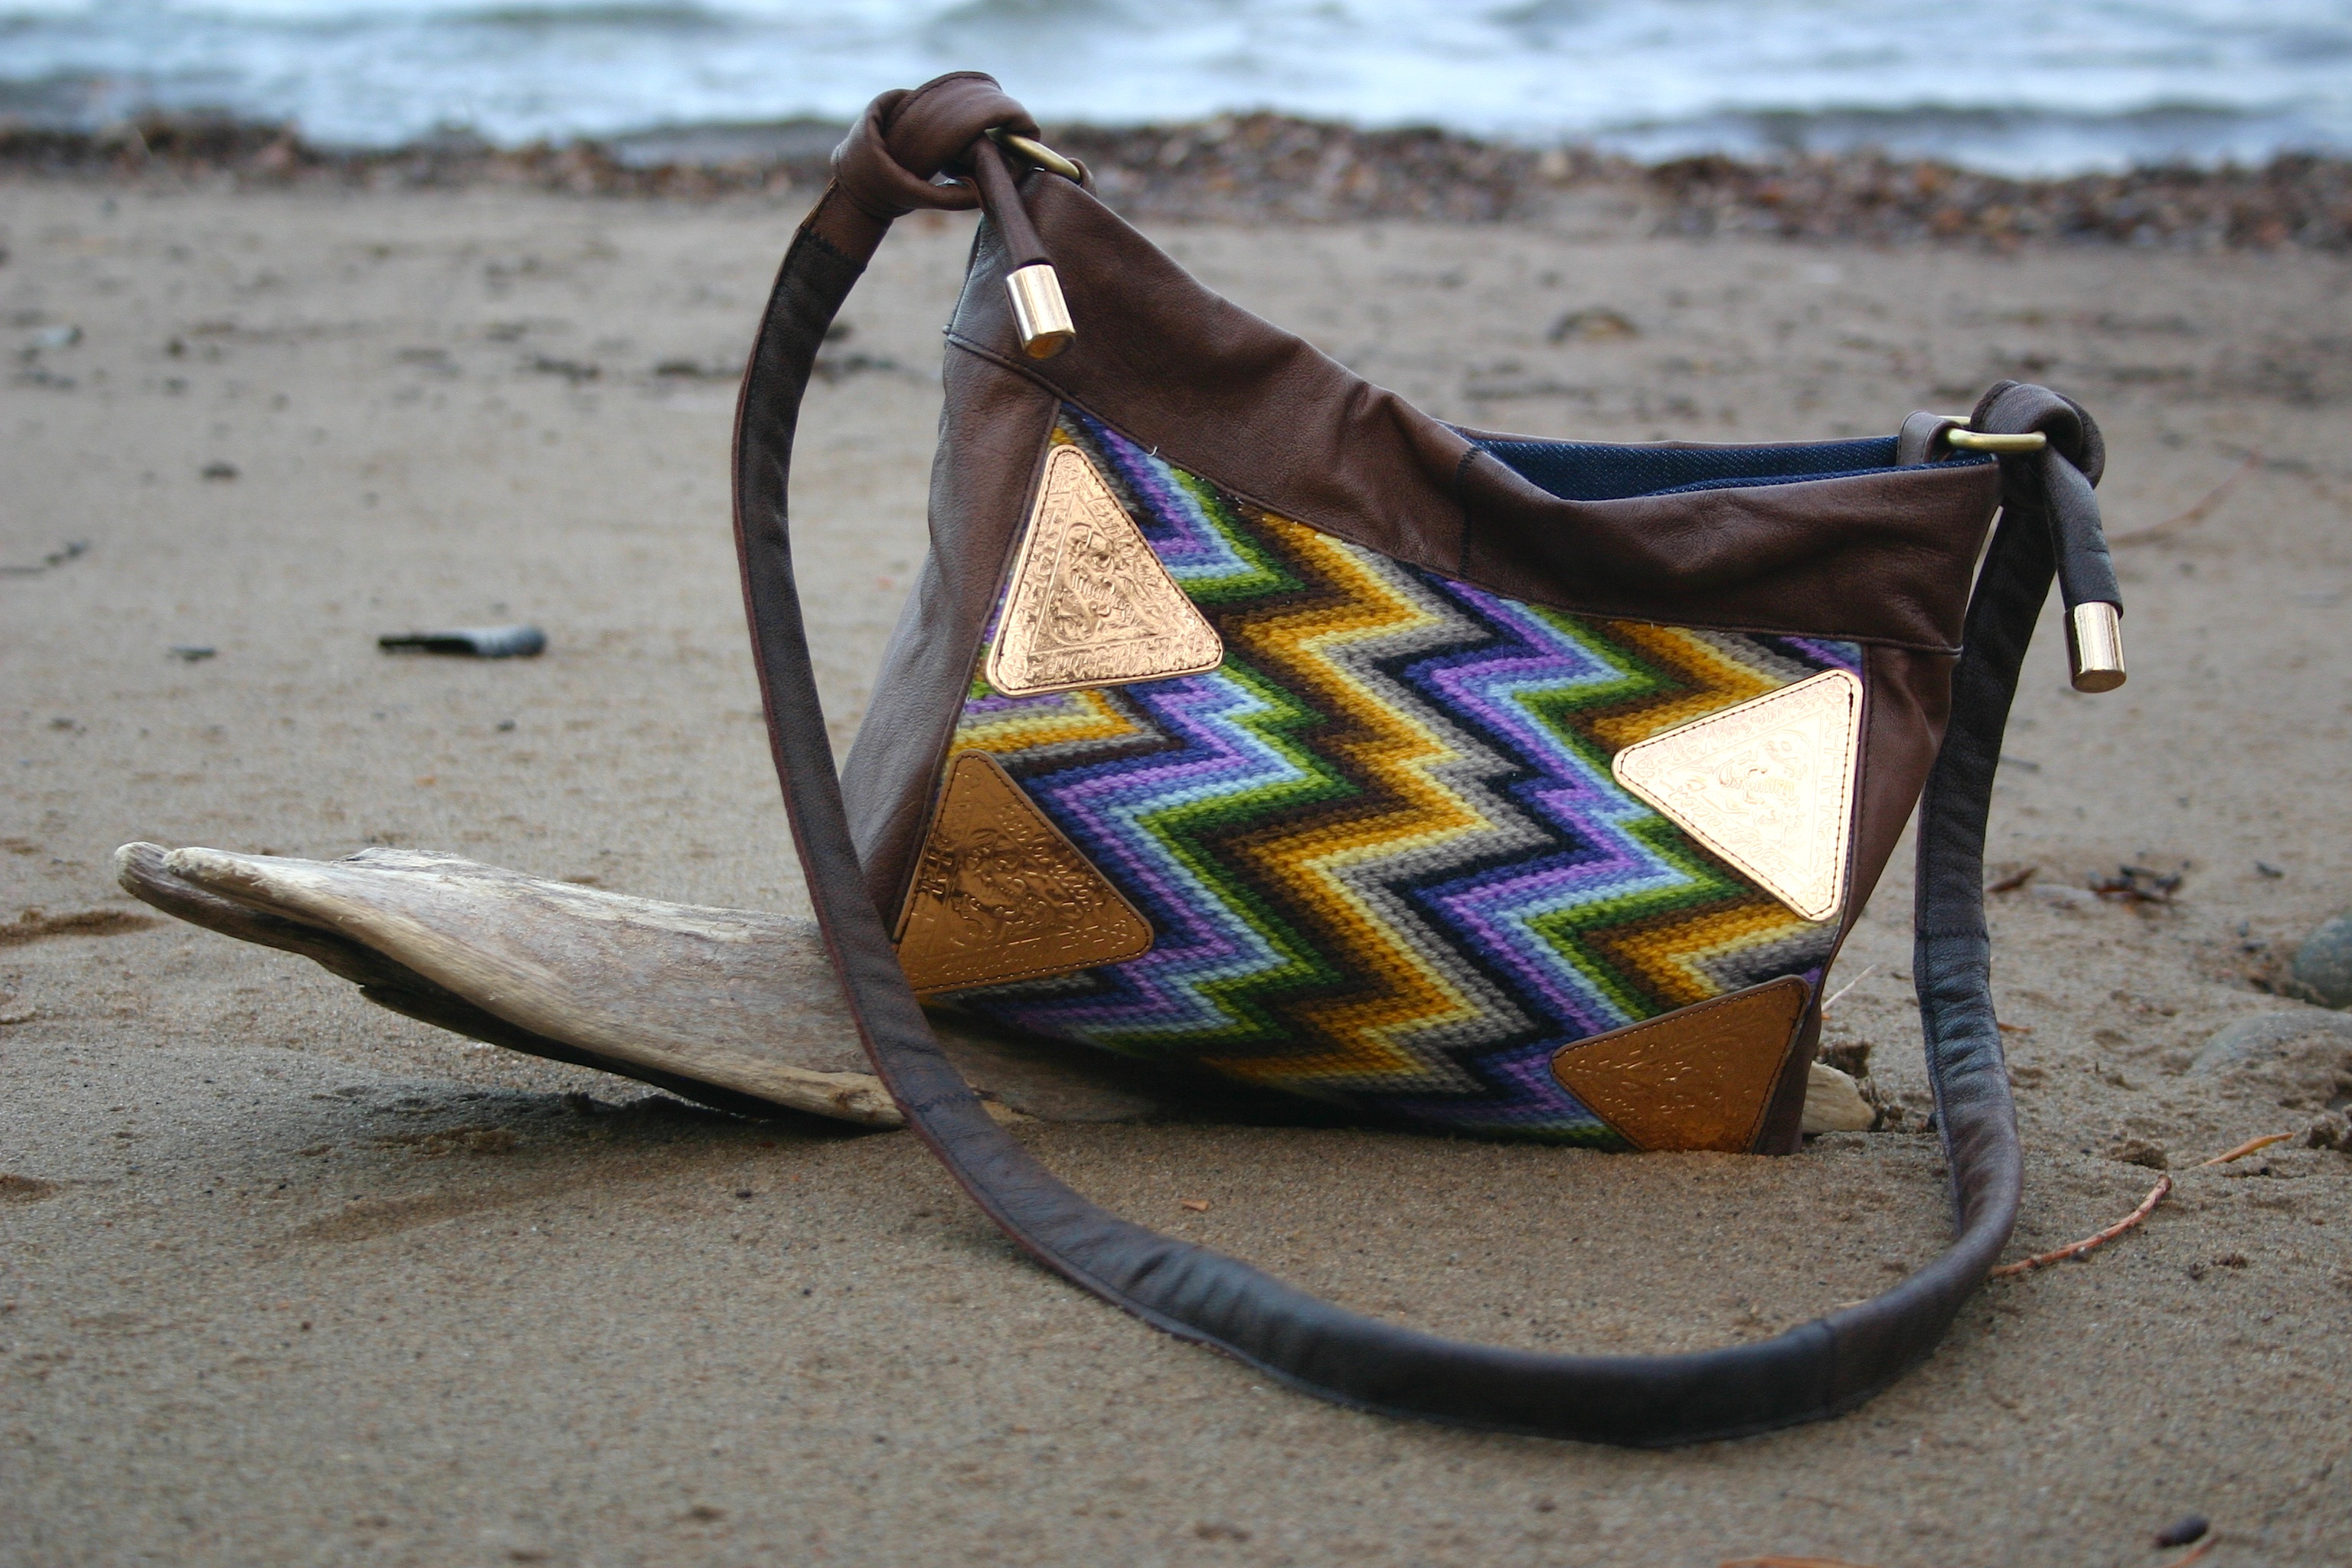
But until that, let`s do a bag out of one zig zag patterned, thrifted cross stitch. It was a pillow cover when I found it from second hand Erikshjälpen Jönköping. Mostly when I come across these old handicrafts they are pillow covers or wall decorations. The colors on this one are bold and I like how the lilac color pops up from the whole palette. I had a piece of brown leather from one earlier project and decided to go towards gold color in the metallic parts and decorations. For the lining I choose sturdy denim so the bag will stay in shape even when empty.
Again all parts fort this bag are recycled from second hand bags. My mission is to buy as little as possible straight from the craft stores but to do a bag with good and functional elements requires a lot of different metallic parts. Such as magnetic closures which I usually take apart from my second hand bags. Handles and straps are also quite tricky; to do a long leather strap requires a lot of good leather and usually that is hard to achieve with leftover leather scraps, so again second hand bags to the rescue!
I am pleased how solid the outcome is, all colors match together and even the gold colored labels fit in with the look.