Patchwork denim jacket from reused denim

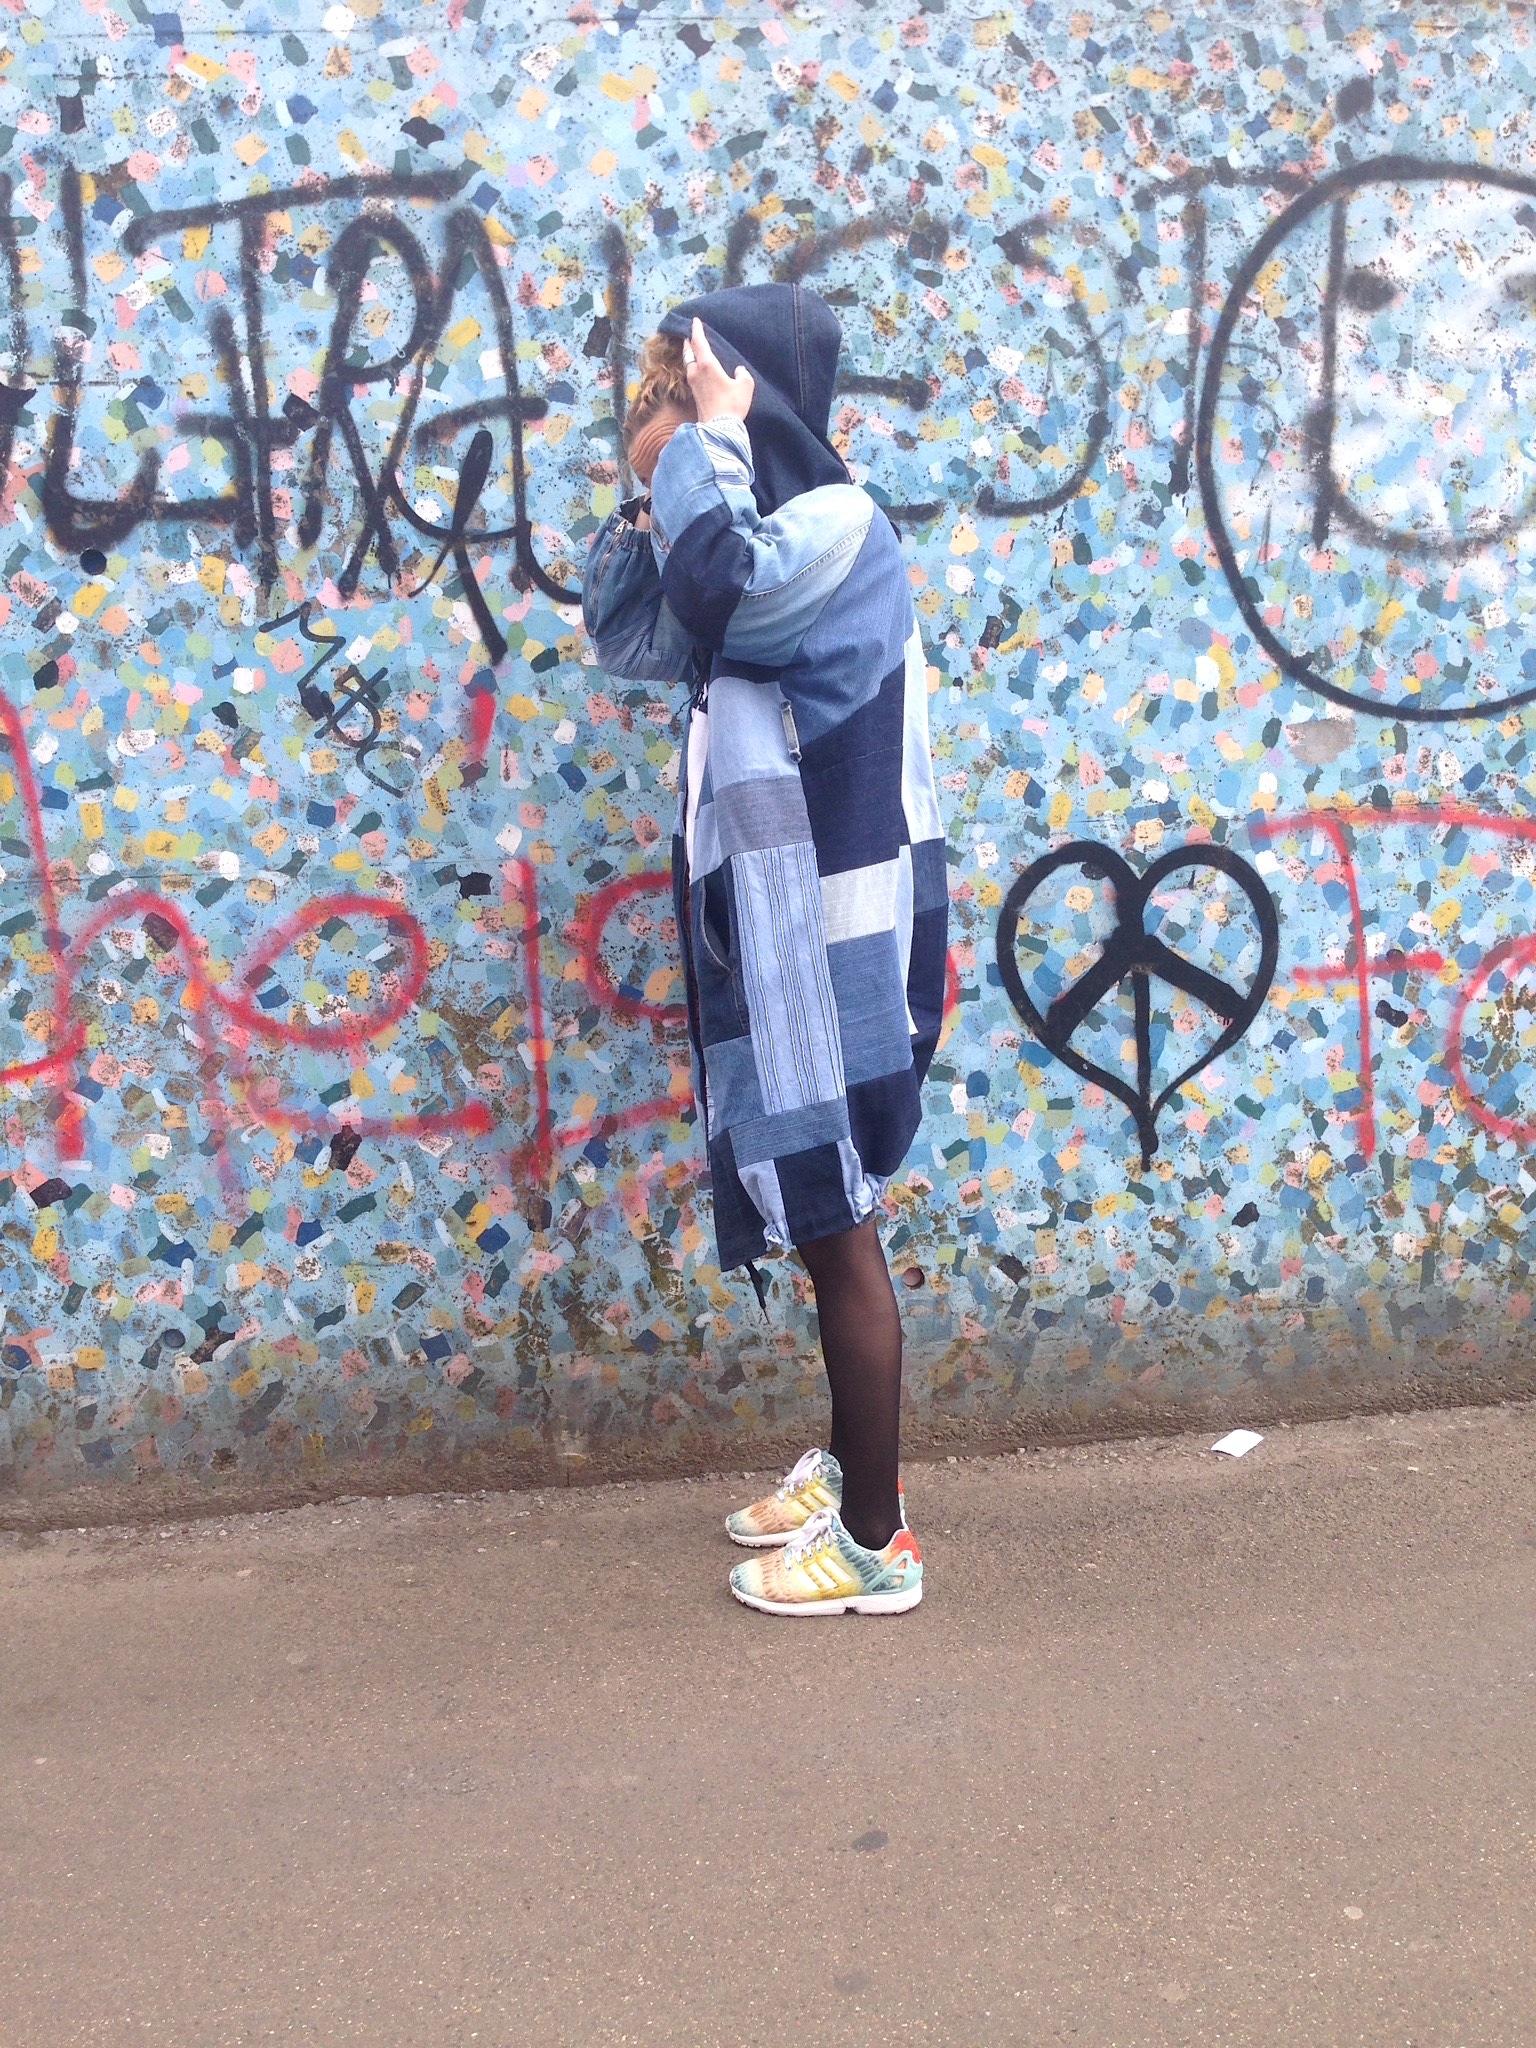
This refashioned denim jacket began of the idea to use old, worn jeans, one thrifted denim skirt and one old Ikea bed linen. This jacket I sew in Delft, Netherland. There are feelings and thoughts sewn into this piece that can not be seen: early morning runs in Delft and the constant buzz of people coming and going in the city center.

All materials, including zippers and other small parts are reused and the total cost for the materials was about 20€. Sewing hours were several, made the jacket with no rush during early mornings and weekends, with a lot of coffee :)

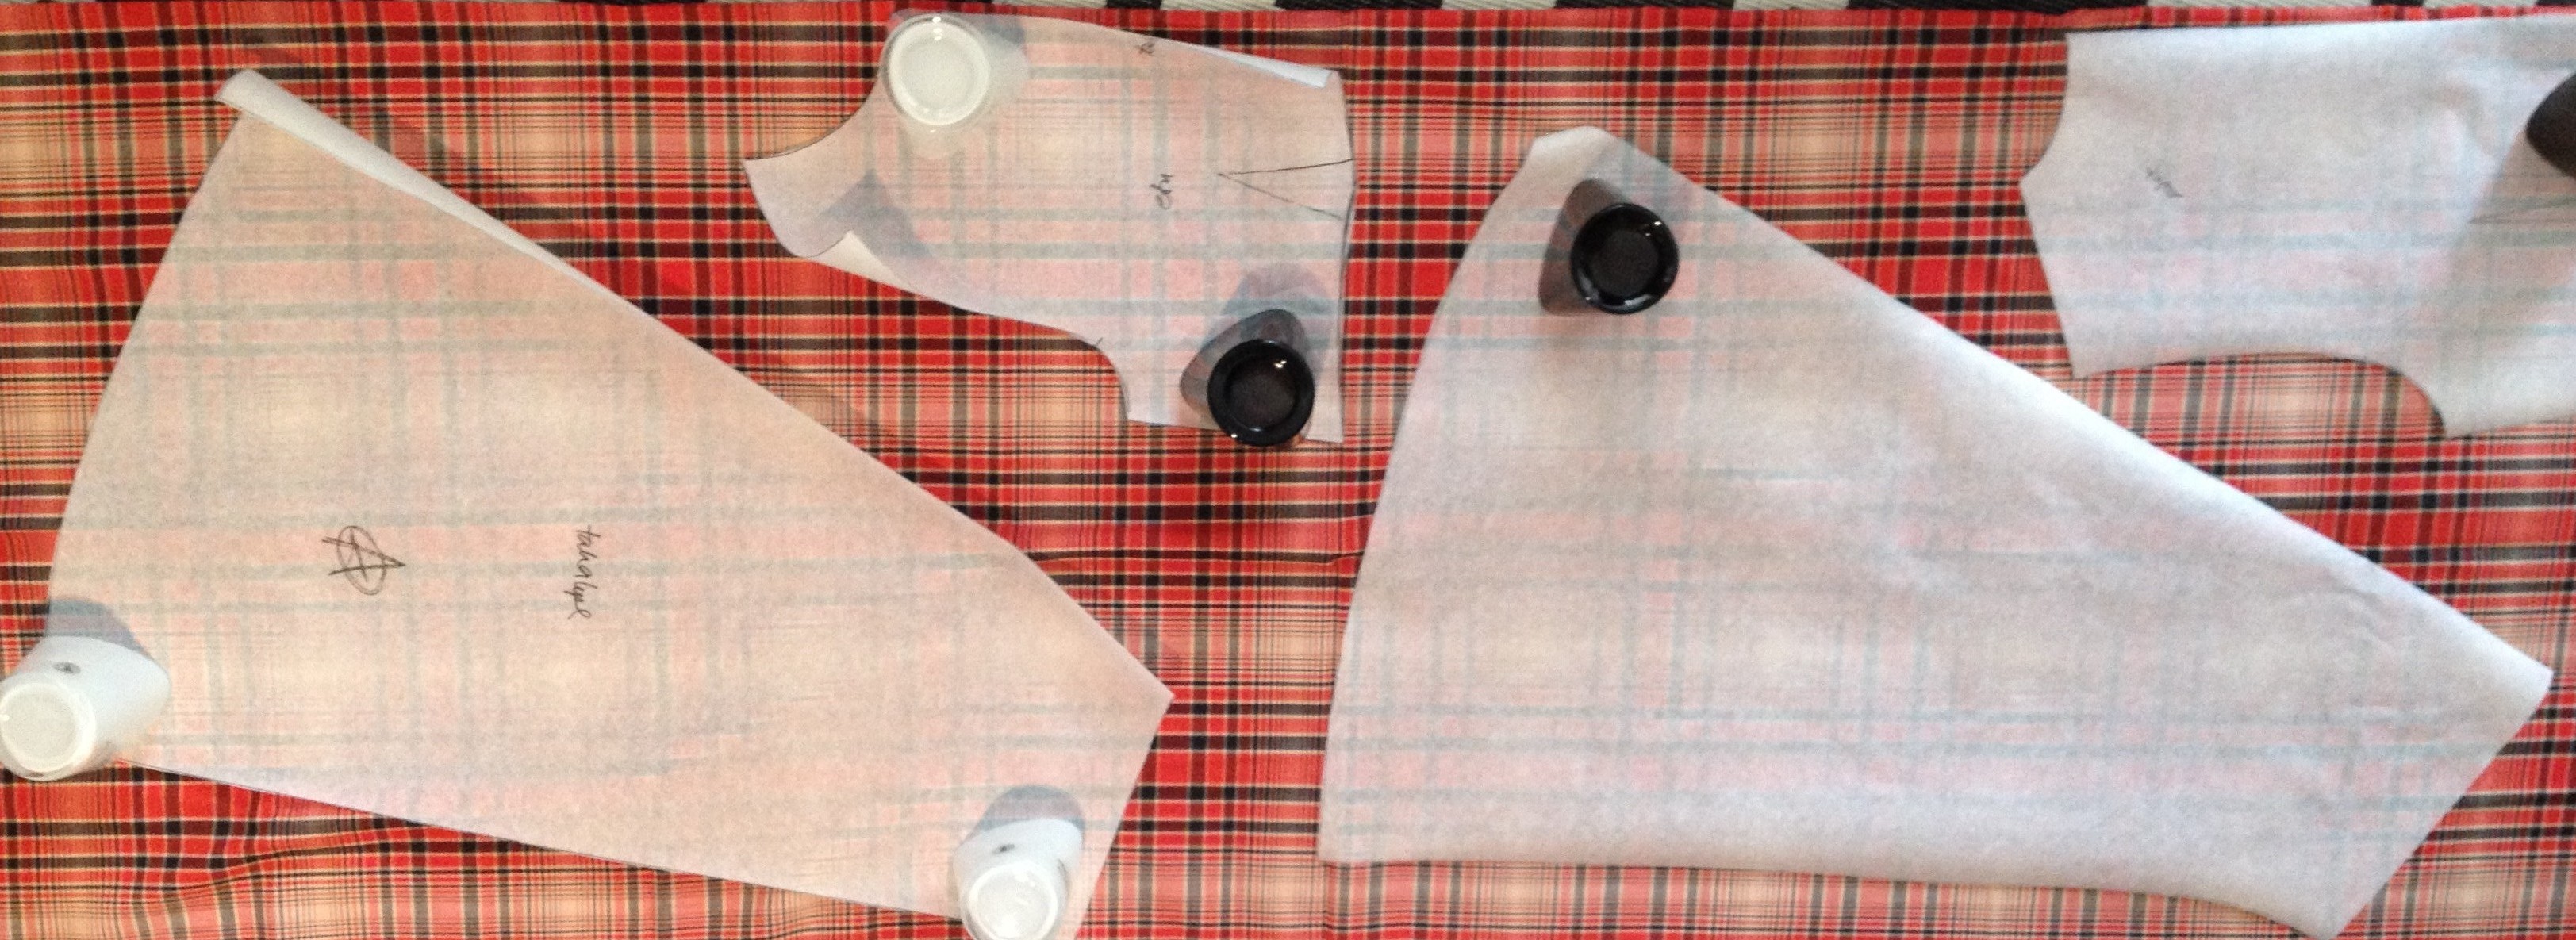
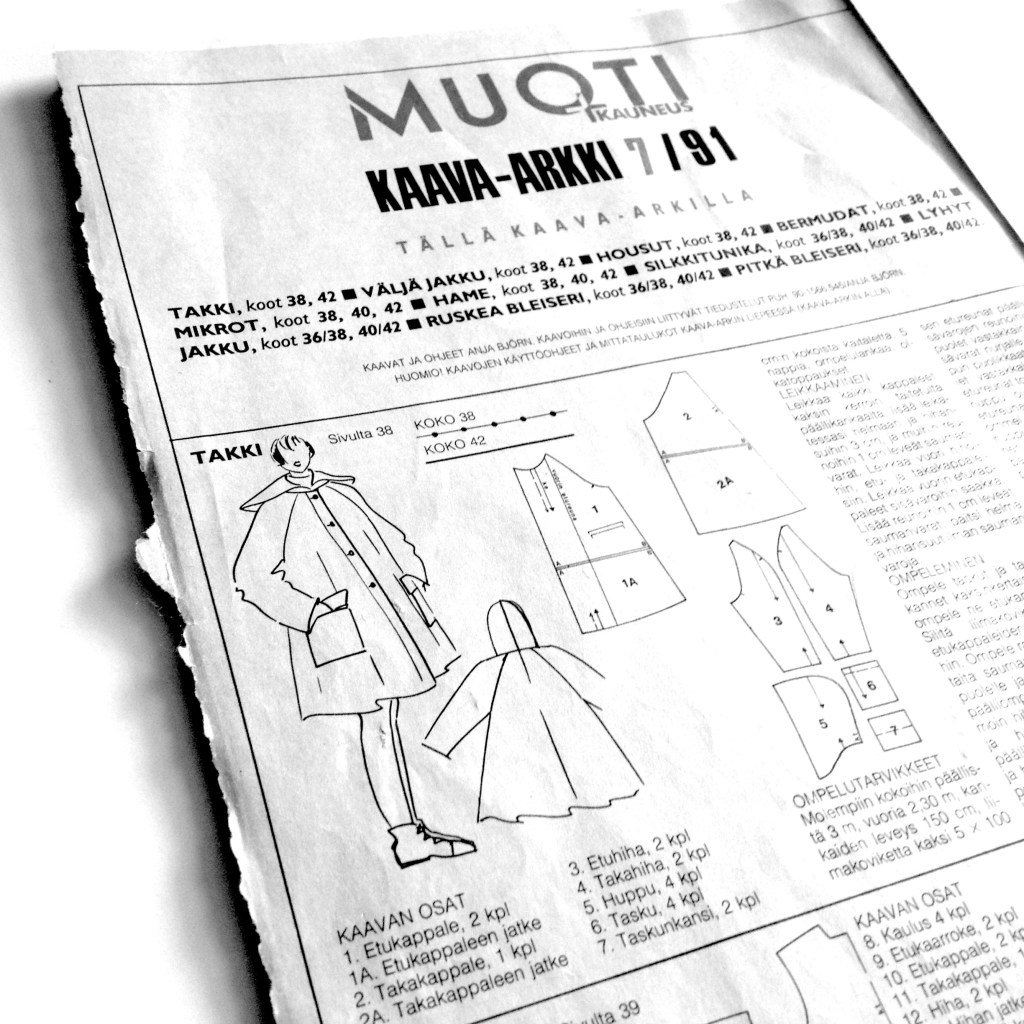
Vintage fashion magazine dated 1991 I found a raglan sleeve jacket pattern that I used as a base.

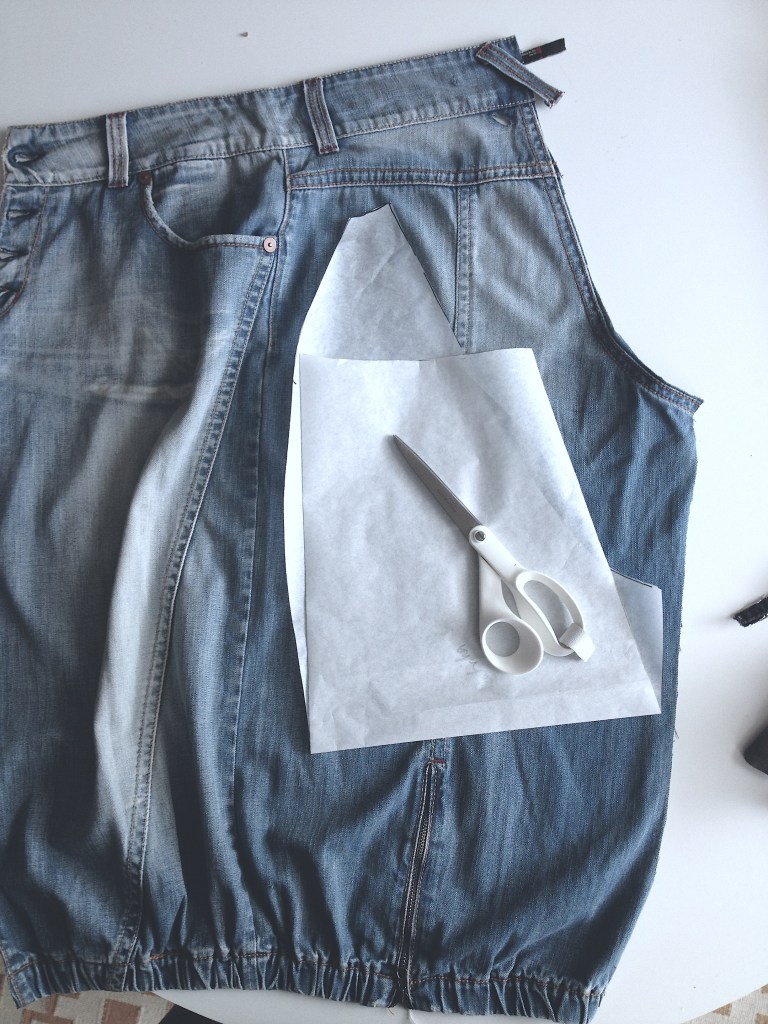
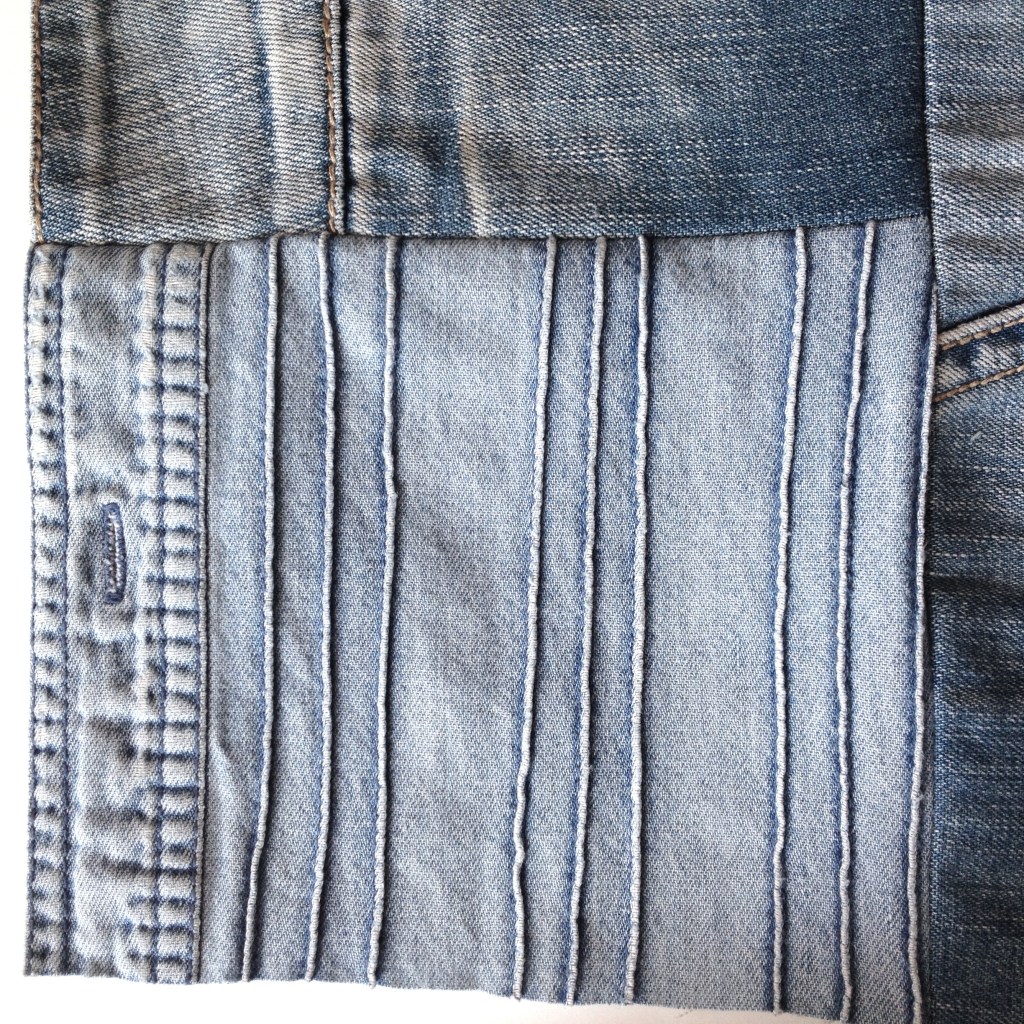
From the old jeans I removed the back pockets and ripped open the hems on the bottom of the legs so I could reveal some lovely fades and washes.

The whole idea was to use miss-matched pieces and let the outcome and the colors to feel relaxed and easy. I did not plan to line the jacket but it is more wearable and easier to maintain when it has a lining.

I am pleased of the whole outcome of this jacket and the best of all it is one of a kind!

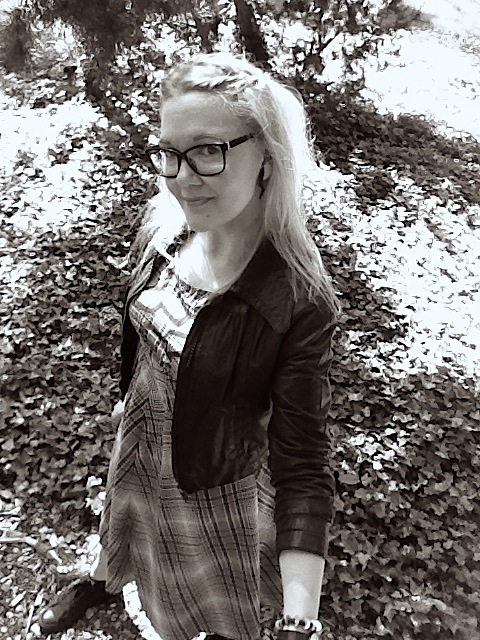
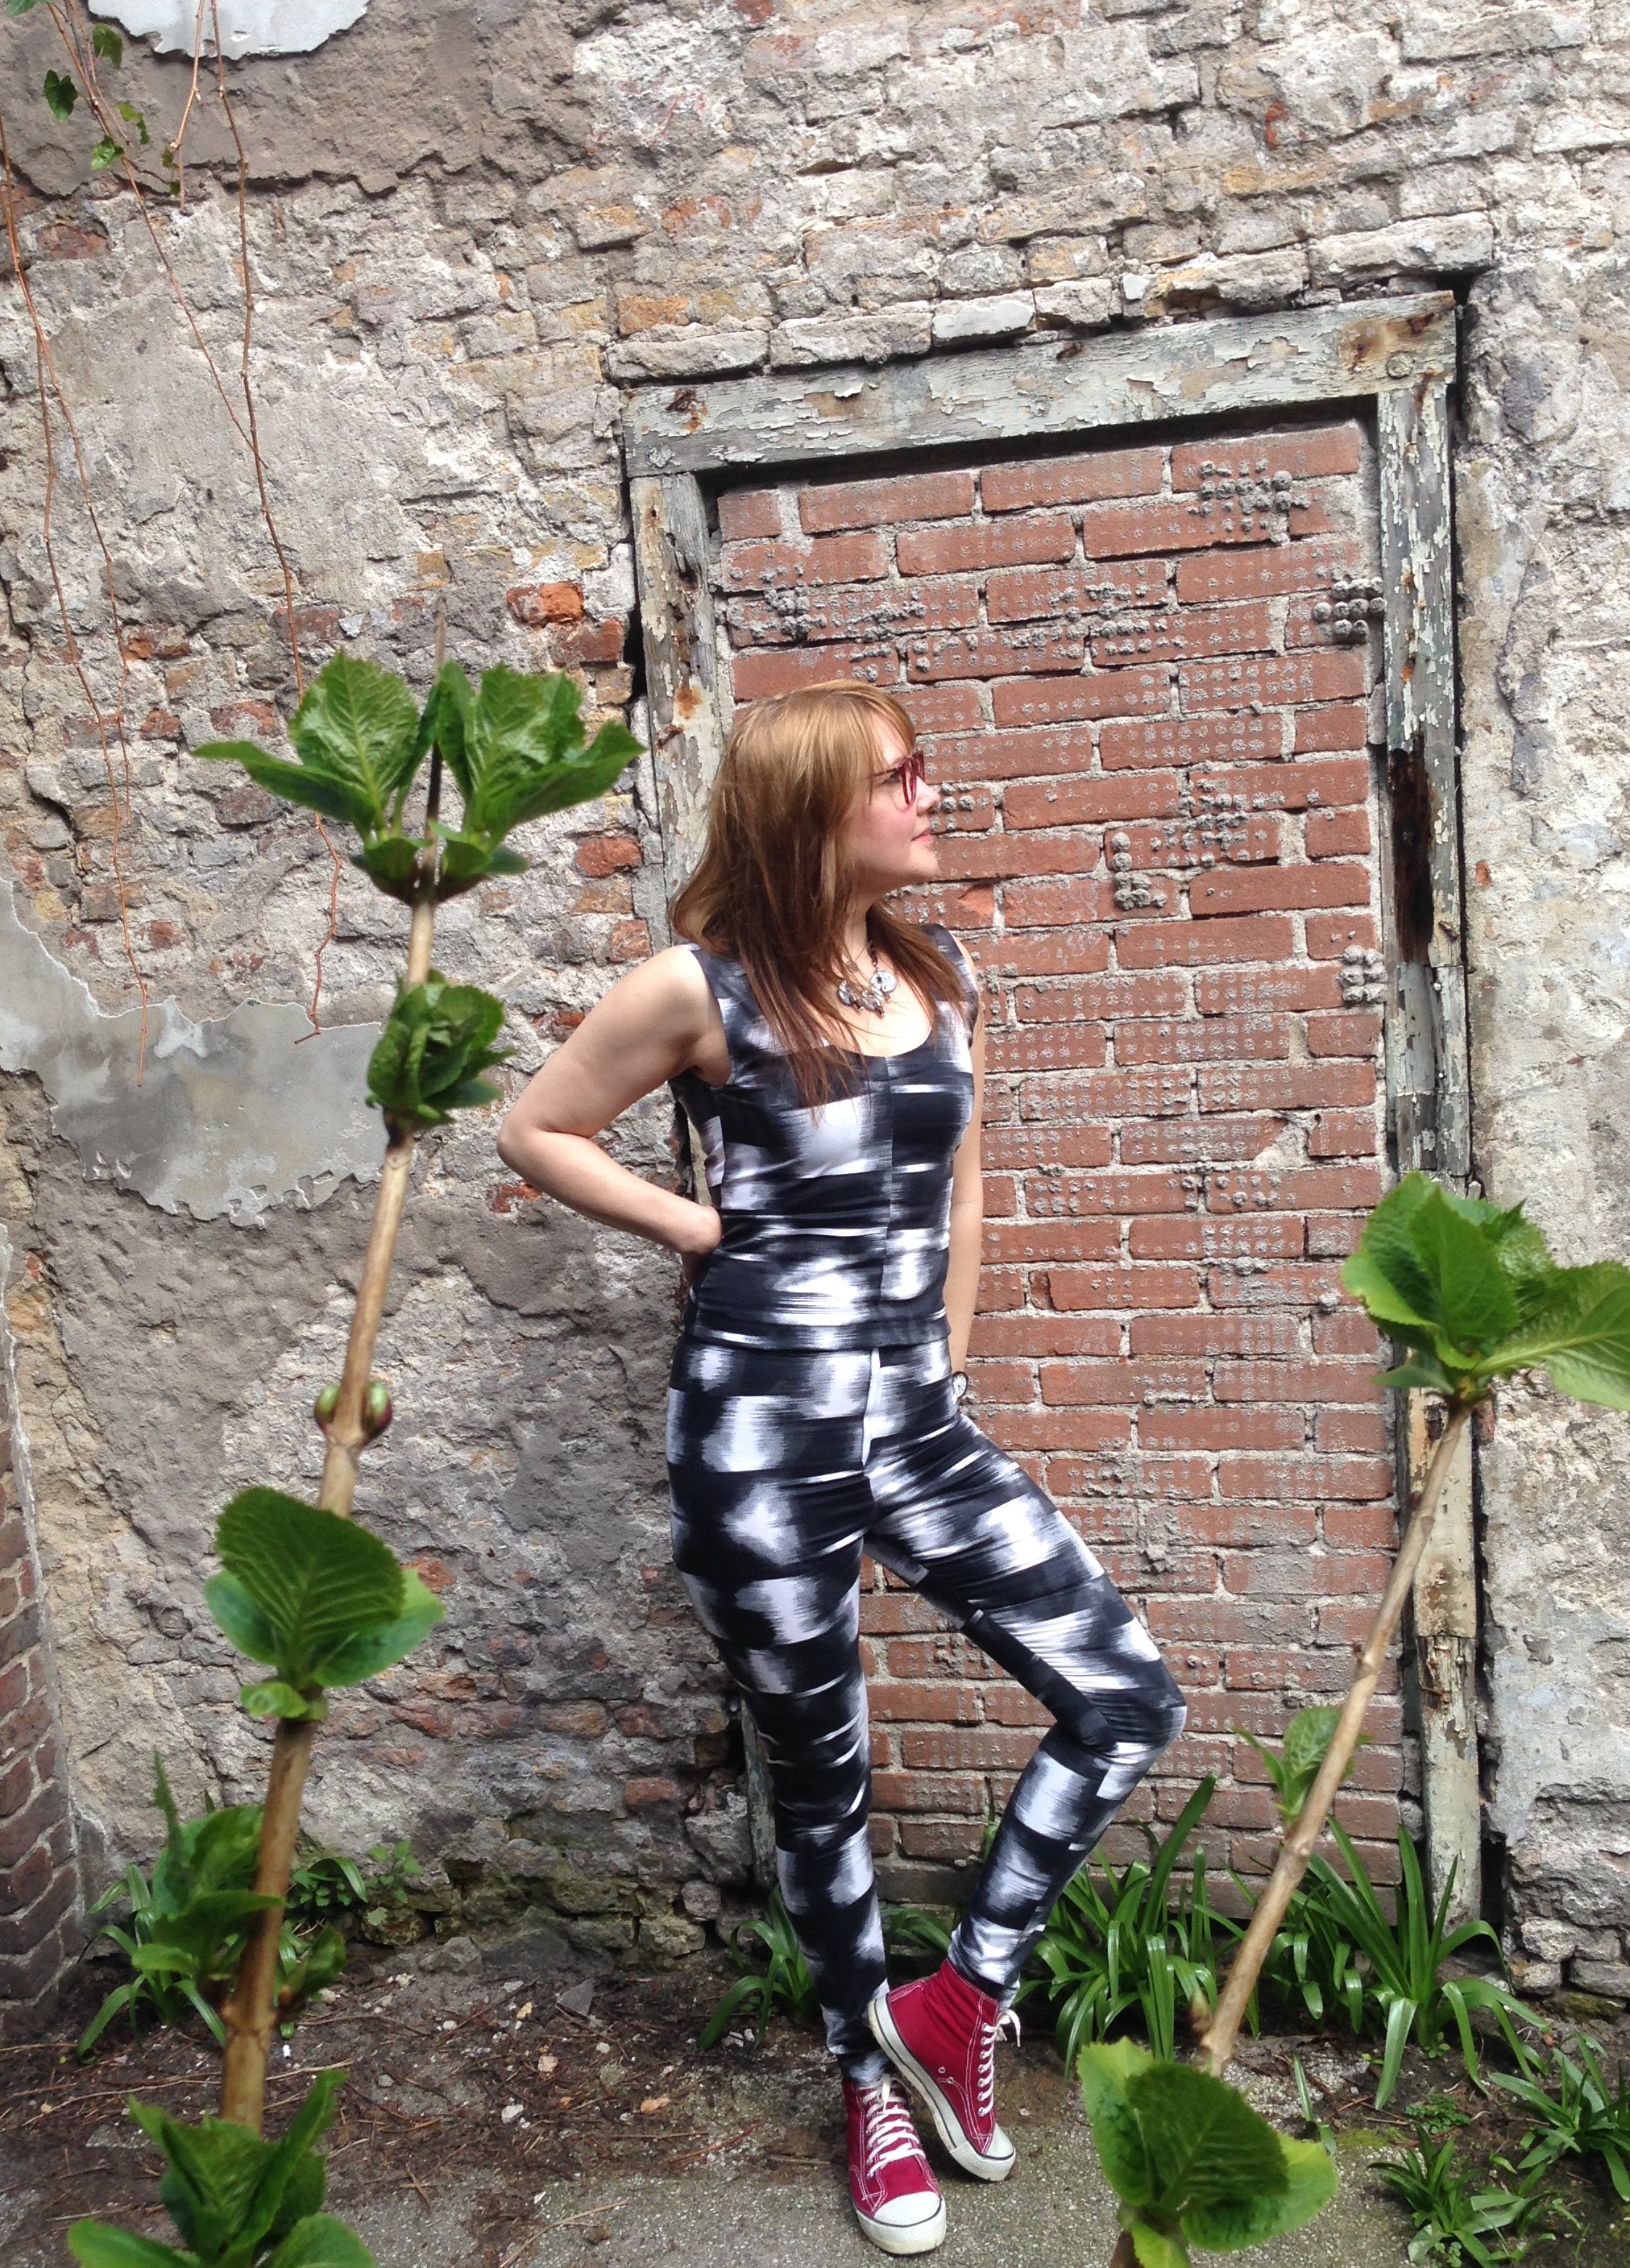
The photoshoot took place in Dusseldorf, in front of a cool graffiti wall. Peace!

Susanna in her diy denim quilt jacket and diy leather bag
Susanna in her diy denim quilt jacket

cross stitch bag “Gypsy Lady” with #

work in process, trying out different ways to decorate

This is a circa 1960s-70s cross stitch of a painting by “Torino” – Little is known about Torino other than he was prevalent from around the 50s to the 70s and there are a few versions (poses) of this “Gypsy Lady” print.

Came across this cross stitch work at second hand store. There it was lying amongst other finished and half finished needle works just for 3€. I knew at once what I wanted to do from it certainly something that will not go unnoticed. First I was playing around with the idea to really make the gypsy lady fierce with tattoos and make-up but after a few try outs I skipped that idea. The cross stitch work is beautifully done and it would be a shame to hide it. I needed a piece of fabric to go with it and choose checkered black and white, to make the whole look more contemporary. When the two pieces were joined it felt like the bag needs a message. Something to do with gypsy way of life, for example fortune telling, freedom and spiritual things. So I came up with the hashtag sign. Under the # one can imagine these words.

Back part of the bag is done out of recycled leather and handles are from old thrifted bag. The leather pieces that hold the handles are parts from a belt and the black rings curtain parts. So again 100% recycled, remake and zero waste.

handles from old bag, leather parts to hold handle old belt

diy gypsy lady cross stitch bag with # decoration

diy gypsy lady cross stitch bag with # decoration

design bag with hologram details plus one old necklace

This bags idea I got from fabric sofa samples which I found from Kontti second hand store in Finland. Here I connected evenly measured stripes together with zig zag seam and created a modern and sharp background for my holographic decorations. I used earlier these small triangle shaped vinyl decorations for my wristlets to Intercoiffure Finland fashion photoshoot and now after few years “resting”  they still do the trick in this diy bag.

Pattern needed to have right dimensions for the small sized bag so I tried out different variations and found the one that worked for this design.

Strap is made out of old necklace, really thick but light metal chain. Tassel is the pendant from the necklace. Ones again totally recycled bag, every part of it is reused material.


My friend called the pattern “Iris” – the blue royal flower. I like the name. Let the bag shine like royalty but act cool and streetwise when needed.

diy bag from fabric sofa samples with holographic details

Belt buckle shoe decoration

Tired with your basic black leather ballerinas? Here is an easy solution for all of you DIY interested. I had a lot of wood belt buckles, just plain wood color. By painting the buckles with different motifs, here animal fur inspired, I got a pile of unique decorative buckles that I can now use as an interesting detail in my DIY works. Here I attached the buckles into basic leather ballerinas by first piercing the leather in the front of the shoe where I wanted the buckles to sit. I made leather fringes to make the buckles stand out.


Earrings using triangle shaped leather/plastic

I have started to use this way of working with small leather scraps and other materials. First I cut out the shapes I want and glue them on to a piece of leather- let the pieces dry over night- after that I add a quite thick coat of decoupage lack on the surface- after the lack is completely dry I cut out the shape I want. Here I used old leather scraps and one old plastic snake pattern belt. Metal parts are from old bracelet.

These earrings I cut out as half moon shape and added o-rings from an old bracelet to give them more body and movement.

starched denim and hand painted leather

Handpainted leather earrings and starched denim earrings.

Denim starched with sugar and hot water gives endless possibilities to form whatever you can imagine after the fabric is soaked with the mix. Even 3D is possible if you have patience to form it first and then wait for 2 or 3 days until the piece is totally dry.

When the starched denim piece is dry you can  for example paint, punch or glue the pieces how ever you want. Easy and fun.

“tie” neckpiece

Neckpiece from leather and yarn. This piece was inspired by a tie, I thought about a modern tie that could be worn with a blouse like a tie. This black gently u-shaped leather neckpiece looks pretty formal worn with a shirt but can be used also with different shaped necklines.

First I draw a pattern how the neckpiece should look like when worn under collar. I used leather in the u-shaped part and decorated the edge with yarn fringes.

Kurume kasuri goku masu

Bought Susan Briscoes book Japanese quilt blocks to mix & match from a craft fair in Finland few years ago and the amount of inspiration it`s given me! This denim bag started from the idea to have just one big  quilt block instead of several small ones and the pattern is called Kurume kasuri goku masu- five squares.


Struggled a bit with the scale but finally got it right!

Super happy with the end result! All denim used are from old jeans, shoulder strap is old leather belt and the lining is made out of old skirt. So again 100% recycled!

"Kurume kasuri goku masu- five squares" patterned denim quilt bag with second hand belt

"Kurume kasuri goku masu- five squares" denim quilt bag on the fitting torso

A-lined short shirt from 90´s pattern

Photoshoot took place in Stockholm Sweden (Södermalm). The concrete wall with the nice little artsy window was perfect background for my outfit.


This pattern from a 90s Finnish fashion and sewing magazine Muoti+Kauneus I have used over and over again.

Shirt is easy to sew and by using overlocker to finish the hem makes the fabric fall down in more natural way than using a straight stitch. Black and white checked fabric I found second hand for only 3€.


high-waisted culottes

Striped denim fabric I found from Netherlands Delft from a second hand store. There is total 5 meters of this fabric so I have plenty over for something cool in the future.

I wanted to try out a pair of high-waisted culottes. I cropped the waist so that it fits tightly and added a zipper in the side. I also made a belt from the fabric to give the trousers finished and chic-easy look.


chevron denim cushion


Sewing something different from recycled denim. This pattern called chevron needed some time and accurate measurements but the end result is worth all thinking and calculating. I came across this print in Pinterest and used this blogpost as my guide. I was a bit surprised how seamless and floating the pattern is with my three colors, denim fabric is out of old jeans and the white fabric is linen.


For a final touch to give the cushion “a stamp” that it is totally recycled I attached  the label from jeans I used as fabric. Pillow has a zipper and reverse side is rigid cotton fabric.


diy chevron pattern denim cushion out of old jeans and linen fabric, decorated with original patch from the recycled jeans

diy chevron pattern denim cushion out of old jeans and linen fabric, decorated with original patch from the recycled jeans

shades of green with black

Green stands for balance, nature, spring, and rebirth. It’s the symbol of prosperity, freshness, and progress. In Japanese culture, green is associated with eternal life and in the highlands of Scotland, people used to wear green as a mark of honor. Green is the color of love associated with both Venus, the Roman goddess and Aphrodite, the Greek goddess.

And green hues are also the base in my artsy small bag, together with black patterned leather and gold colored metallic parts. My wardrobe were one green bag short, that I could notice when I was choosing my outfit one day and the last detail was missing: the green bag. In this design I joined triangle shapes out of different structured leather and fabrics together with zig zag seam. As usual I started up not really knowing how to fix the handles but in the end it all came together part by part. It is totally 100% recycled materials, made out of thrifted bags and belts.

diy-greenish-leather-bag-side-view-of-handle-fastening


diy-greenish-leather-bag-with-unique-decorations

I am experimenting different ways to do leather decorations.

I love to take photographs of my designs, usually I take my back bag carrying my Canon and the design plus a variety of stuff you might need when taking photos outside (clamps, tape, silk paper etc.) This photoshoot took place one misty morning upon a hill here in Gränna. The weather was just perfect, mysterious shapes and blurred colors everywhere. Enjoy the pictures, I do for sure!

diy-greenish-leatherbag

Little bit of staging does wonders.

diy-greenish-leather-bag-with-cross-body-strap

diy-greenish-leather-bag-with-metallic-details

moment of reflection

Taking a moment of reflection.


zig zag cross stitch bag

Cross stitching crazyness! Really how can people give/throw away these beautiful and extra nicely stitched piece of art works? I believe there will be a time when these vintage cross stitch handcrafts will be worth gold.

But until that, let`s do a bag out of one zig zag patterned, thrifted cross stitch. It was a pillow cover when I found it from second hand Erikshjälpen Jönköping. Mostly when I come across these old handicrafts they are pillow covers or wall decorations. The colors on this one are bold and I like how the lilac color pops up from the whole palette. I had a piece of brown leather from one earlier project and decided to go towards gold color in the metallic parts and decorations. For the lining I choose sturdy denim so the bag will stay in shape even when empty.


Again all parts fort this bag are recycled from second hand bags. My mission is to buy as little as possible straight from the craft stores but to do a bag with good and functional elements requires a lot of different metallic parts. Such as magnetic closures which I usually take apart from my second hand bags. Handles and straps are also quite tricky;  to do a long leather strap requires a lot of good leather and usually that is hard to achieve with leftover leather scraps, so again second hand bags to the rescue!

I am pleased how solid the outcome is, all colors match together and even the gold colored labels fit in with the look.

diy bag photoshoot by the waterside with hand lettered board

diy bag with recycled cross stitch and leather

diy vintage cross stitch bag photoshoot by waterside with thriftwood


cheetah print bag

Thrifted the skirt already while ago and did not really know what do with it. Animal print; black spots on turqoise, glittering base is not really my type of fabric but this crazy combo could work on some smaller surface. Inspiration for the shape I got from a round leather bag and I wanted to experiment the shape on this fabric. Adding some support inside to keep the form as round as possible was necessary and using foamy placemat cut into shape worked out perfectly. The shoulder strap and zipper are both thrifted, it is amazing how much accessories for sewing you can find second hand for only few euros…these things usually build up the price on a bag but in this case the total cost for the bag was 5€. Oh and the denim jacket is also second hand…just adding a lot of different fabric patches to make it fab!

diy cheetah print bag from old skirt

monochrome with batwing sleeves

Super easy and comfy striped blouse. When I visit Finland I usually always visit Eurokangas fabric store. They have huge section for fabrics that are already cut on different sizes and priced by weight. It is exiting to dig into these big boxes cause you never know what to find. This time I was lucky to dig up a pice of black and white striped fabric and knew immediately what to do out of it. I draw the pattern using my old blouse as the base. These type of sleeves are called batwing sleeves.

cutting out the batwing sleeve shirt from striped fabric

The hem I left raw…it is actually the end of the fabric so it had already kinda nice structure in it.


diy striped batwing sleeve blouse with raw hem

Little X pouch is one of my designs to carry your smart phone in. Matching the stylish theme of black and white I included it in the photoshoot. Love the blouse- easy to mix and match.

diy striped batwing sleeve blouse with leather pouche X


diy striped blouse with batwing sleeves

“foil effect”


This biker type woolen jacket I found second hand for a bargain price. The jacket was to me like an empty canvas, just waiting to be standing out from any other black jacket. It had military style buttons which I replaced with some simple black round buttons. First I thought to sew something on the jacket, leather or denim but after a visit to the best fashion pages Vogue.com my vision become clear and I came up with the paint idea. And also with inspirational help of a knit dress from Guy Laroche.

Oh and the hat is vintage…and my boots too.

Susanna wearing her diy woolen jacket with Anne Linnonmaa vintage cardigan and woolen vintage hat

Susanna wearing her diy woolen jacket with woolen vintage hat

check it out

laying dress patterns on checkered fabric

stamping free hand cut shapes on the dress


This red checked fabric was a last minute found from a thrift store for 2€ and after this pic I knew what to do out of it. Pattern for the dress is again from 90s fashion magazine Burda with some slight alternations. The dress turned out to be too easy and “nice” so I cut out some free hand patterns and stamped them on.

It was supposed to be tough looking chick wearing a checked punk inspired dress with dr. Martens shoes…but it turned out to be slightly nicer version of that. When you want the picture to be taken full torso and you wearing the dress it is hard if you have to do it by yourself—-but hey let´s use a selfie stick—which is not as easy as I thought it would be…photoshoot took place in the botanical garden of Delft.

Susanna wearing diy checkered fabric dress with vintage leather jacket and Converse sneakers

Me…Jane


Susanna wearing self made top and trousers

Two piece outfit that looks together like overall. I found this stretchy black and white patterned fabric when I was looking for material to sew a pair of cool leggins. I draw the pattern for the leggins with my measurements, it is easy, there are many good instructions available in various blogs. Fabric turned out to be not so stretchy as I tought so I had to sew a zipper in the front..well it would have been nicer in the sideseam but I just went with the feeling, crazy pattern crazy zipper! For the top I used “80´s” pattern originally designed for a swimwear and the back was so nice so I wanted to try it out. I just left the bottom part away from the pattern and added a zipper in the sideseam. Ready for the city jungle!

clay pendants and plain patterns

pattern: a natural or accidental arrangement or sequence

There are several ways you can make homemade clay for making ornaments, necklaces and for other projects and crafts. When shaping my small clay objects I usually go with the flow and the shapes are more raw and plain than complex and stiff.

My clay recipe is quite simple, I do not cook the mixture or use oven, I simply let the objects air dry for a couple of days. When the clay is dry and hard I give the surface final touch, usually it is painting with different techniques. Why not even leaving the pieces undone! Here I wanted to try out a surface that looks like marble but in the end the result looked more like color splashed on the object. I used one color, black, rather than mixing a variety of colors so I got a more simple look. The necklace looks good paired with one coloured garment and stands out perfectly.